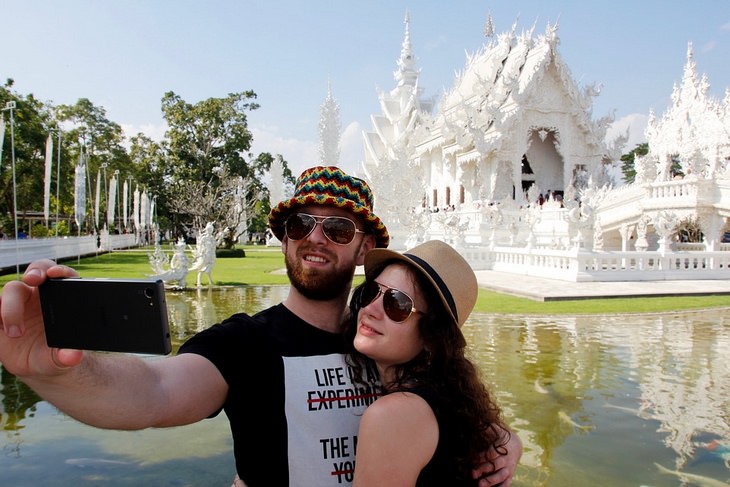
But why would you want to take a selfie to begin with? Well, taking a selfie is an incredibly easy way to take commemorative self- and group- portraits without hassling strangers to snap the shot for you. Done correctly, selfies are also extremely flattering and can also beautifully showcase where you are. They’re great for your social media profiles, for trip albums and commemorating truly special landmark events.
So how does it all work?
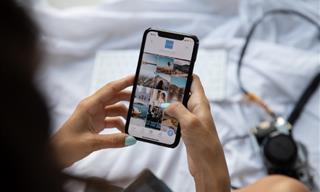
First off, the default setting of your phone’s camera is to use the back-facing camera. That camera is best used for landscape shots and portraits of other people. While it is technically possible to take a selfie using the back camera, it’s inadvisable to do so, as you will not be able to choose a frame before snapping the picture. What you want to do is switch the setting to the front camera. This is done by clicking an icon in your camera app that typically looks like this:
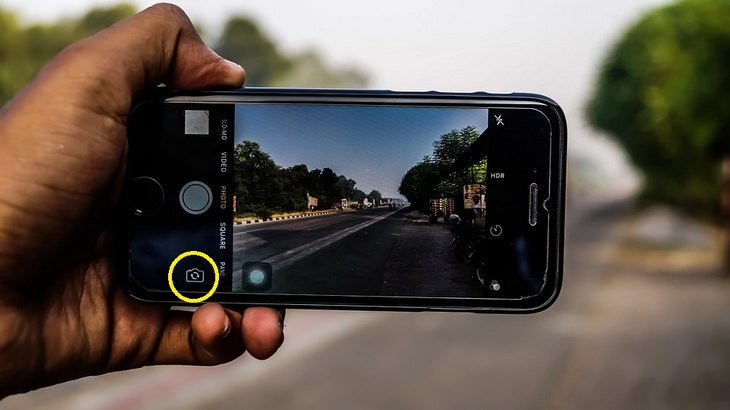 Front camera button circled in yellow.
Holding the phone may sound like a no-brainer, but it requires a bit of finesse:
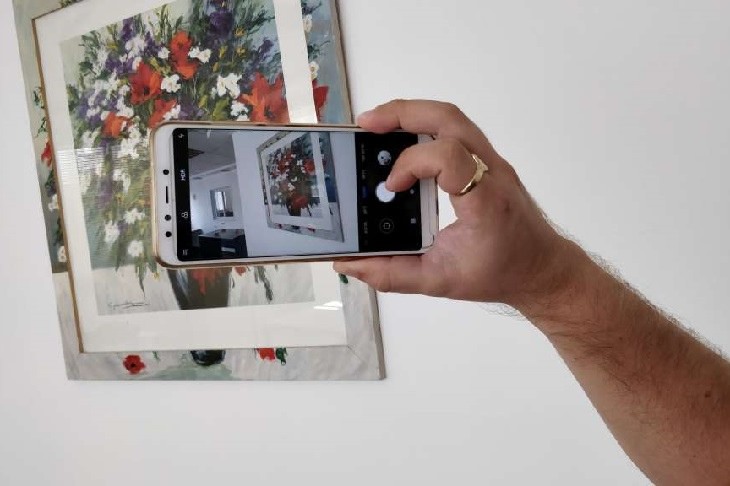
Holding the phone with both hands may be easier, but true masters use only one hand. If you’re holding your phone horizontally, which is best for group selfies, rest the phone on your thumb, grasping from the top with your middle and ring fingers, and supporting the back with your pinky. Use your index finger to click once you’re pleased with the frame.
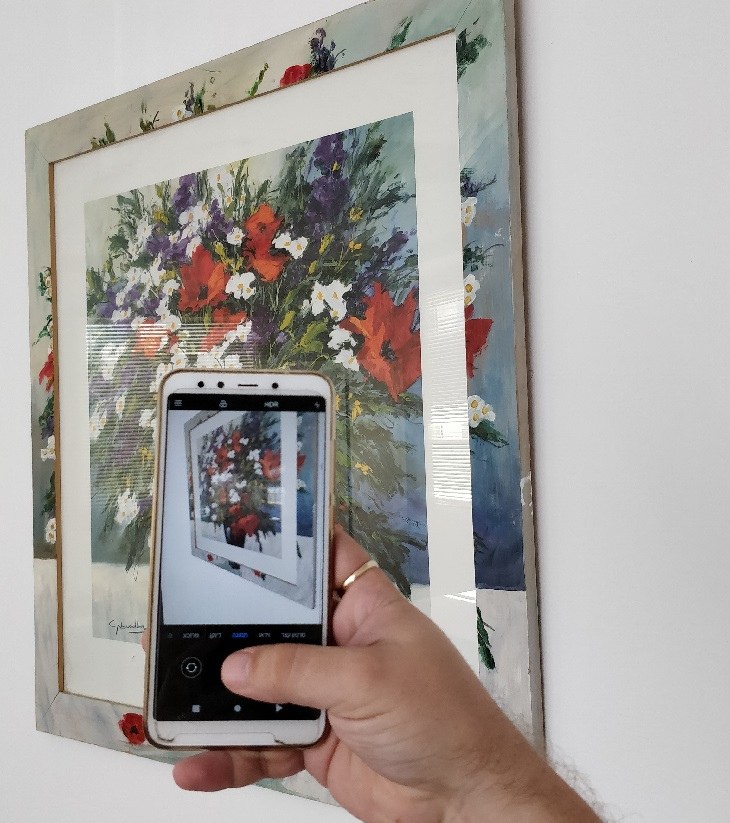
If you’re holding the phone vertically, rest your phone on your pinky, supporting the back with both ring and middle finger and holding the side with your index finger. To snap a shot, use your thumb.
Now that we know how to take a selfie, it’s time to figure out how to take a GOOD selfie, and the first thing to know is what to avoid.
What NOT to do
Typically speaking, you shouldn’t take selfies from below. Those have a tendency to accentuate the less desirable properties of the face. That being said, you can get a great pensive portrait taking a picture from below. The trick is just like crossing a rope bridge or scaling a mountain- don’t look down. Looking down has the effect of tucking the chin in, creating unattractive folds (think of how some of the skinniest people you know get folds in their stomach when they sit down).
Lighting is crucial. What you want is natural light lighting up your face, but try to control the intensity of the light as much as you can. Big shadows hanging from your nose are something to be avoided. Taking a selfie with your back to the light source is a big no-no, and using fluorescent lighting makes for lackluster pictures.
If you’re using two hands to take a photo, mind your fingers, and make sure a stray finger doesn’t make it into the frame.
Tricks to taking the perfect selfie
Angle is key. Hold your phone out in front of you or slightly above, but don’t overdo the angle, either. Tilt the phone ever so slightly downward, give your most genuine smile and choose your preferred frame. Voila! You’ve got a selfie.
If holding the phone as previously explained is rough on your hands, you can always get a selfie stick. A selfie stick is kind of like a telescopic baton with a clamp at its end. The stick can connect to your phone via Bluetooth, after which you simply put the phone in the clamp, choose a frame and click a button on the stick to take the picture. The stick also allows for several different angles which would be impossible for the human hand to achieve.
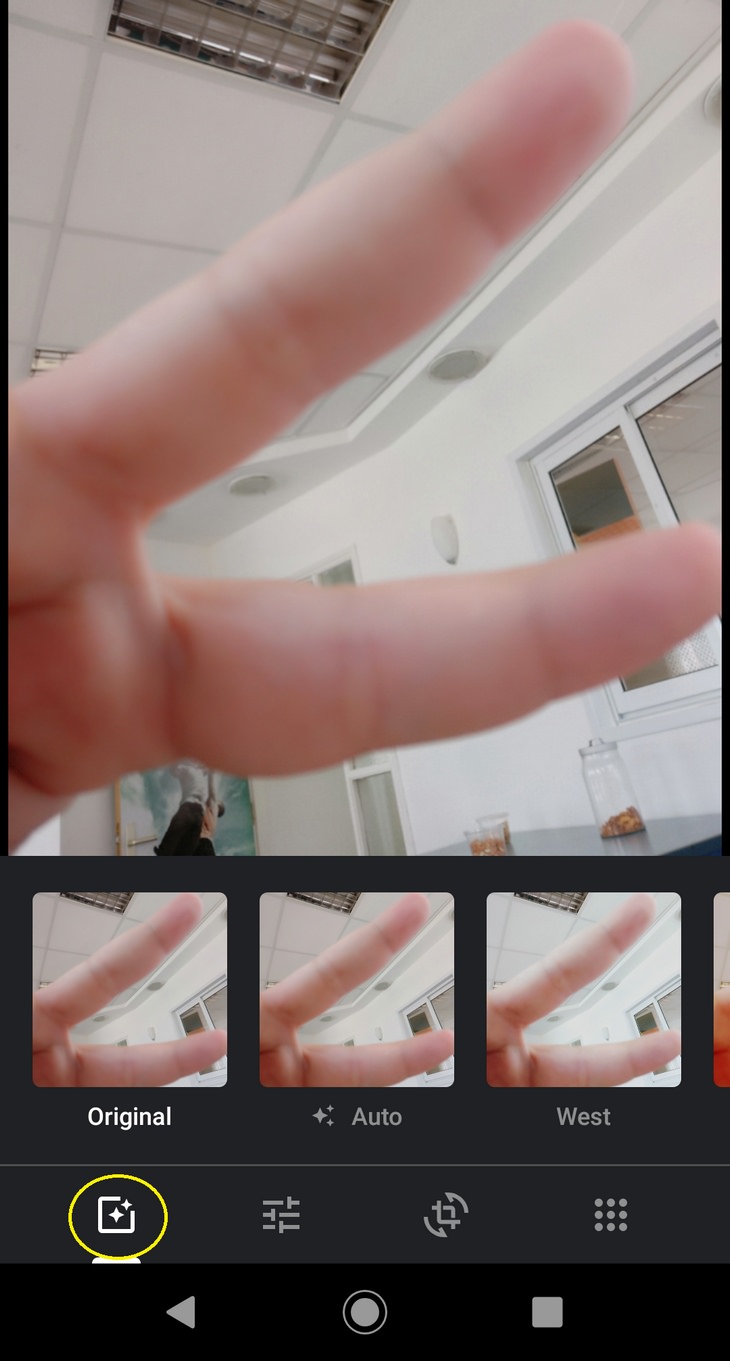
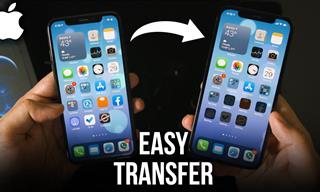
After you’re finished taking your picture, you can edit it further, making it more beautiful, removing unwanted objects, etc. Do this by opening your recent picture in the camera app and choosing the editing option:
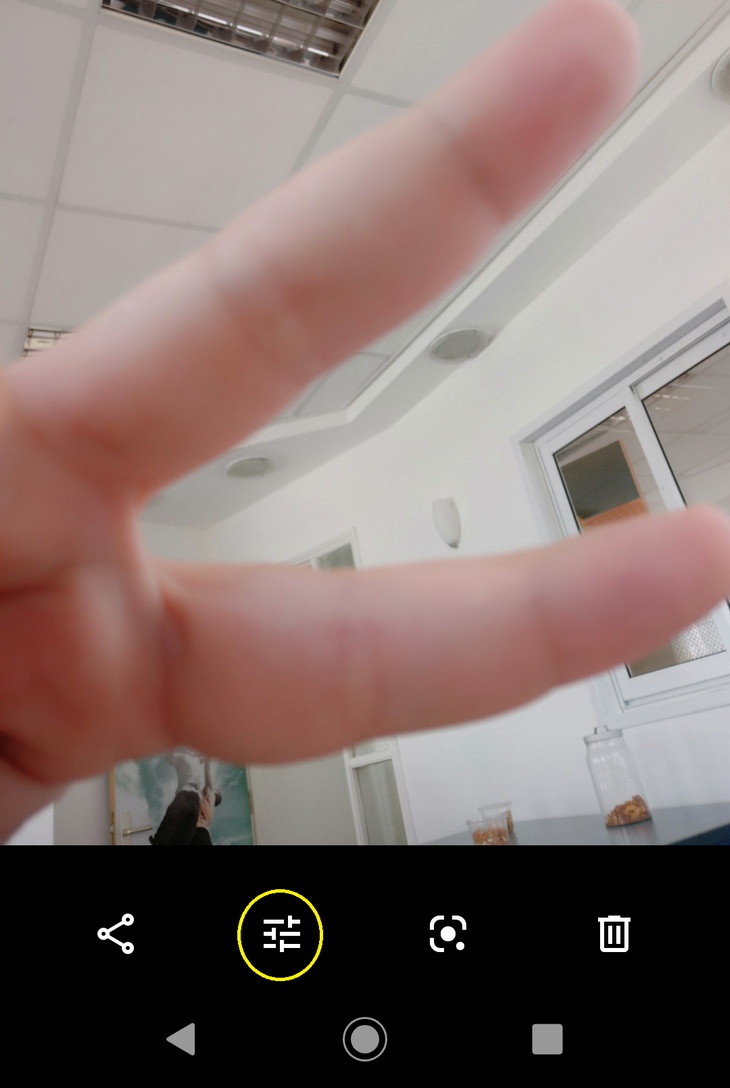 Edit option circled in yellow, the icon might differ, according to phone make.
There are several ways to edit the picture, by playing with the lighting, coloration and focus:
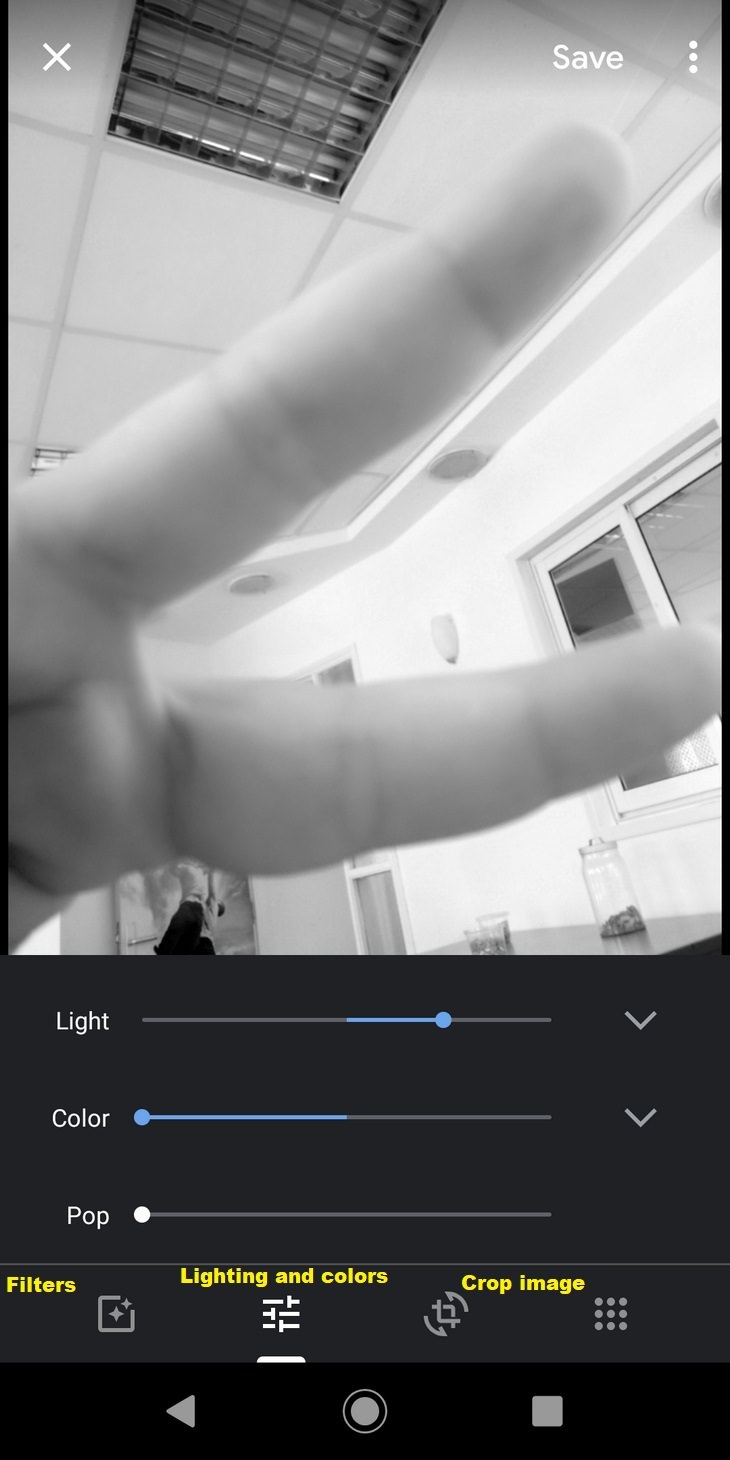 Color and lighting screen, mind the editing menu at the bottom.
Another way to spruce things up is by applying filters to the photo:
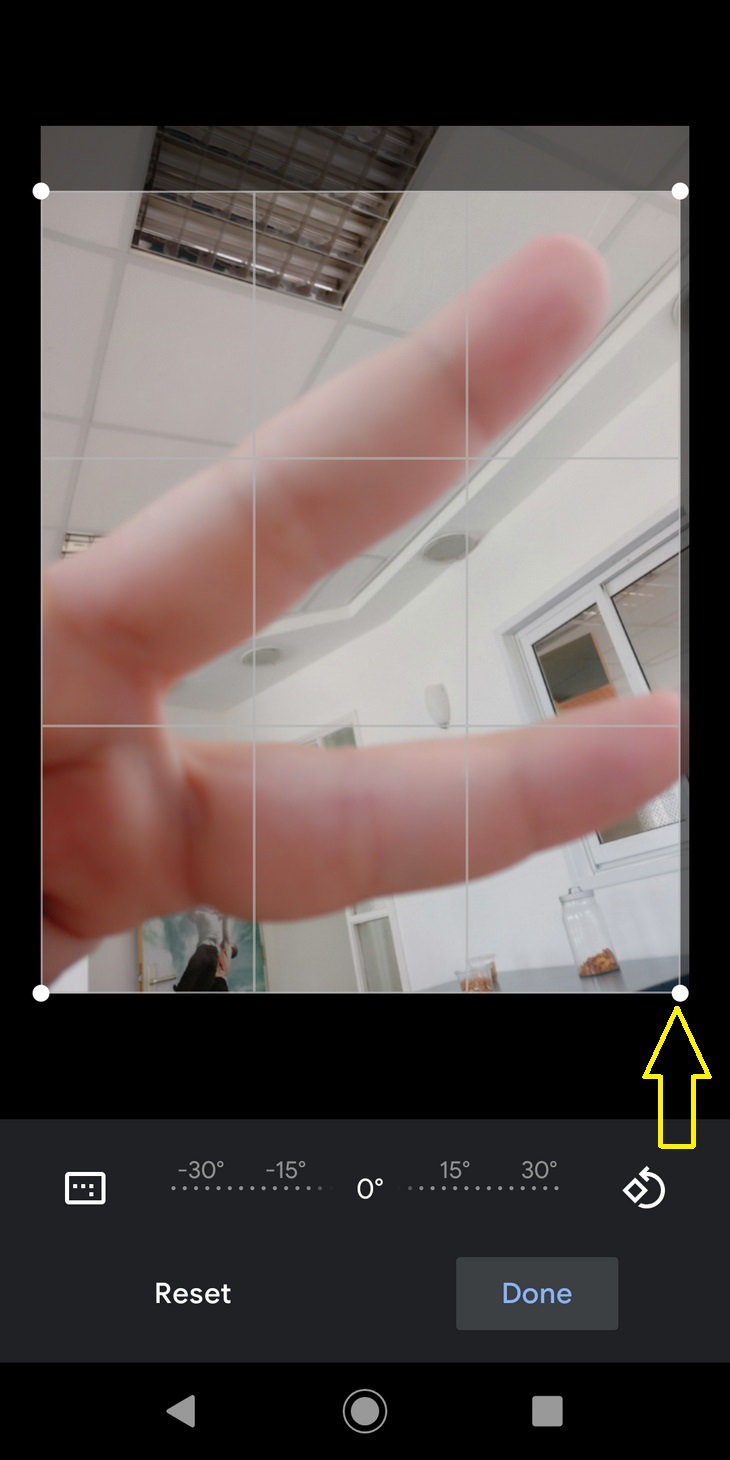
Or by cropping the image to make the frame tighter and remove objects from the picture:
And now you’re all set and ready to take the perfect selfie! Say cheese!
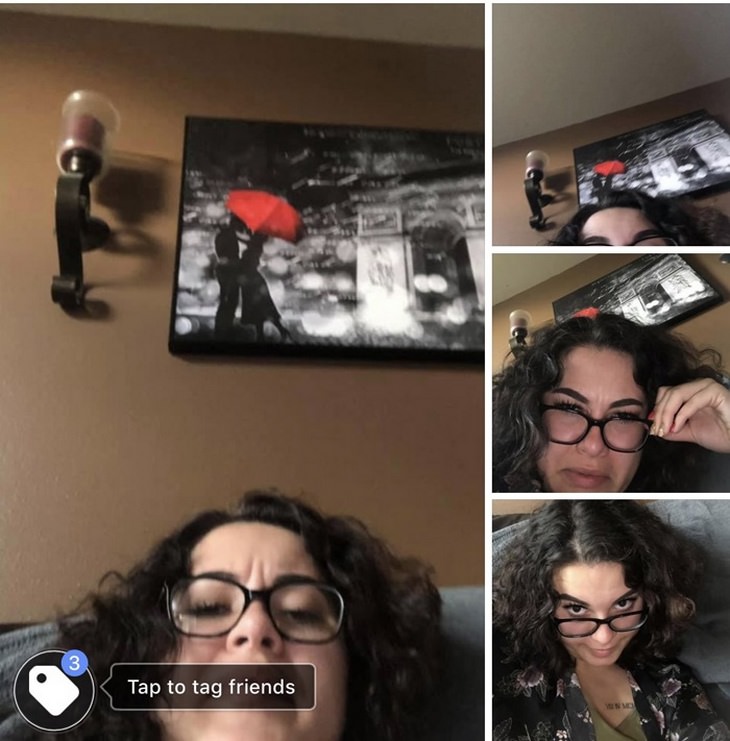 How to NOT take a selfie. Source: Twitter
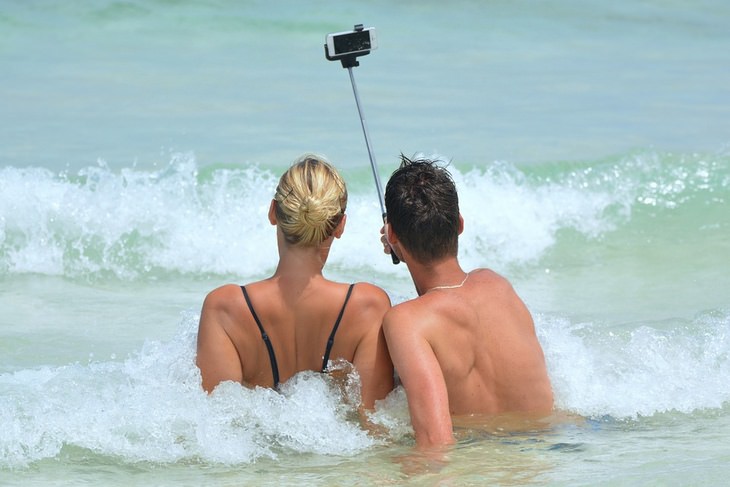
 Source: imgur