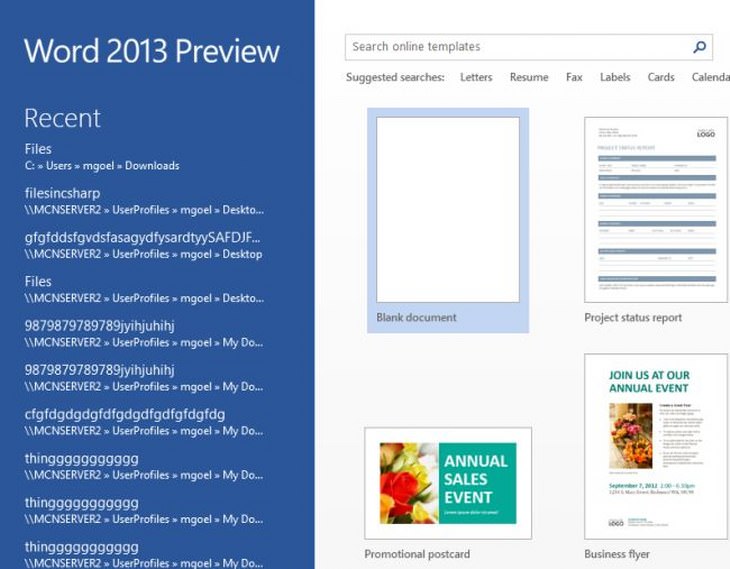
1. Starting a New Document
As soon as you open Word, you'll be asked what type of template you want to use. Many people typically choose to use a blank template, however, you can also choose from a number of more colorful ones. For simplicity's sake, we're going to use a blank template.
Highlighting or selecting parts of text will allow you to change that text in terms of color, font, and style, and you can even replace the words if necessary. This is a brilliant function which makes it really easy to edit your document later on, so you don't have to worry too much as you're typing it out, as you would have to do on a typewriter.
To do this, move your cursor over a piece of text, and you should notice that it has changed to the 'text select' shape, which looks like a capitalized letter 'i'.
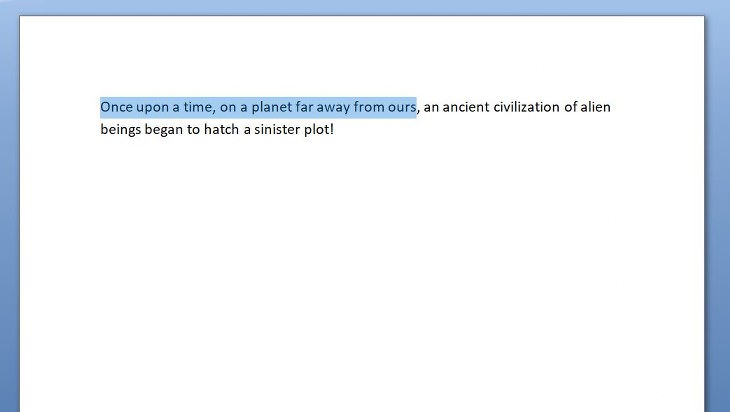
Now, you'll need to move the cursor to where you’d like to start your selection. Next, you'll need to left-click, keeping the button pressed down. While doing this, move the cursor along the text to where you'd like the selection to end. As you move the mouse along, you should see the text becoming highlighted, meaning that it's all becoming selected. Now, simply release the mouse button, and it should look something like this:
3. Changing Text Font and Size
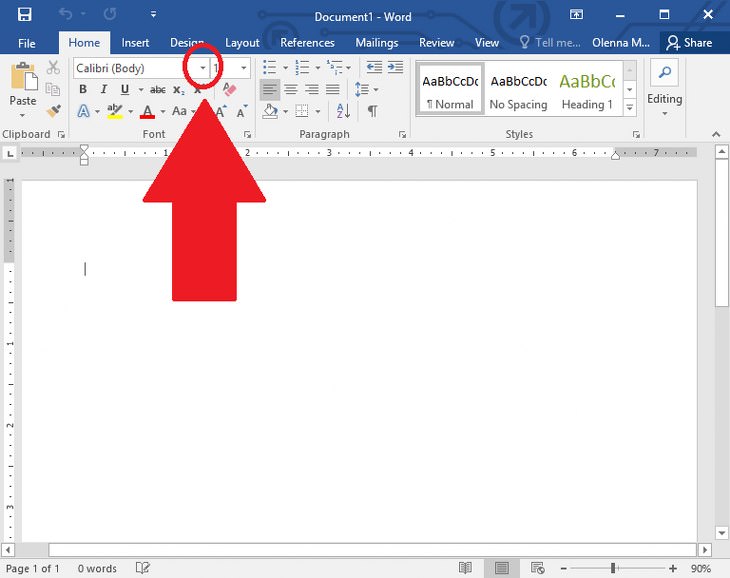
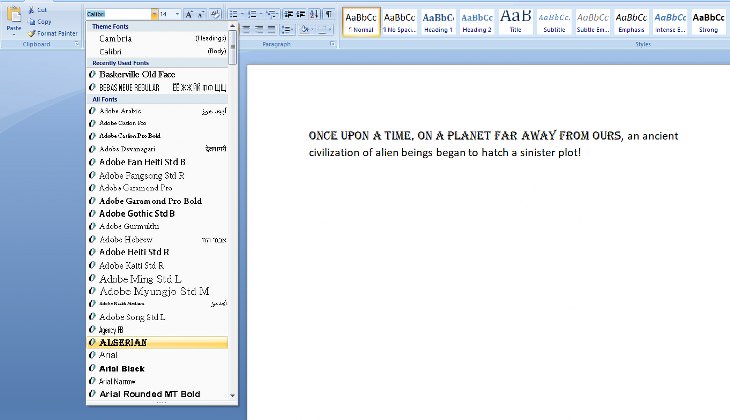
If you want to change the font or size of a portion of text, you'll first need to highlight it, as shown above. Once it has been selected, simply click on the small arrow near the font style, as shown here:

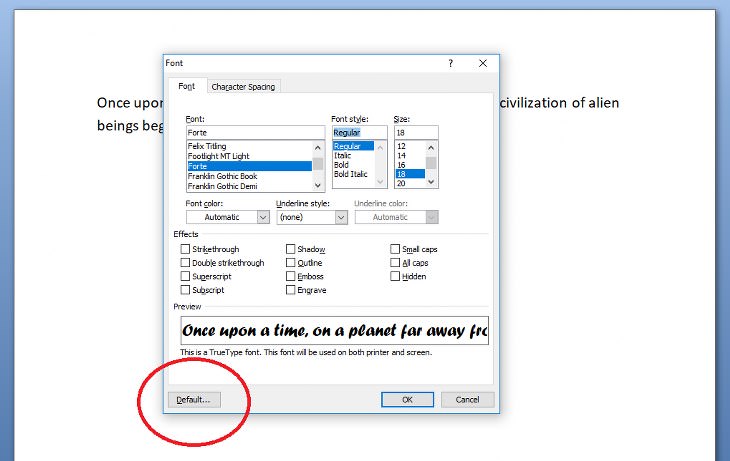
Having the ability to change the style of your fonts can make your document far more interesting. Different styles of text such as italics or bold can make text really stand out. Underlining is particularly useful for titles or headings.
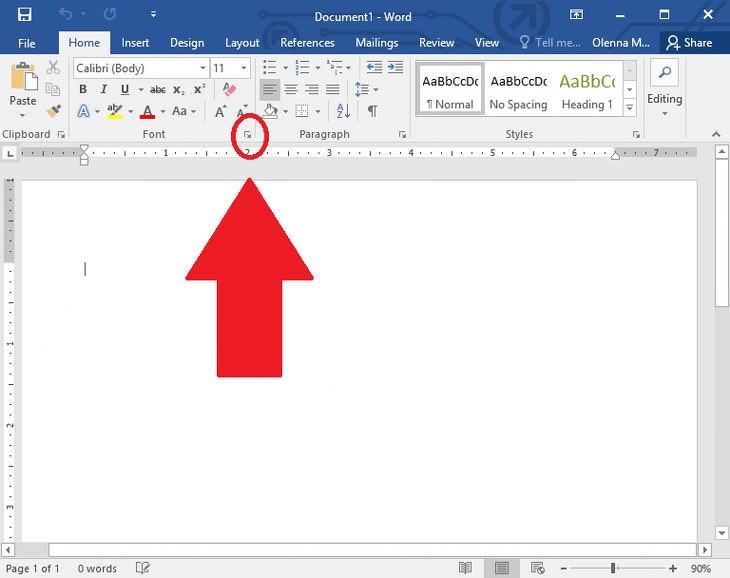
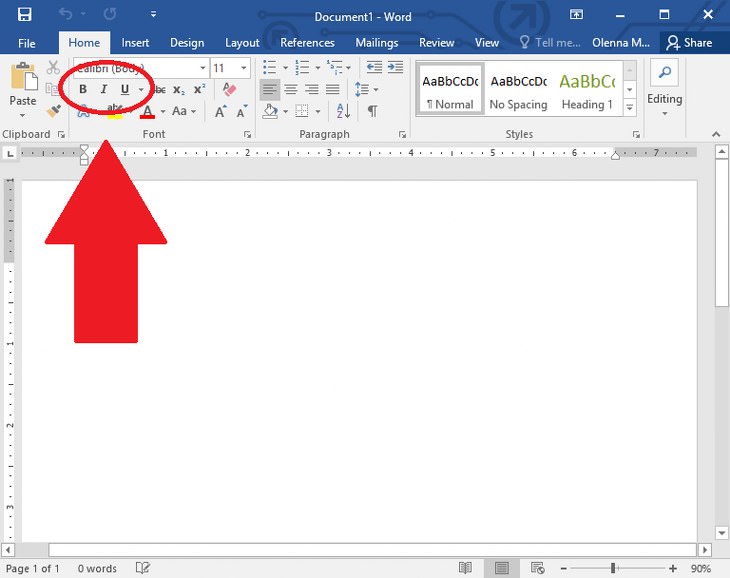
To change the font style, simply highlight a piece of text, then click on the 'B' for bold, 'U' for underlining or 'I' for italics in the font section, as shown below:
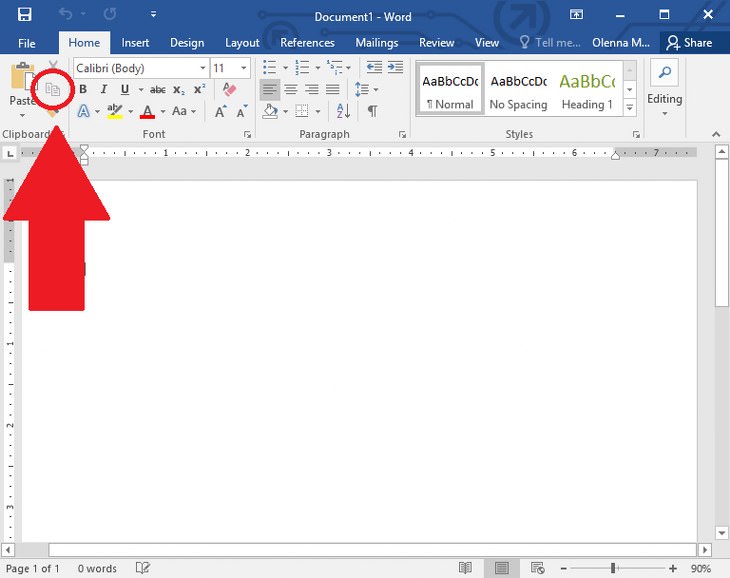
5. Copying and Pasting Text
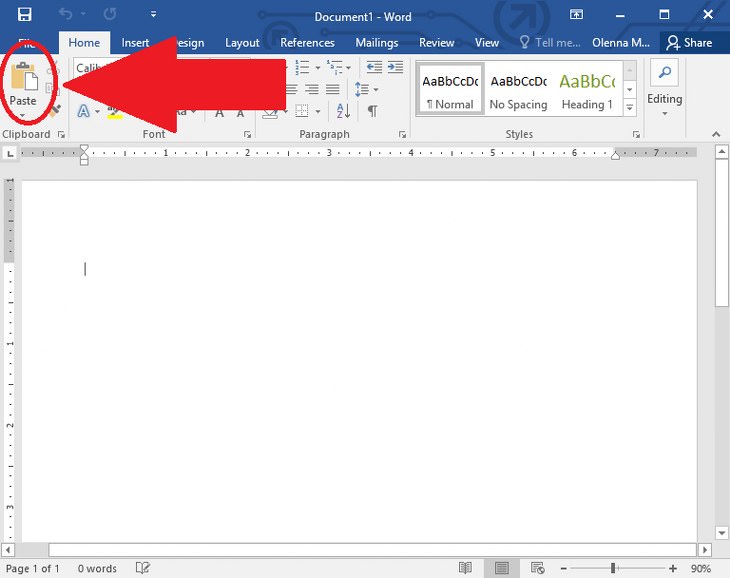
Copying and pasting snippets of text can be very useful if you need to duplicate something that you've already typed, since this will save you a lot of time and effort.
To copy a piece of text, you'll first need to highlight it. Once you've done that, you'll then need to click on the copy button, which can be found here:
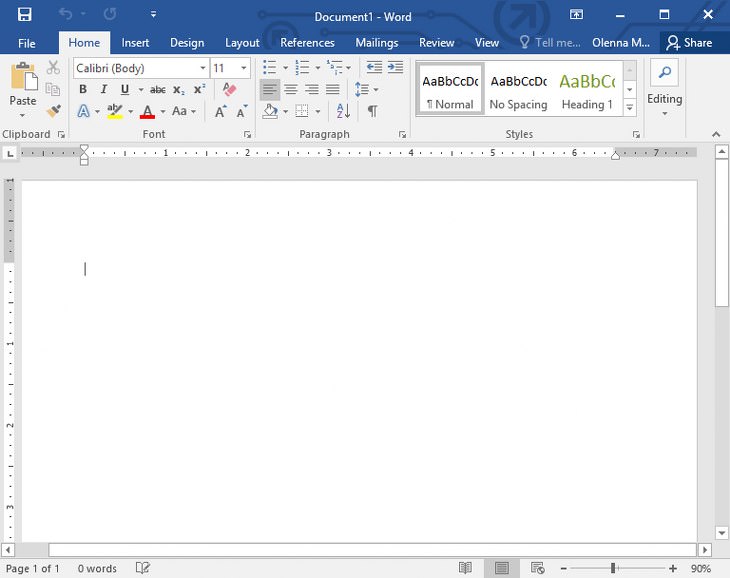
6. Arranging the Text Layout
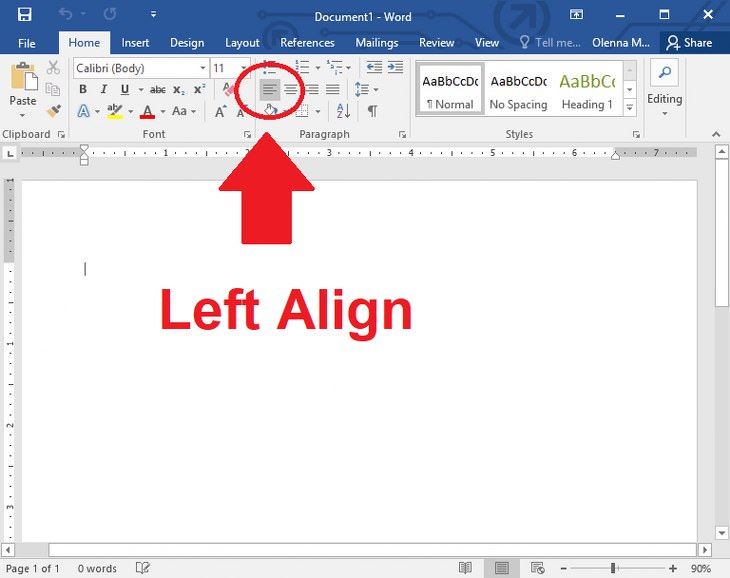
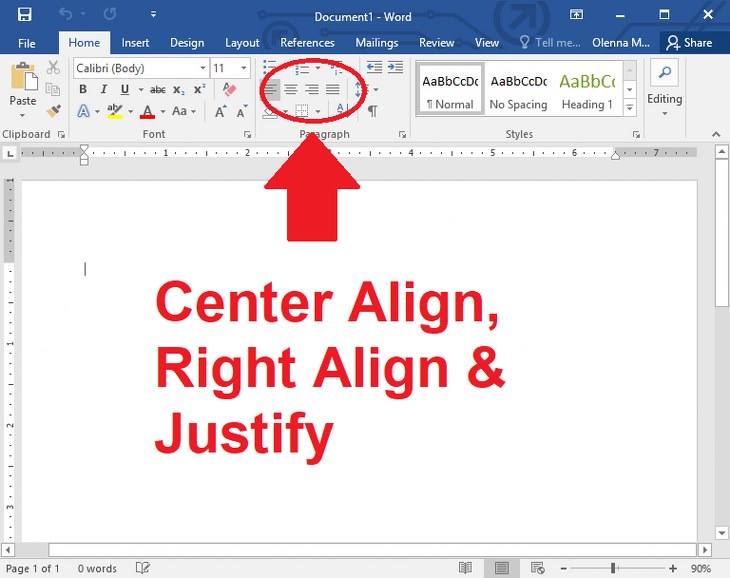
Sometimes, a document that you're busy working on may call for different text layouts to be used. The default layout is for the text to be left-aligned. However, you can also make the text center-aligned or right-aligned if you so desire. You can also justify the text, which means that it will be evenly aligned from one side of the page to the other.
When you open up a new Word document, you'll find that it is left-aligned, as shown below:
7. Creating Numbered or Bulleted Lists
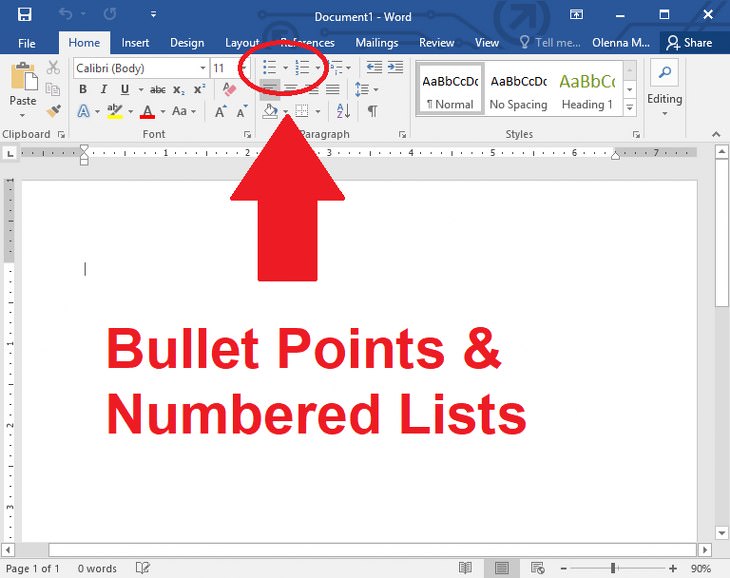
Making use of bulleted or numbered lists can help you show important steps or make certain points stand out within a Word document.
First of all, to create a list, either click on the 'bullet point' button or the 'numbered list' button, as can be seen here:
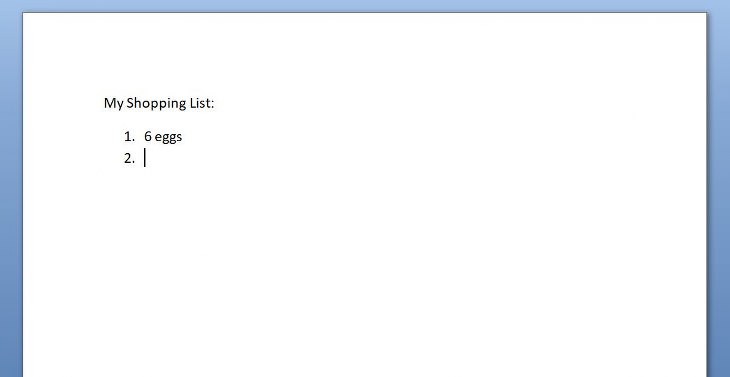
You'll keep on adding point after next until you click on the 'bullet point' button or the 'numbered list' button once again, after which you'll go back to typing regularly.
8. Printing a Word Document
If you want to print out a Word document, you'll first have to make sure that you've got a printer set up and connected to your computer.
Once you're ready to print your document, click on 'File' in the top-left corner of the page, and then click on print from the menu that opens up. It should look something like this:
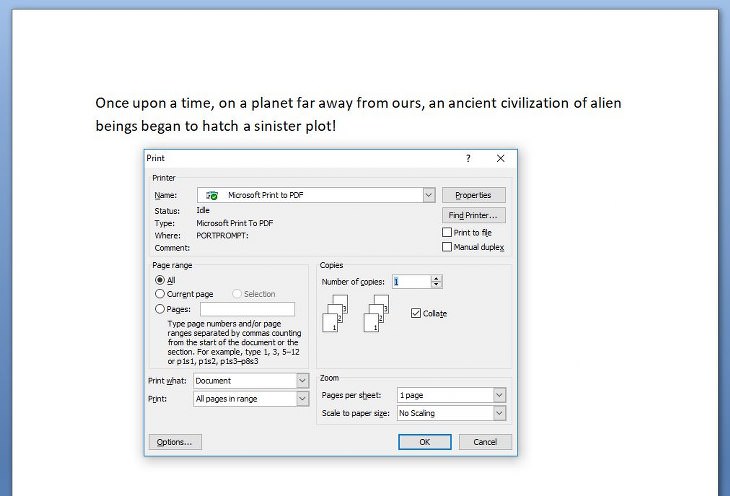
From here, you'll be able to choose from a number of different options, such as ink quality, number of pages, page orientation, paper size, etc...
When you're pleased with your settings click on the print button, and your document should soon slide out of your printer's tray.
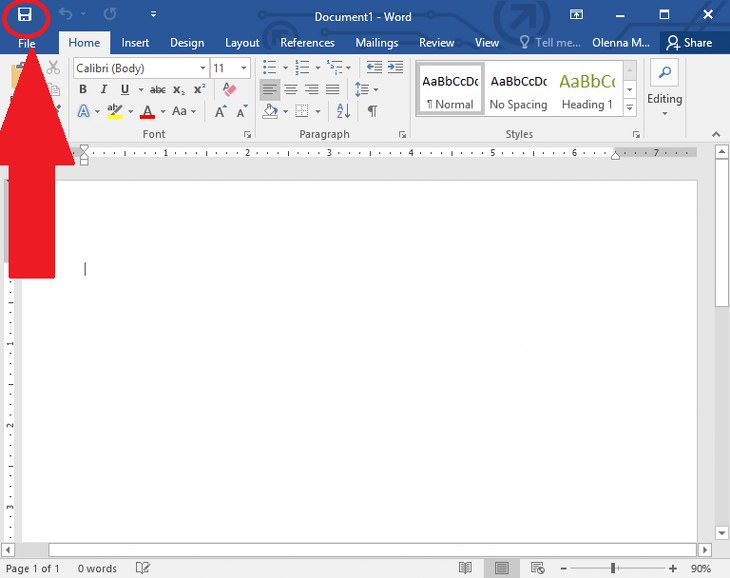
9. Saving a Word Document
No matter whether you're writing a cute love letter or a groundbreaking manifesto, you'll probably want to save it at some point or another. To do this, click on 'File' in the top-left corner of the page, and then click on 'save' from the menu that opens up.
You'll now be presented with a dialogue box that should look something like this:
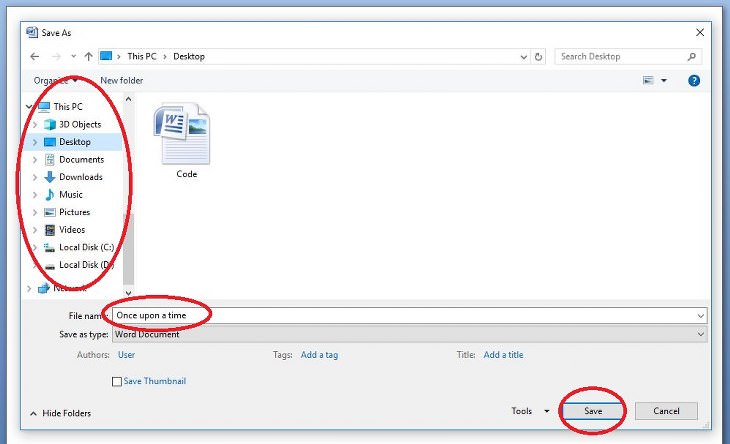
At the top, and at the left-hand side of the box it will show you the folder where your document will be saved. You can change this folder, by clicking on another folder from the list, such as 'Documents' or 'Desktop'.
You can also change the name of the Word document if you don't like the one which was automatically generated for you.
Once you're happy with the name and destination folder, simply click on 'Save' to safely save your work.
It's important to note that this process only needs to be done once per Word document. When you need to save your work again, simply click on the 'save' button to automatically overwrite your previous saved file: