1. Pressed Flowers
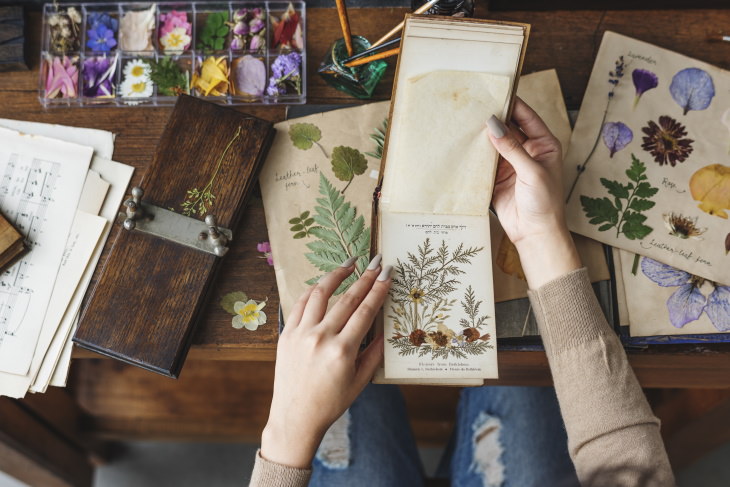
The art of deliberately created pressed flower arrangements goes back to 16th Japan and China, where preserving and combining flowers into beautiful bouquets had been elevated to a traditional art form known as oshibana (押し花), which means “pressed flowers” in Japanese.
To this day, pressing is one of the most popular methods of preserving flowers, as they can be then used in crafts, preserved in resin, or arranged and places in a transparent glass frame, for example. Here are two techniques for making pressed flowers at home.
The easiest way to create pressed flowers is to take a big book like an encyclopedia, open it up and line it with a sheet of parchment or wax paper on both sides, and place the flowers in-between the sheets face down without overlapping. You can then close the book and wait 7-10 days before taking a peek. The finished flowers will have no moisture left, will be completely flat, and they will have a thin and papery texture. Admittedly, this method takes a lot of time, so if you need some pressed flowers pronto, you can also dry them in a microwave.
For this technique, all you need are some paper towels or a coffee filter, a bowl, or any other microwave-safe container or plate, some flowers, and of course, a microwave. Once you've collected all the supplies, follow these steps:
1. Set your microwave to the low (defrost) setting.
2. On a paper towel sheet or a coffee filter, arrange the flowers so that they don’t overlap. Cover with another piece of paper towel or coffee filter.
3. Place everything in the microwave and then put a plate or container on top. Turn on the microwave for a minute to start and then check. The blooms should be completely dry and flat. If they're not, give them another minute or two in the microwave. That’s it, your pressed flowers are ready!
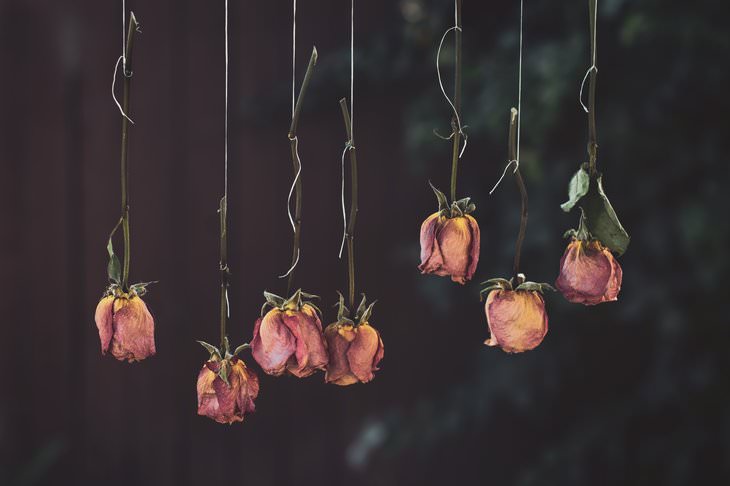
2. The Hanging Method
This method is one of the easiest and most traditional ways to preserve flowers, most often used to dry entire bouquets. All it requires is for you to take the bouquet (secured together with a rubber band or thread) or single flower and hang it upside down in a well-ventilated area.
Within a few weeks, the blooms will change color and shrink a little, and you will have a beautiful bouquet you’ll be able to use indefinitely. To preserve the color and shape of the flowers, dry and keep them out of direct sunlight.
3. The Oven Method
Don’t have several weeks to dry your blooms? No worries, you can easily speed up the process by drying them in the oven! The advantage of the oven method is obviously that it’s fast, but using this method, you won’t be able to preserve the stems and leaves of the plant, so it’s better used for crafts and potpourri.
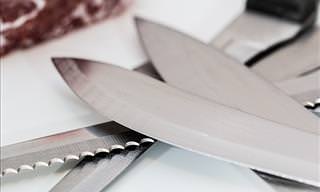
Sturdier, bigger flowers like rose, sunflowers, and chrysanthemums can also handle this technique better, as tiny blooms are more prone to burn. For this method, all you’ll need is a knife, an oven, and some baker’s drying racks. Here are the steps you'll need to follow:
1. Trim off the stems of the flowers, leaving only the bloom.
2. Spread the flower on the drying racks so that they don’t touch.
3. Set your oven to the lowest setting and bake the flowers for 1-1.5 hours, checking every 30 minutes to make sure they don’t burn.
4. Some flowers may dry quicker than others. Make sure to take out the smaller blooms that have dried quicker separately. Let the blooms that are out to cool, et voila, you have yourself some beautiful dried flowers.
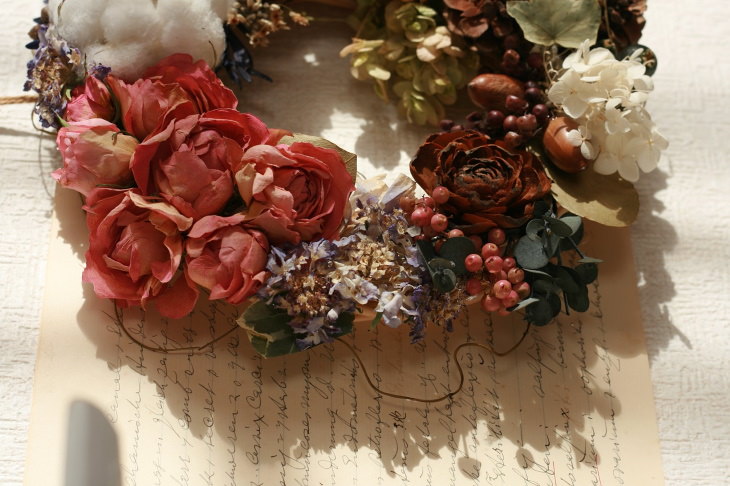
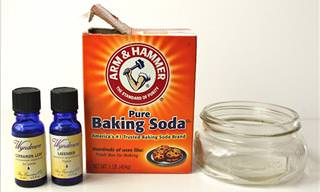
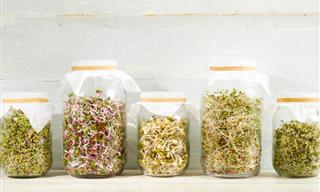
4. Preserve Flowers with Silica Gel
An amazing way to preserve your flowers as they were when they were freshly picked is with the help of silica gel. Not sure what it is? Do you know those little bags filled with little marbles in shoeboxes that keep shoes dry? Well, that’s silica gel. But don’t worry, you won’t need to rob the shoe store to get your hands on it - silica gel is widely available at craft stores.
Like the oven method, this technique works well with sturdy flowers like roses, for example, and it’s really easy. Simply take a large container, fill it with silica gel, bury your flowers in it, and top the container with a lid (this last part is optional). Just a few days later, or a week max, your blooms will turn into surprisingly vibrant preserved flowers.
5. Dipping in Wax
Preserving flowers with wax is one of the most unusual techniques, and admittedly, it does require a bit of trial and error (which is exactly why we have added a video tutorial below). However, the little extra effort is worth it, in our opinion, as the resulting waxed flowers are virtually indistinguishable from fresh ones.
To follow this method, you’ll need some wax, of course. Either melted paraffin wax or soy wax can be used, but soy wax is considered more eco-friendly. And yes, you can reuse old candles for this method. You’ll also need some newspapers to protect your work surface from the wax, and a few glass bottles, in which you’ll leave the waxed flowers to solidify.
Simply dip each flower in melted but not overly hot wax, and then swirl around over the bowl with wax to make sure the entire bloom and all the petals are evenly coated in wax. As the last step, place the flowers carefully in the bottle and let dry. Double-dipping is also an option, but let the wax dry first before you decide to add another layer.
Waxed flowers will typically last for about a month or two, but there’s also a way to preserve them indefinitely. To do so, place the fresh flowers you’d like to preserve in a vase and instead of water, feed the flowers 2 parts warm tap water to 1 part glycerin. You can then proceed to dip the flowers in wax 3-5 days later.
Share this article with those who love arts and crafts!