
A sturdy dresser can outlast its fashionable finish by decades. So can the kitchen chairs you still find comfortable or the little table that fits perfectly beside your favorite armchair. Painting gives these pieces a fresh look without replacing furniture that still does its job. The trick is choosing a finish that suits the surface and giving the preparation enough attention. A pine chest, a varnished oak table, and a cabinet covered in laminate may look equally ready for a makeover, but they need slightly different treatment.
Look at an unfinished underside, a drawer opening, or an exposed edge. Solid wood has natural grain throughout. Veneer is a thin layer of real wood bonded to another material. Laminate is a manufactured surface, often printed to resemble wood. A single piece can combine several materials, so inspect more than the top.
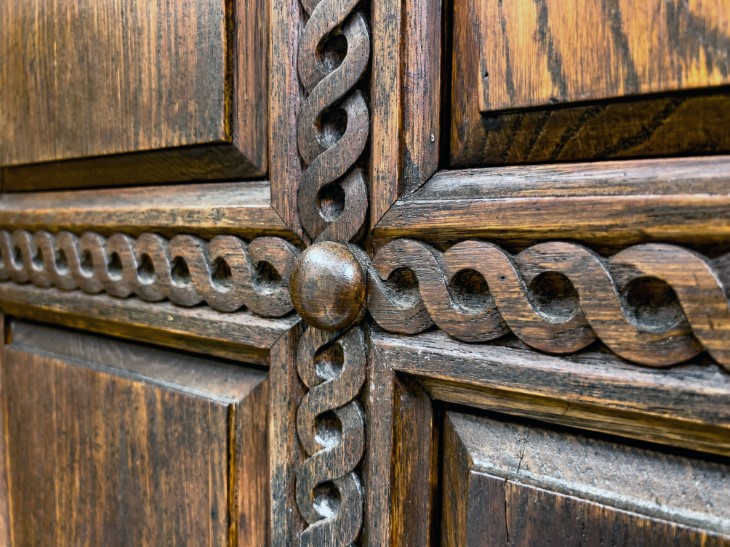
Also check the condition. Tighten loose hardware, repair wobbly joints, and secure lifting veneer before painting. Paint will not stabilize a loose chair or repair crumbling particleboard. If the piece might be a valuable antique, get advice before covering or removing its original finish.
Older painted furniture can contain lead. If its coating is old or its history is unknown, have it assessed before sanding, scraping, or stripping. Do not assume that a newer coat has made the layers underneath safe to disturb.
Pine: Knots are the main complication. Resin and staining around them can show through new paint, particularly white or cream. Use a primer specifically rated to seal knots; a shellac primer is a common option for indoor work. Pine also dents easily, so use light sanding pressure and fill damage you want to hide.
Oak and ash: Their open pores can remain visible as texture after painting. That is perfectly acceptable if you like the character of the grain. For a smooth, nearly glasslike surface, use a compatible grain filler before the finishing coats, following its preparation sequence. Extra paint alone is a poor substitute. Oak can also bleed tannins through pale colors.
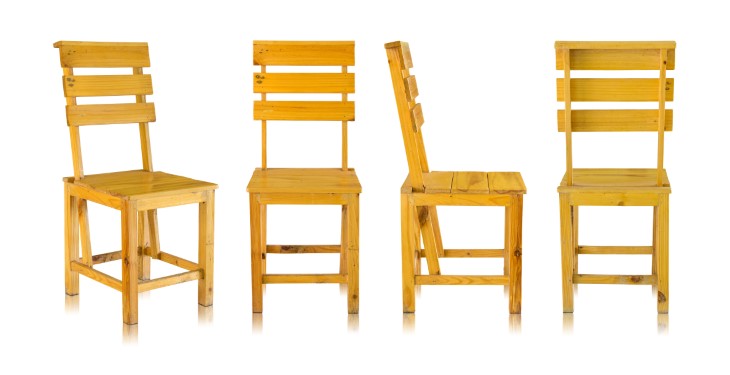
Maple, birch, and poplar: These generally offer a finer texture, making them useful candidates for a smooth painted finish. Concentrate on removing surface gloss, smoothing repairs, and choosing an appropriate primer. A factory coating on a maple dresser still needs attention even though the wood underneath is fine grained.
Cherry, mahogany, and walnut: Before hiding an attractive natural finish, consider whether cleaning or refinishing would achieve the change you want. If you do paint, test the complete primer and paint system in a hidden area. Natural extractives and old stains or dyes can discolor light finishes; some old mahogany furniture is particularly troublesome.
Teak: Natural oils can interfere with adhesion or drying of some finishes. Treat it as a special case and get a coating system specifically recommended for oily wood. Follow its cleaning instructions instead of improvising with household solvents.
Veneer can be painted much like solid wood, but its thin surface makes aggressive sanding risky. Hand sand gently, especially around edges, and avoid soaking it during cleaning.
Laminate presents a different problem: paint must grip a slick manufactured surface. Clean it, scuff it only as directed, and use a bonding primer explicitly suitable for laminate. Test adhesion on an inconspicuous spot after the specified drying period. A primer suitable for bare timber is not automatically suitable for laminate.
MDF has smooth faces but absorbent cut edges. Use a primer or sealer rated for MDF, give exposed edges particular attention, and smooth any raised fibers after drying. Avoid saturating MDF or particleboard with water. Swollen, crumbling edges need repair or replacement before a paint finish will look convincing.
For a dresser, bookcase, chair, or desk used regularly, a good default is a water based enamel labeled for furniture, cabinets, doors, or trim. Depending on the product, this may be an acrylic enamel, a urethane modified enamel, or a waterborne alkyd. The important qualities are adhesion, washability, and resistance to sticking when painted surfaces touch.
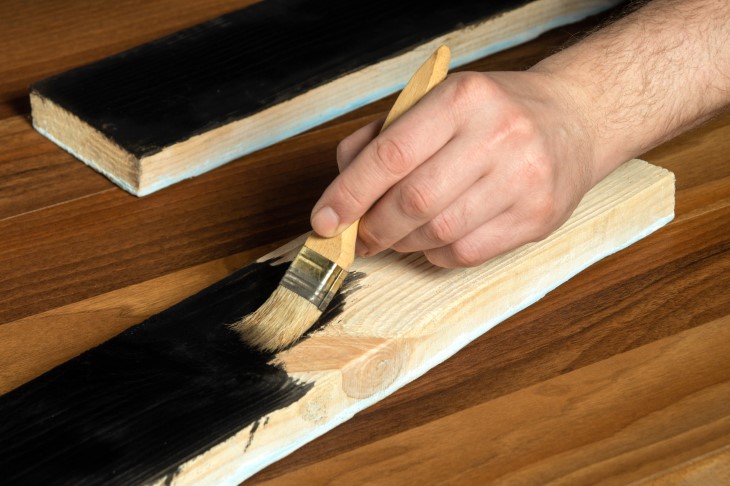
Benjamin Moore ADVANCE and Sherwin-Williams Emerald Urethane Trim Enamel are examples their manufacturers recommend for furniture projects. They are options, not interchangeable recipes: check each product's primer requirements, recoat interval, and curing instructions. Ordinary flat wall paint is generally a less suitable choice for heavily handled furniture.
Chalk style paint suits a matte, decorative or deliberately distressed look. Depending on the product and intended use, it needs wax or a compatible protective coating. A waxed finish can be attractive on a bedroom piece, but a frequently wiped dining table calls for closer attention to the manufacturer's durability recommendations. Claims of minimal preparation do not mean you can ignore grease, loose paint, or bleeding stains.
Traditional oil based enamel can produce a smooth, hard finish, but solvent cleanup, fumes, and potential yellowing make it less convenient for many home projects. For most beginners, a suitable water based furniture enamel is a more practical starting point.
Satin is a useful everyday choice: it has a gentle sheen without drawing as much attention to small imperfections. Semigloss looks brighter; high gloss emphasizes scratches, dents, and uneven preparation. Durability depends on the paint formulation, not just the sheen.
Have your primer and paint ready, along with a suitable cleaner, lint free cloths, wood filler, sanding pads, a good brush, a small roller recommended for the coating, painter's tape, and a drop cloth. A screwdriver and labeled bags keep hardware organized. Keep the product labels or technical instructions nearby.
Work with adequate ventilation. Wear eye protection and appropriate protection against sanding dust; follow the coating label for any additional respiratory protection. A dust mask does not filter solvent vapor. Keep children and pets away from dust and wet coatings, and keep flammable products away from ignition sources.
First, remove handles, knobs, and any doors or drawers that are easier to paint separately. Photograph hinge positions and label matching parts. Mask areas that should stay unpainted, including drawer slides and other moving hardware.
Clean before sanding. Hand oils, kitchen grease, wax, and polish residue can undermine adhesion. Use a cleaner suitable for the existing finish and your coating system, remove residue as directed, and let the piece dry. Wax or silicone contamination may require specialist preparation; sanding alone can spread it.
Next, fill unwanted holes and dents with a paintable wood filler. Allow it to dry completely and sand it flush. Do not use filler as a substitute for gluing and clamping a loose joint.
Once lead concerns have been resolved, remove loose or flaking finish and smooth the edges that remain. For a sound painted or varnished surface, a light scuff with roughly 180 to 220 grit paper is often enough, subject to the primer instructions. Work with the grain on exposed wood and use a sanding pad around details. You generally do not need to strip a firmly attached finish back to bare wood. Remove dust thoroughly before proceeding.
Primer does several different jobs. A bonding primer helps paint grip a difficult surface. A stain blocking primer limits discoloration from tannins, knots, or old stains. A primer for porous wood helps create an even base. Some products cover several needs, but read the label rather than assuming that all primers do everything.
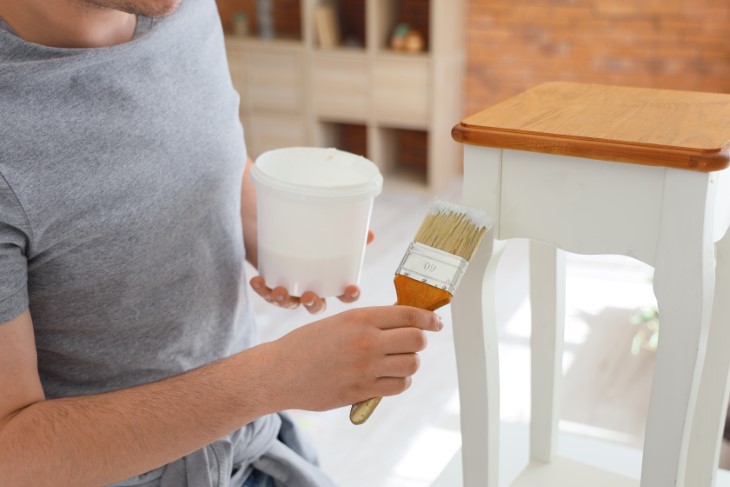
For knotty pine or troublesome staining indoors, a compatible shellac based stain blocker is one possible choice. For laminate or a slick existing finish, prioritize adhesion. For bare wood, choose a suitable wood primer with stain blocking ability where needed. A paint labeled “paint and primer” does not automatically replace these specialist functions.
Apply an even coat and follow the specified drying time. If staining appears, resolve it before applying the color coats. Where the instructions allow, lightly smooth dried primer to remove raised fibers or dust nibs, then remove the sanding dust.
Stir the paint thoroughly. Brush recesses and moldings, then use the recommended small roller on broad surfaces. Maintain a wet edge, finish one manageable area at a time, and inspect underneath edges for drips. Follow the grain where practical.
Aim for thin, even coats. Loading on extra paint to finish in one pass invites runs and a softer, uneven surface. Stop brushing once the paint begins to tack up; repeated touching can leave marks. Two coats are common, but the color and product determine coverage. Let the first coat dry for the full stated recoat interval.
If a drip hardens, allow the coating to become sandable, smooth the defect, remove the dust, and repaint that area. Avoid painting in direct hot sun, damp conditions, or temperatures outside the label's recommended range.
A durable furniture enamel often serves as the final finish and does not automatically need varnish on top. A decorative paint may need a protective finish. Check the specific product system before adding another layer.
When a clear finish is recommended, use one confirmed compatible with your paint and intended use. Test it first: it can change the sheen or color, and even a water based clear coat can contribute to discoloration over white paint on some wood or old finishes. Do not assume that “clear” guarantees an invisible result.
Dry to the touch, ready to recoat, and fully cured are different stages. A surface can feel dry while remaining soft enough for a lamp base to leave an imprint or a drawer front to stick. Follow the manufacturer's return to service and full cure instructions; depending on the coating and conditions, curing can take days or weeks.
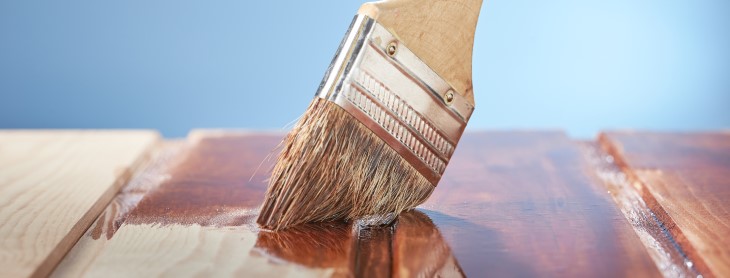
Until then, handle the piece gently. Avoid heavy objects, aggressive cleaning, and prolonged contact between freshly painted surfaces. After curing, use coasters and protective pads, wipe spills promptly, and clean with products suitable for the finish.
For furniture that lives outdoors, choose an entire coating system rated for exterior use and appropriate for that furniture. An indoor finish does not become weather resistant simply because you add another coat.
Peeling usually points to an adhesion problem or an unstable layer underneath. Remove the failed coating, identify the contamination or preparation issue, and correct it before repainting.
Yellow or pink patches often indicate bleed through. More color coats may hide them temporarily without stopping the cause; revisit the stain blocking primer.
Sticky drawers can result from incomplete curing, excessive coating thickness, or paint on sliding surfaces. Allow proper curing and keep moving parts clear of buildup.
Grain showing through oak is often normal texture. If you want a flatter surface, address the pores with grain filler rather than repeatedly adding paint.