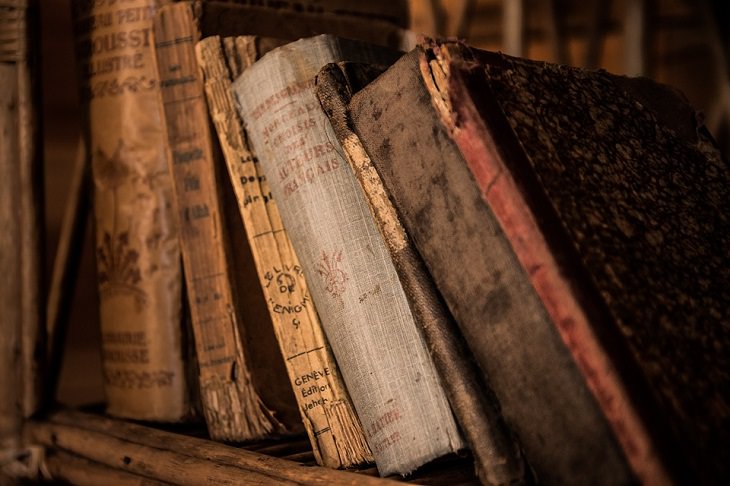
Book lovers often find that books can be more enjoyable than movies because they allow for personal interpretation and imagination. However, once a book has been read, it often ends up collecting dust on a shelf. Rather than throwing them away or simply donating them, there are creative ways to repurpose old books. In this article, we'll explore 7 solutions for reusing old books and turning them into useful objects that can upgrade your life and home.
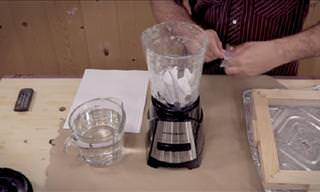
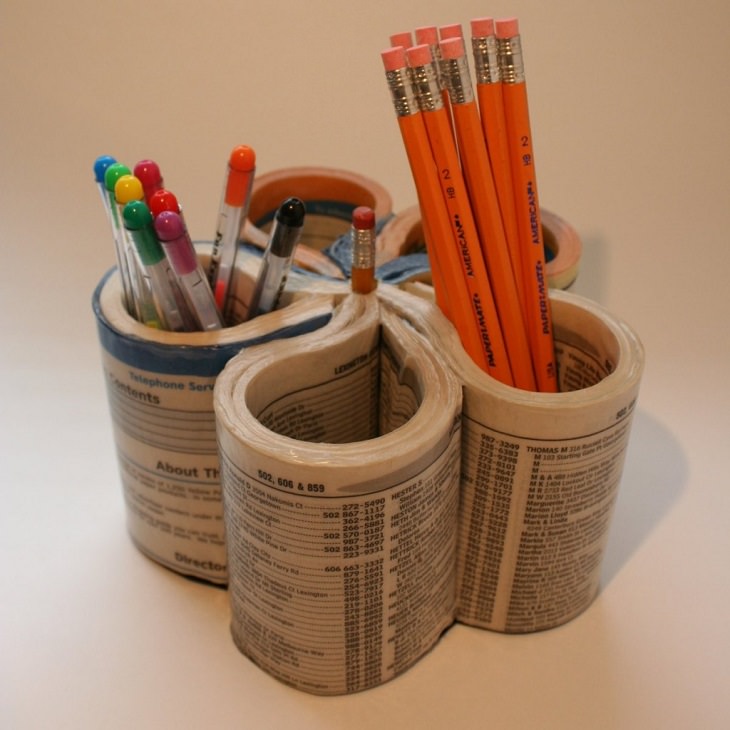
1. Pencil stand
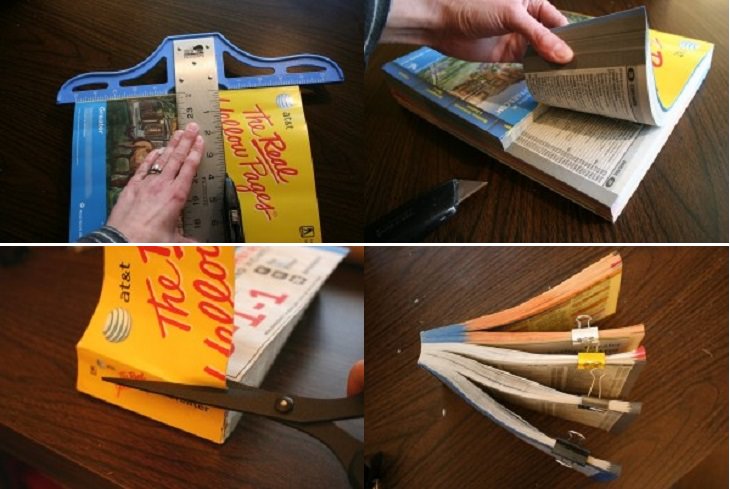
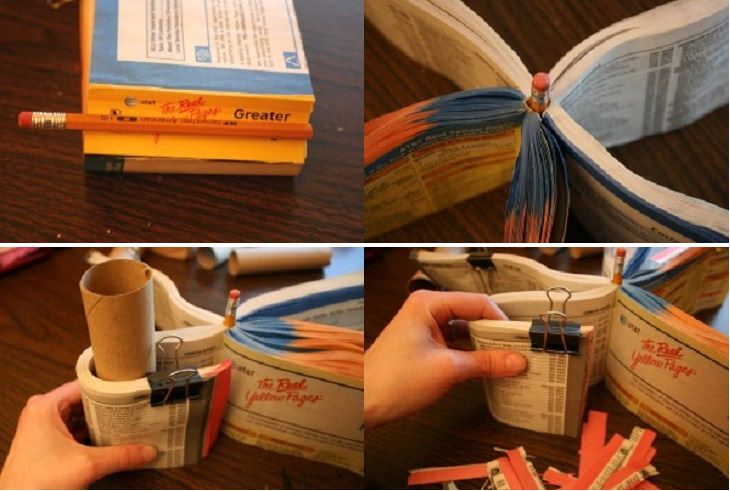
To make a pencil stand, you'll need an old book, a Japanese knife, paper clips, a ruler, craft glue, a brush, scissors, a cardboard roll of toilet paper, and thick paper or cardboard.
Firstly, cut the book to the desired size for the stand using a Japanese knife and ruler to keep the cut straight and obtain the desired height (between 4-5 cm). Make sure to cut the spine of the book carefully. Then, cut the front and back cover of the book as close as possible to the spine.
Next, separate the pages of the book into five groups and keep them separated with paper clips. Take a pencil, cut off its narrow end, and glue it to the spine of the book so that the eraser protrudes beyond the height of the cut book.
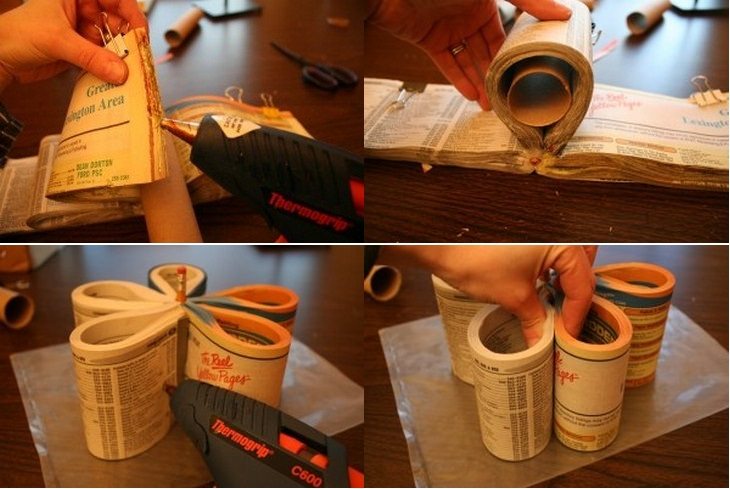
Apply glue around the glued pencil and fold the book's spine around it. Hold it in place until the glue sets.
To create a stand for your book or tablet, take a cardboard roll of toilet paper and wrap one of the sets of pages around it, making sure to secure them tightly with a stapler or fastener. Glue the edges of the paper group inwards towards the center of the stand, and repeat the process until all the edges of the sets of pages are glued to the center of the stand.
Apply creative glue to the stand with a brush to maintain its rigidity, and wait for it to dry before applying a second layer of glue to fill in any remaining spaces. Cut a piece of thick cardboard or paper to fit the bottom of the stand, and secure it with two layers of craft glue. Once dry, the stand is ready to use.

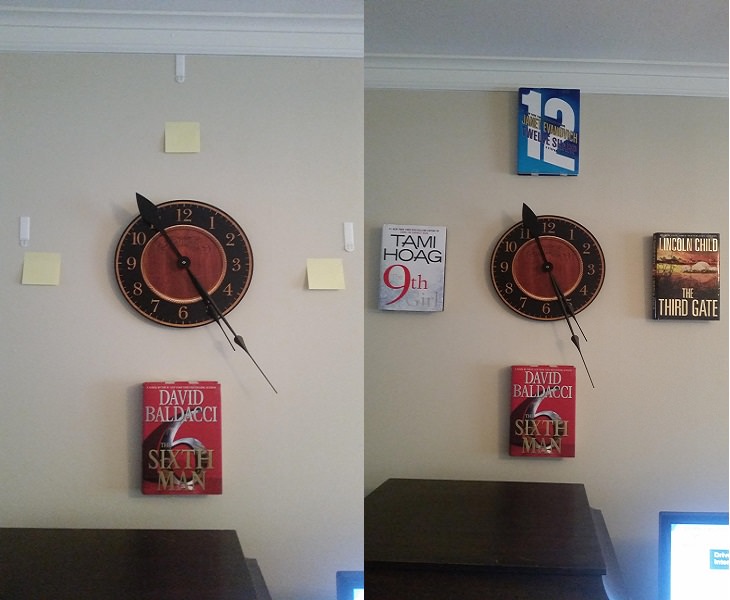
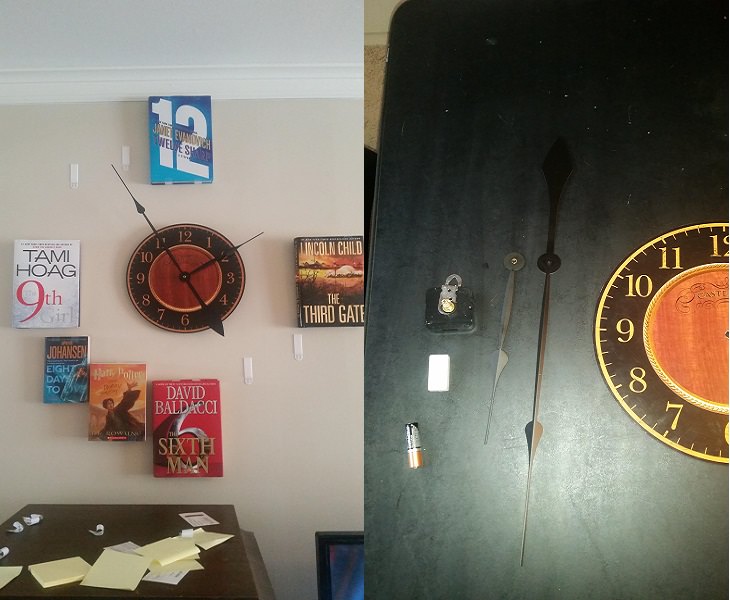
2. Wall clock
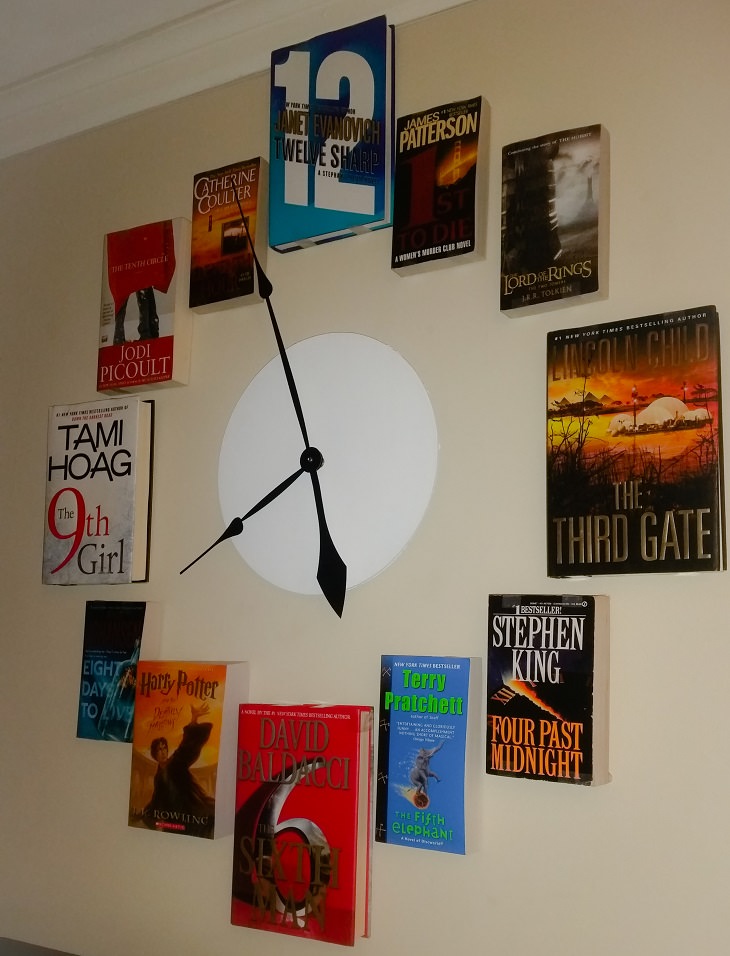
To add more charm and appeal to your home, consider incorporating a clock into your decor. A clock made of numbers can take this idea up a notch and make it even more impressive. To create this unique clock, you will need 12 old books, a clock with a working mechanism and large hands, sellotape paper, double-sided glue, a brush, paint of your choice, a hammer, and a nail.
- Begin by selecting different old books and adhering them with scotch tape to prevent them from opening.
- Hang the clock in the center of your desired wall and attach one of the books to the position of the number 6 at the bottom of the clock using strong double-sided glue.
- Next, stick three more books at the position of numbers 3, 9, and 12 at the same distance from the center of the clock to create a foundation for the rest of the books. You can use stickers to mark the desired location of the books.
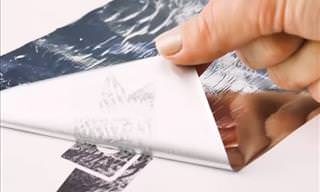
3. Photo frames
Instead of using ordinary photo frames, consider using old books to give your photos a unique look. To do this, you'll need a few old books, thread, a button, scissors, craft glue, cardboard, and felt fabric.
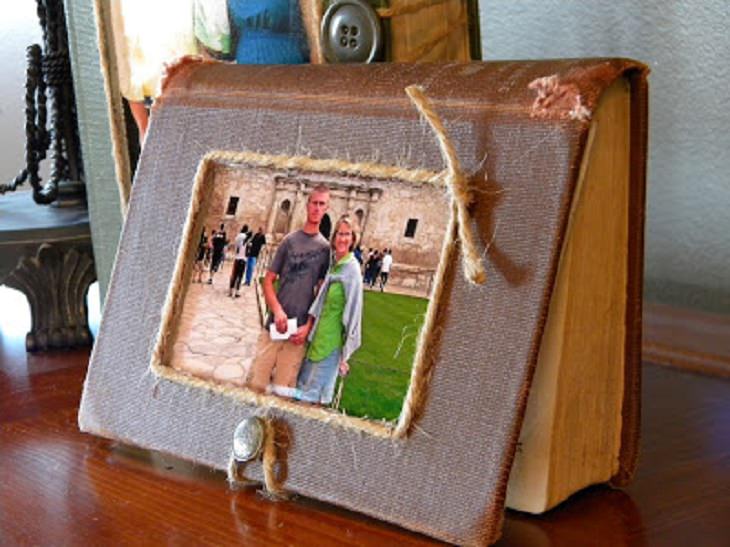
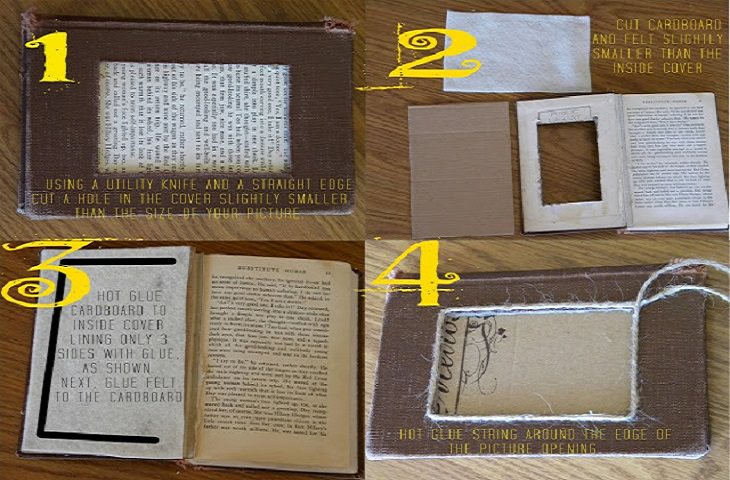
- To frame a photo using a book cover, start by cutting an inner square or rectangle inside the cover. Make sure it's a little smaller than the size of the photo you want to frame. Then, cut the felt fabric and cardboard slightly smaller than the book cover and glue the cardboard to the inside of the book cover. Glue only three edges so that the inner edge is loose, and attach the felt fabric to the cardboard.
- Next, glue a string to the outer frame and a raised button at the bottom to position the desired image. Create a loop of yarn and attach it to the inside of the back cover of the book. Glue the back cover to the book, and insert the desired image between the cardboard and the frame.
- Close the thread loop from the back cover on the front button so that the book doesn't open. Now, you can display your homemade photo frame in your desired location and enjoy the compliments.
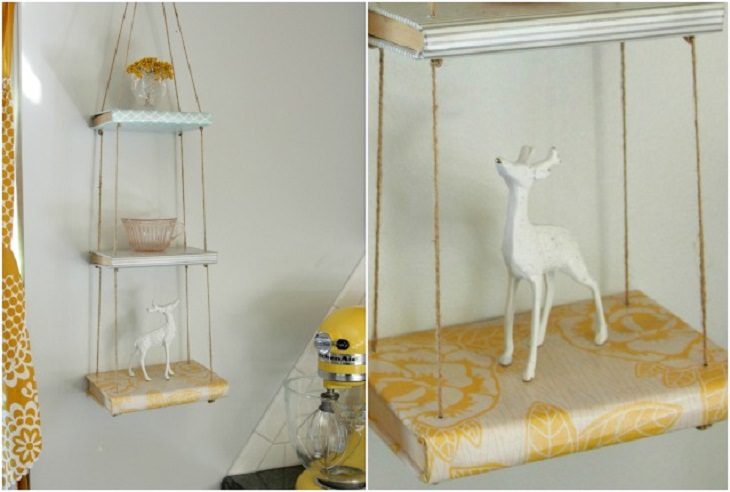
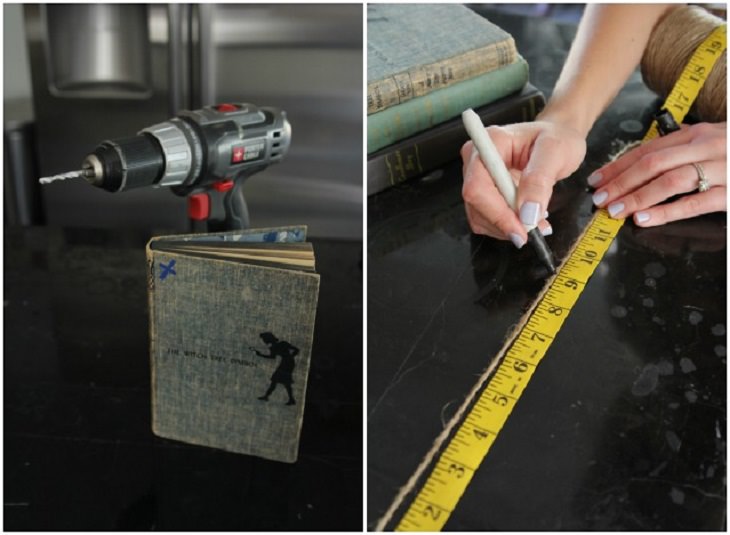
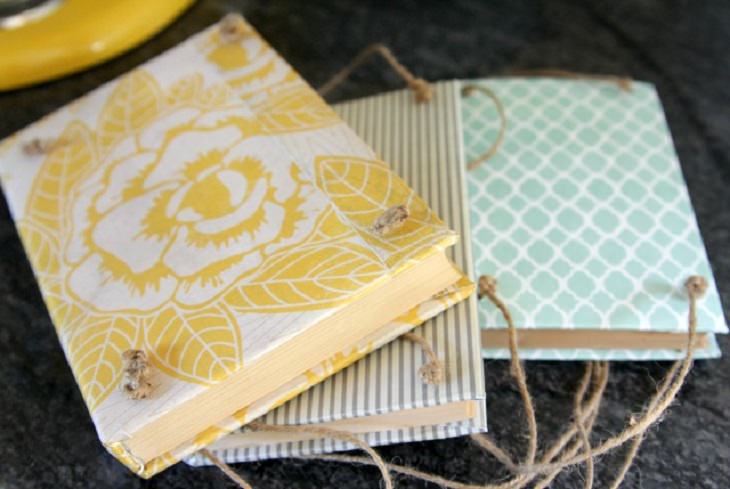
4. Shelves
For a simple storage solution that adds creativity and color to your home, consider using shelves made from old books. To make these shelves, you'll need three old books, a drill, a hanging hook, a nail, colored paper, craft glue, and thread.
- To create bookshelves out of your books, mark four drilling points on the edges of each book while maintaining a distance of 1-2 cm from the cover edges.
- Use a drill machine to carefully drill through the markings, ensuring a stable and safe working environment. After drilling, cover the book cover with thick colored paper using craft glue and let it dry.
- Make small holes in the colored paper where the drill holes are and thread four wires through them to connect the books and turn them into shelves.
- Thread the books onto the wires one by one, spacing them apart by making knots between them. Recommended spacing between books is 9-12 cm.
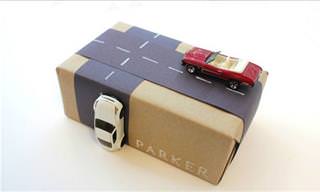
5. Mobile phone docking station
To protect your mobile phone from accidental falls and damage, it's recommended to create a docking station using an old book. Gather your materials, including the book, scissors, sandpaper, Japanese knife, ruler, cardboard, and craft glue. 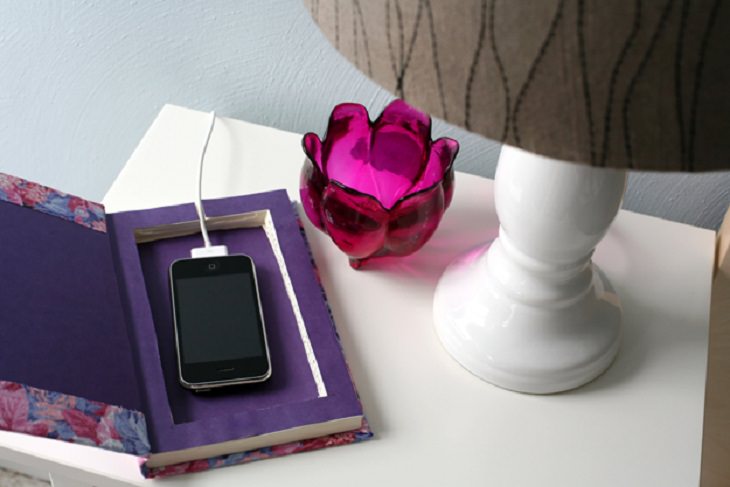
- With the ruler, mark the inner frame of the docking station, ensuring to keep a safe distance from the edges of the pages. Use the Japanese knife and ruler to cut the pages along the markings, being sure to place cardboard between the last pages to avoid damaging the back cover. This DIY project will provide a secure place for your mobile phone while charging.
To create a docking station out of an old book, start by removing the unnecessary inner pages with scissors or sandpaper.
- Glue the remaining pages together with craft glue and place heavy books on top to let it dry. Then, using a Japanese knife, create a thin opening for the charging cable to pass through. This unique docking station can also be used as an extra storage box at home.

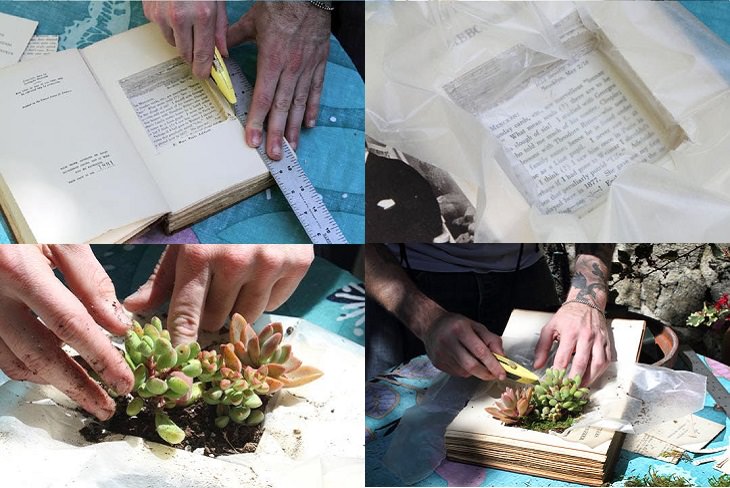
6. Pot planter
If you're looking to add some color to your house, consider using pot planters to decorate. To create a unique look, combine books and plants. To get started, gather a ruler, a Japanese knife, opaque nylon, a plant that doesn't require much water (like a succulent), soil, and scissors.
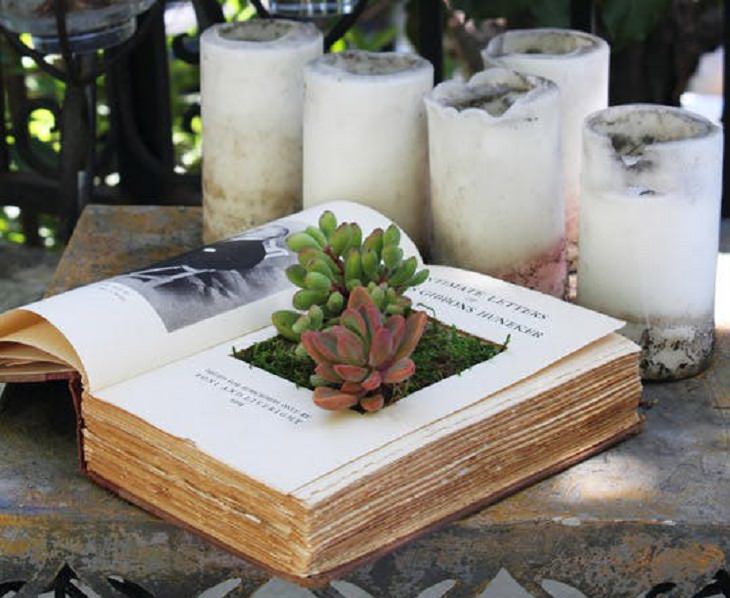
- To create a book planter, start by marking the inner frame you want to cut with a ruler. Be mindful of the planter size and leave space for an inscription if desired. Carefully cut the pages to your desired depth, making sure not to cut the first pages.
- Then, insert an airtight nylon to prevent water leakage and fill the hole with soil.
- Plant your desired plant and fill the remaining hole with soil.
- Cut off any excess nylon and place your book planter in your desired location.
- Water your plant once a week with a squirt bottle.
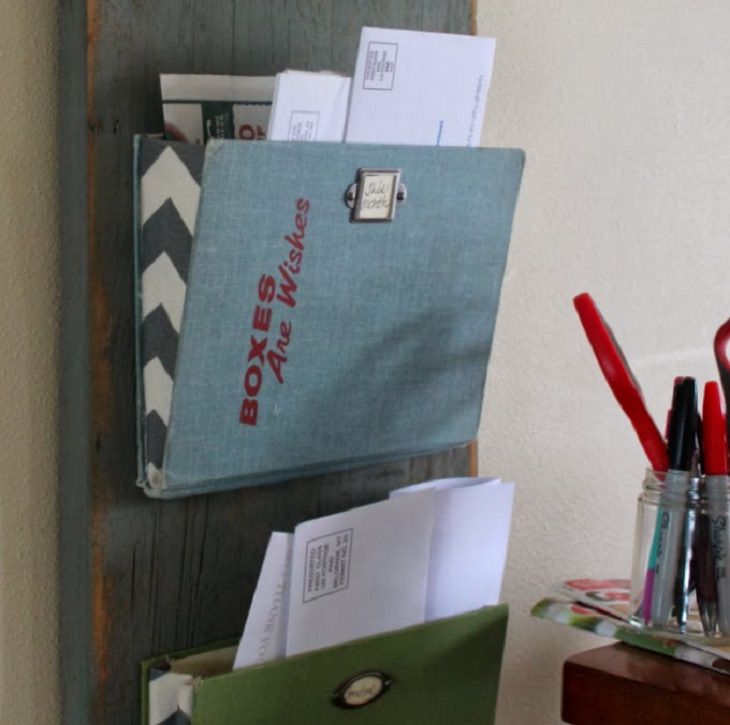
7. Letter box
Say goodbye to scattered letters with this letter keeper. Keep all your letters in one place with a stylish design item for your home.
You will need a few items before starting this project. Make sure you have enough books for the number of storage places you want. You will also need frames for iron labels, screws or nails, a drill, colored fabric, scissors, and craft glue.
- Start by separating the covers from old books.
- Take a frame for iron labels and place it on top of the cover where you want it to be located.
- Mark the desired drilling position according to the hanging holes of the label.
- Drill two small holes through the book cover and attach the label frame with small screws.
- Take a colored fabric strip and fold it in half to make a thick strip.
- Cut two strips to the length of the front or back cover of the book. Glue the two fabric strips to one side of the book cover, making sure not to glue the spine. Then, pick up the other side of the cover and glue the rest of the fabric strip to it.
- To organize your letters, first, glue the fabric strip to the cover strip.
- Then, position the books on the wall where desired (preferably on a wooden plank). Proceed to drill small holes and secure the books to the wall using screws.
- Finally, label the books with categories such as "Accounts", "Insurance", and "Personal" to keep your letters in a tidy and organized place.
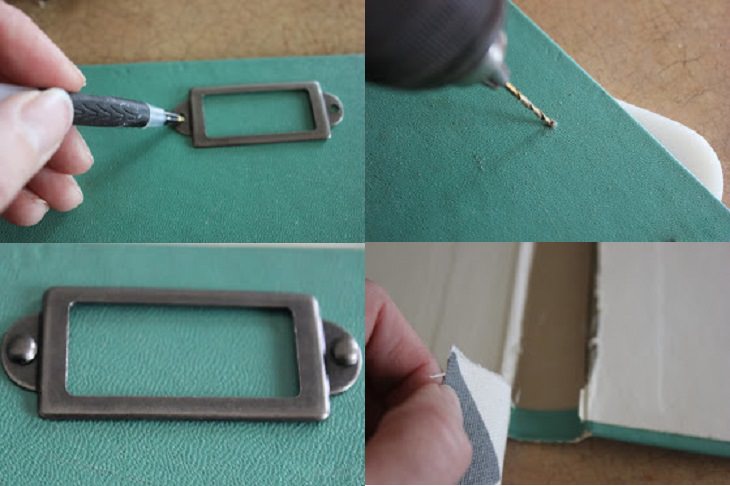
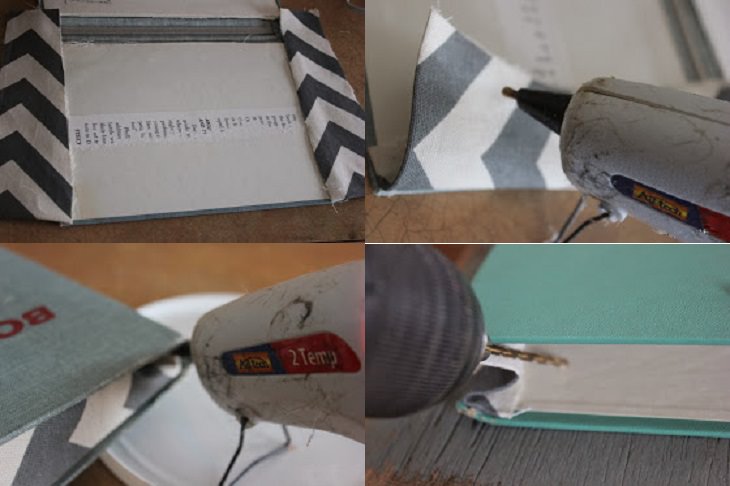
Photo sources: chicaandjo, imgur, leahkoenig, thedecorfix, caughtonawhim, apartmenttherapy, beyondthepicket