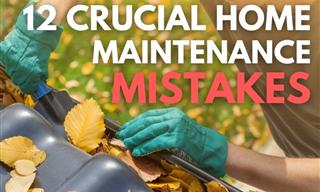
Home DIY is super important. Especially in these tough economic times, you want to be able to solve your own problems. Whether you're a seasoned DIY enthusiast or just starting your home improvement journey, these expert-tested tips will help you tackle common projects with less effort, reduced mess, and professional-quality results while saving you the cost of getting someone to do it for you. The tips covered here span a wide range of projects you're likely to encounter—from painting and wallpapering to fixing squeaky floors and tackling basic plumbing issues. Many will genuinely surprise you with their clever use of everyday household items like sticky notes, rubber bands, toothpaste, and fabric softener in ways you probably never imagined.
Best of all, these techniques are completely accessible. You won't need expensive specialized tools or hours of training. These tried-and-tested methods from experienced professionals will help you save time, money, and avoid unnecessary cleanup, giving you the confidence to tackle projects yourself with professional-quality results.
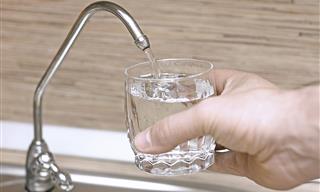
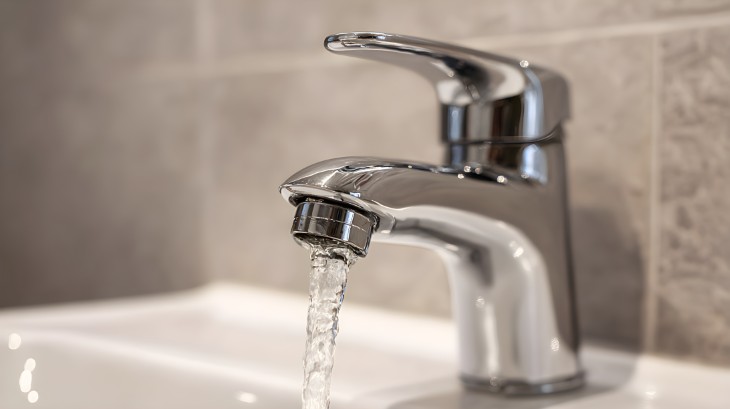
If your sinks and showers have weak water pressure despite good pressure elsewhere in the house, the culprit is likely mineral buildup in the aerators. These small mesh screens at the tip of faucets mix air with water but become clogged with limescale over time. Unscrew the aerator, soak it overnight in white vinegar to dissolve mineral deposits, rinse thoroughly with warm water, and reinstall. This simple maintenance task often restores full water pressure without any plumbing repairs.
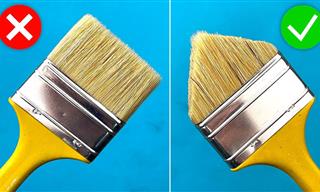
Paint cans often develop messy overflow around the rim, making it difficult to pour cleanly and creating drips down the side of the can. Before you start painting, use a nail to puncture several small holes in the inner groove of the paint can lid—not the outer rim, just the recessed channel where paint tends to accumulate. When you wipe your brush against the rim, excess paint will drain back into the can through these holes rather than pooling and spilling over the edge.
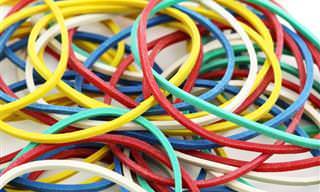
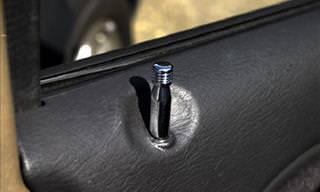
Few things are more frustrating than a screw with a stripped head that won't come out. Before you give up and resort to extreme measures, try this simple fix: place a wide rubber band over the damaged screw head, then press your screwdriver through the rubber band into the screw. The rubber fills in the stripped grooves and provides enough grip to extract the screw. This technique works surprisingly well and can save screws you want to reuse.
When hanging wallpaper, matching patterns between strips can be challenging, especially when working with different rolls. The mistake most people make is trying to align the edges of two separate cuts. Instead, overlap both strips of wallpaper until the pattern matches perfectly, then use a sharp utility knife to cut straight down through both layers simultaneously. Remove the excess strips, and you'll have a flawless, invisible seam where the patterns align precisely.
Multi-day painting projects don't require washing your roller after each session or buying new ones. Simply slip your paint-covered roller into a large resealable plastic bag, squeeze out excess air, and seal it completely. The airtight environment keeps the paint fresh and prevents the roller from drying out for a day or two. This eliminates the tedious cleanup process between painting sessions and saves money on supplies.
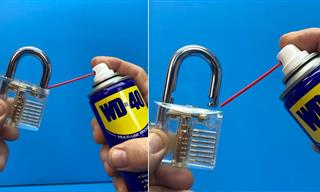
Price stickers and labels often leave behind sticky residue that's nearly impossible to remove with soap and water alone. WD-40 provides an effective solution: spray a small amount onto a paper towel and wipe the adhesive residue away. The formula breaks down the sticky compounds without damaging most surfaces. After removing the residue, wash the area with soap and warm water to remove any remaining WD-40. Always test on an inconspicuous area first, especially on delicate surfaces.
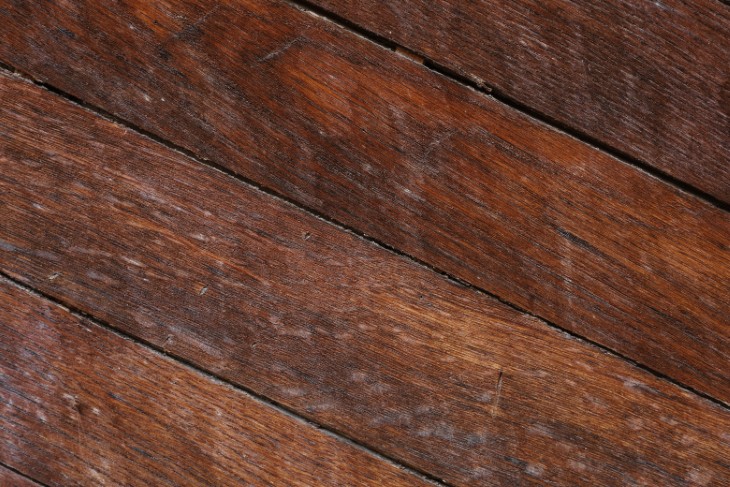
Wooden floors naturally expand and contract with temperature and humidity changes, often resulting in annoying creaks and squeaks. While many people use nails to secure loose boards, screws provide a more permanent solution. Floor screws grip more tightly than nails and won't work loose over time. For best results, use screws specifically designed for flooring, which feature a reduced thread near the head that pulls the board tight against the joist, eliminating movement and noise.
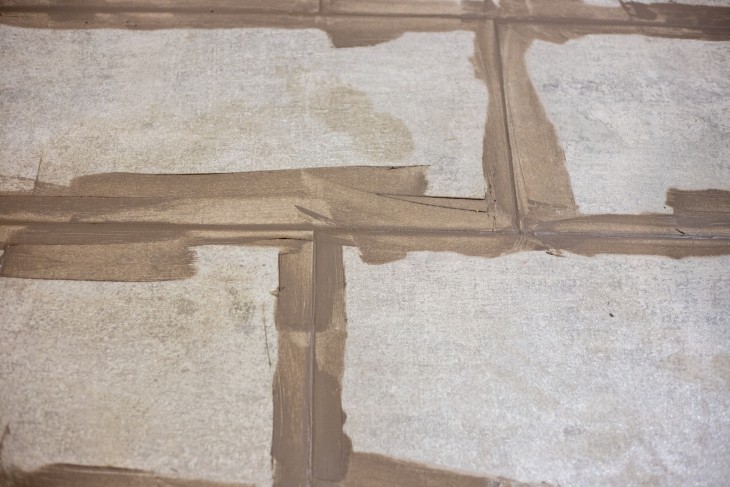
Standard grout in bathrooms and other high-moisture areas tends to crack over time, allowing water to seep behind tiles and cause damage. When regrouting, mix a small amount of latex additive into your grout according to package directions. The latex makes the grout more flexible and water-resistant, significantly reducing the likelihood of cracking in wet environments like showers. Apply the enhanced grout mixture with a grout float and wipe away excess immediately to prevent hazy residue on your tiles.
Drilling holes in drywall to hang pictures or install fixtures inevitably creates a cloud of gypsum dust. Instead of letting it fall all over your floor and furniture, take a sticky note and fold it in half. Position it directly beneath your drill point with the adhesive side facing up. As you drill, the dust will collect neatly in the folded note, which you can then simply throw away. This small preparation step saves considerable cleanup time.
Loud banging noises in your pipes when you turn off faucets or appliances indicate water hammer—a pressure surge caused by suddenly stopping fast-flowing water. Water hammer arrestors provide a cushion that absorbs these pressure spikes, protecting your pipes and eliminating the noise. Install these devices near appliances that use large volumes of water quickly, such as washing machines and dishwashers, as these are typically the source of the problem.
Before painting baseboards, wipe them down with unscented dryer sheets rather than just a damp cloth. Dryer sheets eliminate static electricity and remove fine dust particles more effectively than regular cleaning methods. This preparation step helps paint adhere better and prevents lint and dust from getting trapped in the fresh paint, resulting in a smoother, more professional-looking finish.
Small cracks and gaps in hardwood floors can cause irritating squeaks when walked upon. For a quick fix, sprinkle baby powder into the cracks—it acts as a dry lubricant that reduces friction between boards. For a more permanent solution, apply a thin bead of wood glue into the gaps after adding the powder. The combination provides both immediate noise reduction and long-term stability.

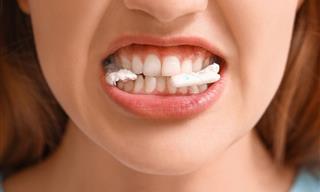
Before drilling holes for picture frames or wall-mounted fixtures, apply a small dab of white toothpaste to the mounting hardware, then press it against the wall where you want it positioned. The toothpaste leaves a visible mark that shows exactly where to drill, eliminating guesswork and reducing the need for multiple attempts. Simply wipe away the mark after drilling, or let it dry and paint over it if you're finishing walls.
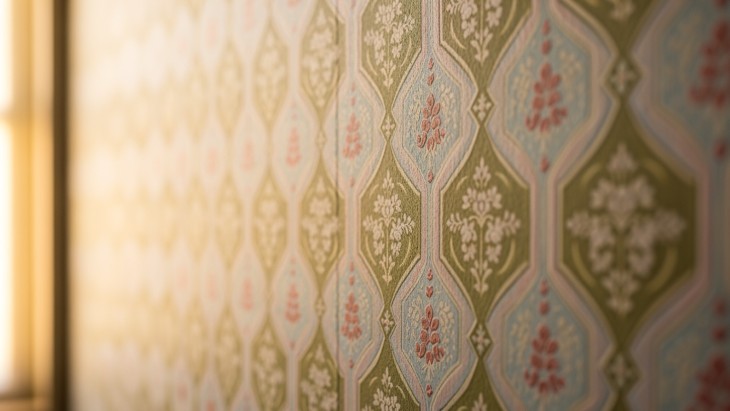
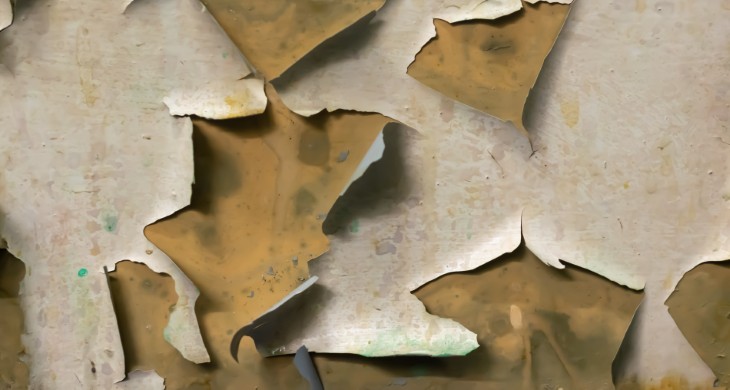
Stripping wallpaper doesn't have to be a grueling task. Mix one part liquid fabric softener with four parts warm water in a spray bottle. Spray the solution generously onto the wallpaper and let it soak for several minutes—the fabric softener penetrates and softens the adhesive underneath. For particularly stubborn wallpaper, score the surface with a utility knife or wallpaper scoring tool before applying the solution, allowing it to penetrate more effectively. The wallpaper should then peel away much more easily.
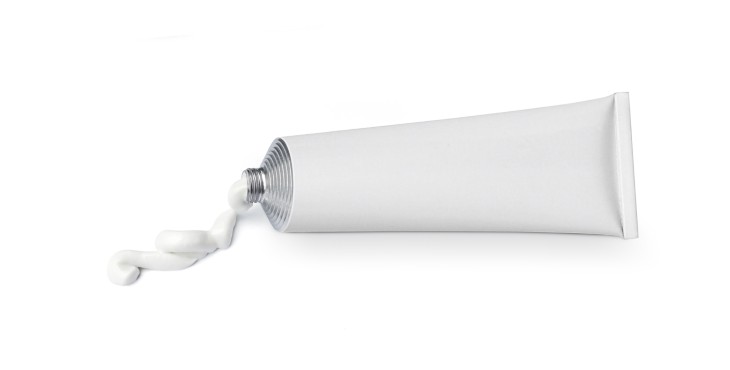
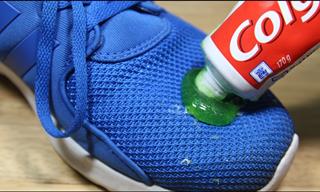
For tiny nail holes and minor wall imperfections, white non-gel toothpaste makes an excellent substitute for spackle. It dries quickly, doesn't shrink as it cures, and sands smooth easily. Apply the toothpaste with a putty knife, smoothing it flush with the wall surface. Once dry, sand lightly if needed and paint over. This works best for small holes; use proper spackle or joint compound for larger repairs.