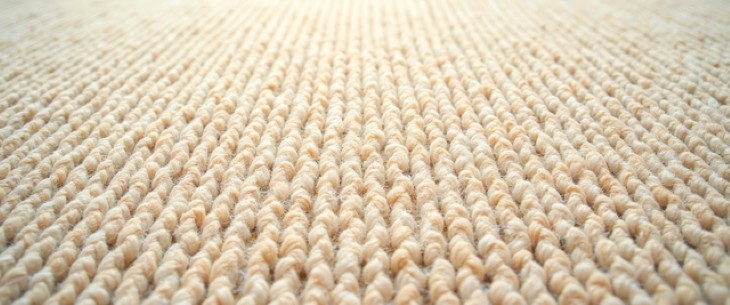
Carpeting develops ripples and slack sections due to constant foot traffic, incorrect installation, aging, or fluctuations in humidity. Beyond creating trip hazards, these problems lead to irregular wear patterns and shorten your carpet's usable life. Stretching eliminates these concerns, simplifying cleaning and upkeep.
Whether addressing slack areas in aging carpet or laying fresh carpeting, we've outlined carpet stretching methods that deliver professional-quality results at home. The process demands some physical effort, but specialized equipment handles most of the heavy lifting.
A power stretcher represents the professional standard for comprehensive carpet stretching projects. This tool features a large rectangular head attached to telescoping tubes that can extend as far as 40 feet. The head contains adjustable steel teeth that grip carpeting, while a cushioned block at the opposite end presses against the wall.
Power stretchers deliver the force and uniform tension required to stretch carpeting across complete rooms. Given their infrequent use, renting one makes financial sense rather than purchasing.
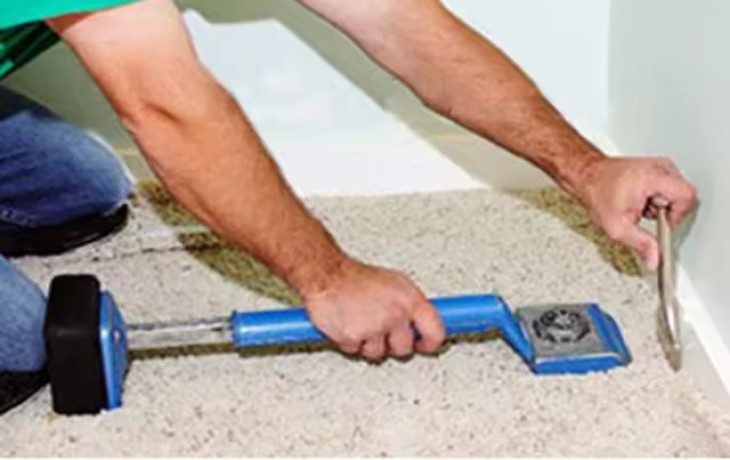
A knee kicker serves as a smaller, more agile tool ideal for confined spaces and corner work. These tools measure approximately 20 inches in length, with a toothed head at one end and a cushioned striking pad at the other. Operation involves positioning the toothed end on the carpet and striking the cushioned end with your knee.
Beyond stretchers, several other tools are necessary for professional-grade installation:
Achieving a smooth finish when stretching carpet requires a methodical approach. Follow these procedures to accomplish professional-quality outcomes.
Begin by relocating all furnishings from the space. This creates an unobstructed workspace and protects your belongings from potential damage. When working in expansive areas, consider shifting furniture to one side initially. Stretch half the carpeting, then relocate furniture to the completed side to finish the work.
Thoroughly examine carpeting for damage, staining, or deterioration. Evaluate the subfloor for irregularities, moisture problems, or structural issues that might compromise carpet performance. Address any carpet stains before stretching to guarantee optimal results.
When re-stretching installed carpet, begin by cautiously pulling it from tack strips along the room's perimeter. Use pliers to grasp the carpet and gently lift it, taking care not to harm the edges. Roll carpeting back to reveal the padding and subfloor underneath.

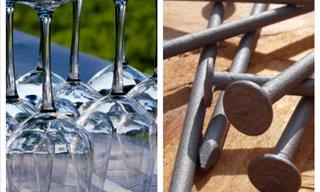
Evaluate existing tack strips for deterioration or damage. Replace them with new strips if they're compromised. Position tack strips approximately half an inch from walls, with pins angled toward the wall. Secure them firmly to the subfloor using a hammer or nail gun.
Roll carpeting back into position, confirming it's centered. Allow a small overhang along edges—trimming comes later. This stage prepares the carpet for stretching and ensures proper alignment before applying tension.
With carpet in position, use the knee kicker to anchor it. Secure the carpet along the initial wall using the knee kicker, then proceed with the power stretcher.
Assemble your power stretcher. Position it so the head sits a few inches from the first wall while the cushioned tail block presses against the initial wall's baseboard. Press the head's teeth into carpeting, verifying they're set to appropriate length.
Engage the mechanism by pulling back on the lever. This forces carpet toward the second wall. Monitor the lever's adjustable tension; excessive tension damages carpeting, while insufficient tension leaves slack. Maintain steady pressure for uniform stretching throughout the space.
Using the Knee Kicker for Precision Work
The knee kicker handles detailed work in locations the power stretcher cannot access. Consider corners, closets, and wall edges. It's also valuable for final adjustments and ensuring carpeting stays taut to room boundaries.
Position the knee kicker several inches from the wall with teeth gripping carpet. Strike the cushioned end firmly with your knee while pushing forward. This generates tension in carpeting, enabling you to hook it onto tack strips. Progress around the room's perimeter, maintaining uniform tension throughout.
After stretching carpet, press it down into the tack strip to lock it securely and move the assembly to the subsequent carpet section. When carpet is stretched toward the second wall, employ the knee kicker to attach carpeting to the next perpendicular wall. Stretch it to the final wall using the power stretcher.
Once you've stretched carpeting across the room, trim edges using a curved carpet knife or sharp utility knife.
Using one hand to press carpet into the baseboard and floor intersection, cut away excess with your knife. If your rental facility provides one, use a specialized carpet edging tool rather than a knife for clean cuts against baseboards. A stair tool proves helpful at this stage. Professional installers employ stair tools to wedge trimmed carpeting into the gap between tack strips and baseboards.
Choosing between stretching carpet yourself or engaging a professional hinges on multiple factors. Evaluate your project's scope, your DIY capabilities, and available tool access.
DIY carpet stretching reduces costs and permits working at your preferred pace. It represents a viable option for smaller spaces or minor repairs but still demands specialized equipment, physical exertion, and substantial time commitment. Improper execution also risks carpet damage.
For situations where you're uncertain about completing the job on large or intricate areas and valuable carpeting, we suggest hiring professionals. They possess the experience, equipment, and knowledge to save time and avoid expensive errors. Expect to invest approximately $100-$140* per room for professional carpet stretching.
*Cost information is based on 2024 reports from Angi. Seeing prices have gone up recently, it may be more expensive.
Watch for these potential problems to achieve better results and minimize carpet damage during stretching:
Over-stretching: Among the most frequent errors is applying excessive tension. This damages carpet backing and causes buckling in other locations. Target a taut surface without extreme strain. You've likely stretched too far if you observe the carpet's pattern distorting or pile appearing stretched.
Improper tool use: Always adjust stretcher teeth to proper depth for your carpet type, and select the appropriate stretcher for each area. Adhere to tool manufacturer's instructions to prevent accidents and carpet damage.
Stubborn wrinkles: When wrinkles resist stretching, try using a carpet iron to gently heat the problem area. This helps relax backing and increases pliability. After heating, re-stretch using the knee kicker. Avoid overheating synthetic carpets, as this causes damage. If you notice substantial wrinkling or slack returning, consider professional re-stretching to preserve your carpet's quality and safety.
Uneven stretching: Uneven stretching creates areas that are overly tight or loose. Correcting this may require releasing carpet from tack strips in affected areas and re-stretching. Begin from the room's center and work outward, concentrating on consistent tension. Pay careful attention to carpet pattern or grain to maintain uniform appearance.