While the beauty of tile design can last for years, the surrounding grout often becomes increasingly unattractive over time. Because grout sits below the tile edges, these tiny channels easily collect unwanted grime and dirt. Bathroom tiles face particular challenges from mold and mildew due to daily humidity exposure, while kitchen tile countertops encounter numerous spills. Even foyer or mudroom tiling gradually accumulates dirt from constant foot traffic.

If your tile grout looks dingy, don't despair - you can quickly restore its appearance with proper cleaning methods. Once the grout becomes clean again, preventative steps will make future maintenance much easier. This guide explores several solutions to restore your grout to pristine condition and demonstrates how to maintain that cleanliness going forward.
Grout serves as filler in the spaces between tile sections. Beyond maintaining tile design integrity, the substance protects tiles from cracking. While many basic tilework patterns feature simple white or gray grout, contractors can provide different colors that complement your tiles.
Several grout types are available for tilework, each varying based on tile materials, size, and project location. The two most common types in households are cement grout and epoxy grout.
Cement grout is used in approximately 94 percent of American construction projects, both commercial and residential. This type is typically more porous, making it susceptible to stain and grime collection over time, but it's easier to use and less expensive.
Epoxy grout, made from two resin types, offers water and stain resistance, greater longevity, and various color options. However, this grout has a plastic-like appearance that some homeowners find unappealing. Additionally, epoxy grout costs more and proves harder to use in standard tile projects.
Grout sealers, available at home improvement stores, add protective layers to cement grout by increasing moisture resistance. Like most materials, sealants eventually wear off through normal use. Resealing your grout annually helps prevent future deterioration, fading, or cracking. High-traffic areas, such as mudroom floors, should be resealed at least twice yearly. Apply sealers only after deep cleaning the grout.
Testing for existing sealer: Place a few drops of water on a small grout strip and observe the reaction. If water beads or rolls off, the grout has proper sealing. If the grout changes color or absorbs water, the sealant has likely worn off.
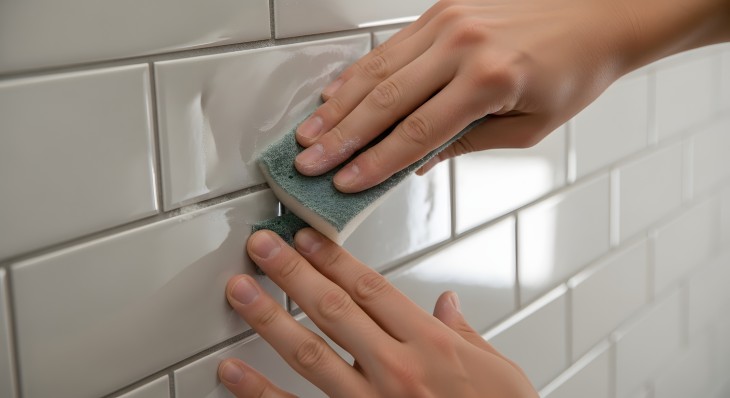
When selecting the best grout cleaning method, choose approaches that are safe for both grout and tiles. Incorrect cleaners can damage porous tile materials such as marble and natural stone. Start with gentler cleaning methods and gradually move to more concentrated solutions for stubborn stains.
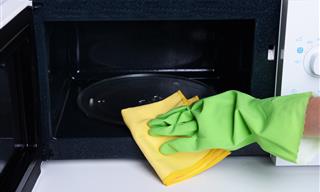
Before applying cleaning products, prepare your tile surface. For countertops, wipe the surface with a damp cloth, sponge, or microfiber cloth. For tile floors, sweep or vacuum to remove loose debris.
Important: Always perform a patch test in an inconspicuous area before treating the entire surface. Allow the test area to dry completely to verify the method's effectiveness.
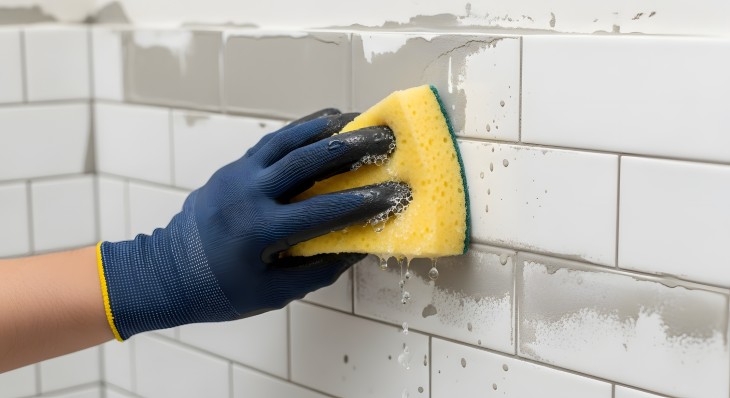
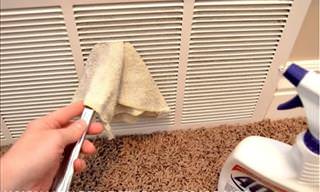
Using hot water and a stiff brush represents one of the easiest and most effective grout cleaning methods. Hot water loosens accumulated gunk and grease, while the brush breaks down stains. Use a new toothbrush - old, worn brushes lack sufficient power to break through stains - or employ a stiff-bristled grout brush for dirty grout lines.
What you'll need:
Steps:
If hot water alone proves insufficient, try dishwashing liquid. This solution breaks down food stains and grease effectively while remaining gentle on grout. The method works particularly well in areas prone to grease stains, such as kitchen countertops or backsplashes.
What you'll need:
Steps:
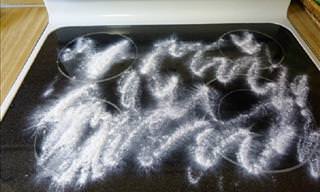
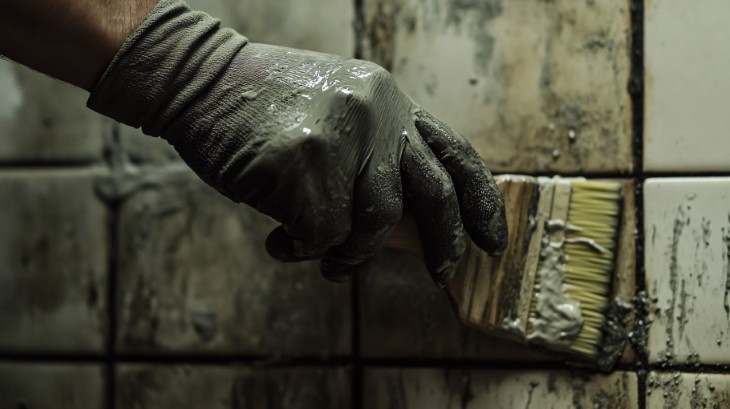
This pantry and medicine cabinet combination creates a non-toxic yet powerful cleaning solution. Hydrogen peroxide, a mild acid with oxidizing and bleaching properties, disinfects and breaks down organic residues like bacteria and mold. Baking soda, an alkaline substance, quickly dissolves grease and stains. Its abrasive texture provides excellent scrubbing action. Combined, these ingredients create an exceptional solution against stained grout. For enhanced grease-cutting power, add dishwashing liquid.
What you'll need:
Steps:
Some DIY methods may not work on severely dirty grout. For particularly stubborn stains, consider these stronger approaches.
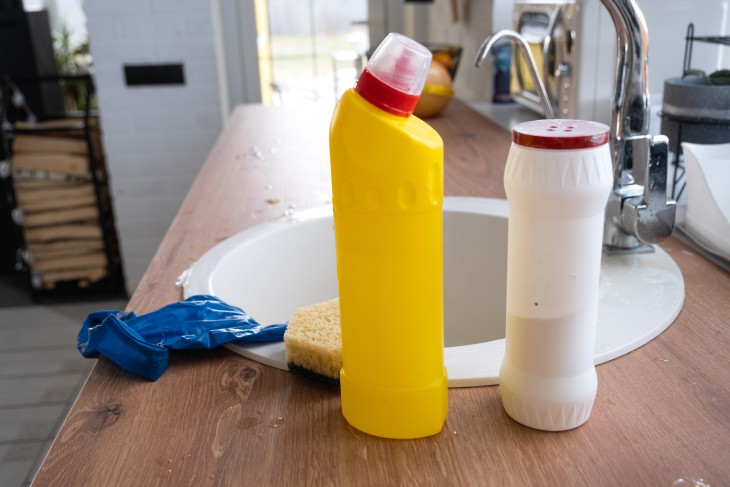
Home improvement stores carry numerous commercial grout and tile cleaners effective on stubborn stains. Most products contain ingredients safe for both tiles and grout. Read product instructions carefully before use to ensure the cleanser works safely on your specific tiles. Never mix store-bought cleaners with other cleaning products or DIY solutions, as this may cause adverse reactions.
Popular options include:
For the worst grout stains, steam cleaning may be necessary. Rent a steam cleaner designed for tiles and grout, or use a steam mop meant for tile flooring. With rental equipment, follow all company-provided instructions and use only water or their recommended cleaning agent. Mixing chemical cleaners or non-toxic products in these machines could damage equipment. After thorough steam cleaning, wipe the entire area with a clean, dry cloth.
Important: Keep rooms well-ventilated when using potent cleaning chemicals. Use bathroom exhaust fans or open windows to reduce inhalation of harsh chemicals or toxic odors.
Avoid applying vinegar to any unsealed grout. While white vinegar serves as a budget-friendly and eco-friendly cleaner in most situations, it can harm grout. Because grout is porous, acidic products can eat away at it, causing cracking and crumbling.
This depends on the bleach type. Chlorine bleach can be too harsh on certain tiles like porous marble, leading to irreversible material damage. Additionally, bleach can strip colored grout, potentially ruining your tilework.
Oxygen bleach offers a safer alternative. This form, often found in powder, provides safe and powerful cleansing without stripping colors. Follow manufacturer instructions carefully.
The Tile Council of North America advises against cleaning grout with oil or wax-based floor cleaners. Regular cement grout absorbs stains and grime due to its porous nature. Many floor cleaners create problems because of their waxy and oily residue - unsealed grout typically absorbs these substances, leading to accelerated deterioration.
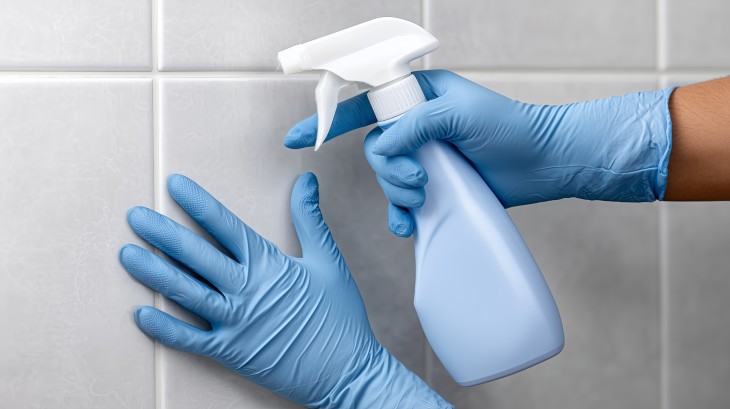
For showers, the best cleaning methods address both tiles and surrounding grout. Shower tile grout is typically sealed to prevent excessive moisture from seeping into the grout work, making vinegar a cost-effective and safe option for non-porous materials like porcelain or ceramic tiles. Stick to plain water or specialized cleaners for marble and natural stone surfaces.
What you'll need:
Steps:
Steam boost for stubborn buildup: After spraying the vinegar cleaner, close your bathroom door and run hot shower water for 5 minutes to create steam. Turn off the water and allow steam to stand in your closed bathroom for 20 minutes. The steam softens stubborn grime, making cleanup easier. Finish by scrubbing the grout and wiping clean.
If DIY methods prove insufficient, try commercial cleaners made for shower tiles and grout. Use appropriate cleaners for your tile type and maintain proper ventilation.
Having successfully restored your grout and tiles, follow these simple steps to maintain their appearance.

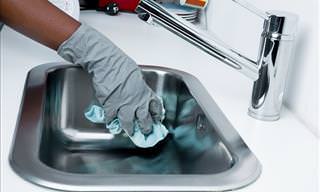
Wipe down tile countertops daily with mild dishwashing liquid and water or a commercial all-purpose cleaner made for your tiles. After using dish soap, rinse tiles with clean water and dry with a clean cloth or paper towel. Always wipe countertops after food preparation to prevent stains from seeping into grout.
Floors
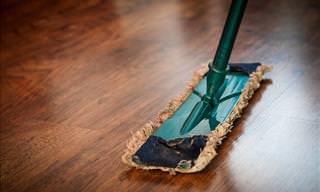
Sweep or vacuum tile floors to remove debris. Mop weekly to eliminate excess dirt. For high-traffic areas like mudrooms, place a small rug to catch dirty shoes.
Use a squeegee or dry cloth to wipe down tiles after showering to prevent mold and mildew. Turn on the exhaust fan or open a window to remove excess humidity. Clean your shower with a commercial daily tile cleaner or DIY shower spray.
While grimy grout around tiles can be unpleasant, numerous solutions exist to restore their appearance. From DIY solutions to powerful commercial products, cleaning grout doesn't have to be a major challenge. Once you achieve clean grout, simple maintenance solutions keep it that way, making future cleanings considerably easier