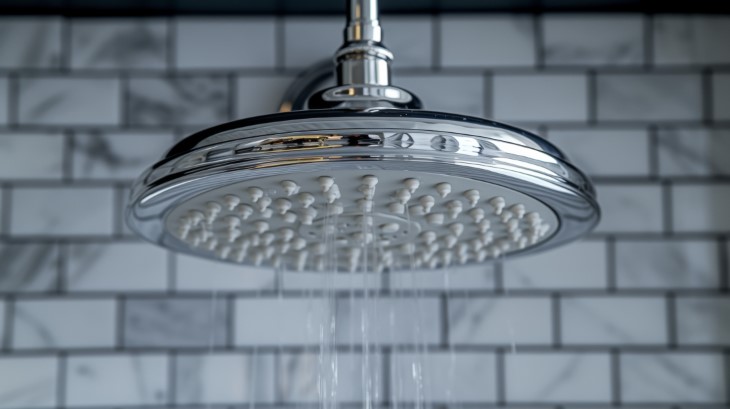
If your morning shower has turned into a sad dribble or a wild spray going every which way, the fix is probably simpler than you think.
Before you call a plumber or rush out to buy a new showerhead, take a closer look at the one you already have. In most cases, that disappointing trickle isn't a sign of a broken fixture - it's just a buildup of mineral deposits clogging the tiny holes. With two ingredients you almost certainly have in your kitchen right now, you can have it spraying like new again.
Every time water flows through your showerhead, it leaves behind tiny traces of the minerals it carries - mostly calcium and magnesium. Over months and years, these minerals harden into a chalky white or greenish crust around the small openings (called nozzles) that the water sprays through.
This buildup is especially common in areas with hard water, which describes most of Israel and many other regions. The harder your water, the faster the buildup forms. Eventually, those mineral deposits narrow or block the openings altogether, weakening your water pressure and pushing the spray off in odd directions.
The good news, according to cleaning experts at Good Housekeeping's Home Care and Cleaning Lab, is that this is one of those small household problems that responds beautifully to a simple cleaning routine. No specialty products required.
That's it. Everything on the list is probably already in your home.
Begin by scrubbing the front of the showerhead with your sponge to dislodge any loose, dry debris around the nozzles. Then mix a little baking soda with water until you have a thick paste - roughly the texture of toothpaste - and rub it over the showerhead.

Baking soda is gently abrasive, which makes it perfect for lifting away grime that's clinging to the surface without scratching the finish. Once you've worked the paste into the nozzles, turn the shower on hot for a minute or two to rinse it all away.
A small tip: Baking soda alone usually isn't strong enough to clear deeper clogs inside the nozzles or to break down hard-water stains that have been building up for a while. If your showerhead still isn't spraying properly after this step, move on to the vinegar soak.
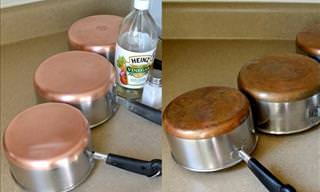
This is where the real magic happens. The acid in white vinegar dissolves mineral deposits in a way water and baking soda simply can't.
Mix equal parts white vinegar and water - about half a cup of each is usually plenty - and pour the mixture into a plastic bag. Slip the bag up around the showerhead so the entire spray surface is submerged in the liquid, then secure it to the shaft with a twist tie or rubber band.
Let it soak for at least 15 to 20 minutes. If your showerhead is heavily clogged, you can leave it for up to an hour for a deeper clean.
One important caution: If your showerhead has a high-end finish such as polished brass or oil-rubbed bronze, don't leave the vinegar on for more than an hour, as it can begin to dull the surface. For these finishes, a gentler approach is to dip a small brush (an old toothbrush works perfectly) in vinegar and scrub the nozzles directly instead of soaking.
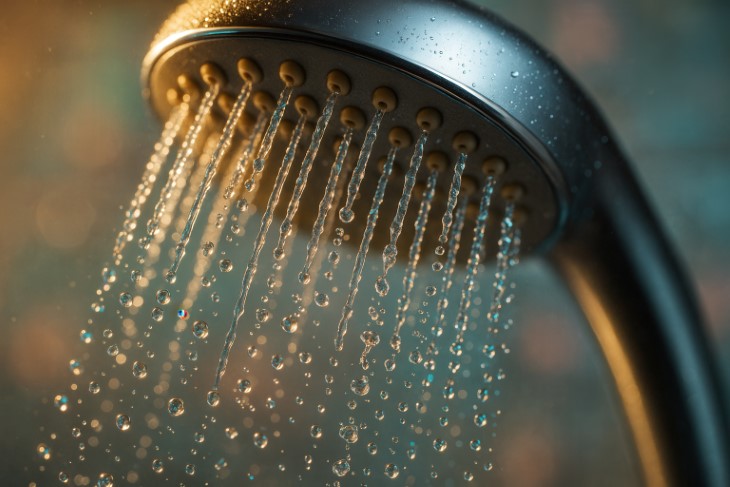
Remove the bag and wipe the showerhead down with a damp cloth to remove the loosened gunk. Then run the shower on hot for a minute or two to flush any remaining mineral fragments out from inside the nozzles. You should immediately notice a stronger, more even spray.
If you still see a few stubborn nozzles dribbling sideways, gently rub them with your fingertip or a soft brush while the water is running - often, one last little nudge is all it takes to clear them.
If you'd prefer not to use white vinegar - perhaps because of the strong smell - apple cider vinegar can work as a substitute. Be aware, though, that it isn't quite as effective and tends to cost more.
What you should not do is reach for bleach. While it's tempting to assume something so strong would do a better job, bleach can actually damage the chrome finish that most showerheads have, leaving you with a fixture that looks worse than when you started.
How often should you do this? For most households, cleaning the showerhead once every two to three months is plenty. If you live in an area with particularly hard water, or you notice the spray weakening sooner, do it more often.
Watch for early warning signs. Beyond weak water pressure, other clues that your showerhead needs cleaning include water spraying off at strange angles, white or greenish crust visible around the nozzles, and a spray that suddenly feels uneven from one side to the other.
A small habit that helps. After your shower, take a few seconds to wipe the showerhead with a dry towel. This simple gesture removes the lingering droplets where minerals would otherwise deposit, and can meaningfully slow down how quickly buildup forms.
For removable showerheads. If your showerhead can be easily unscrewed, you can also detach it completely and soak the whole thing in a bowl of vinegar and water. This sometimes works even better than the bag method, since the inside of the head also gets cleaned.
A clean showerhead means stronger water pressure, a more pleasant shower, and a fixture that will serve you faithfully for many more years to come - all from twenty minutes and a few pennies' worth of pantry staples.