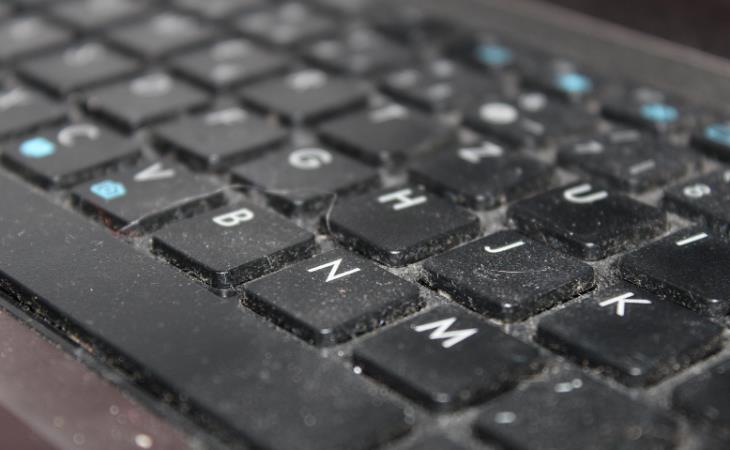
A computer keyboard can accumulate a sticky layer of filth over time. Wiping the surface is futile since the sides of the keys collect coffee stains, stray crumbs, and other pollutants. Dip a Q-tip into rubbing alcohol, being sure to remove any extra liquid, then carefully slide the swab between the keys to remove any remaining residue.
If your mascara smudges over your eyelids, you don't have to redo your eye shadow. Allow the mascara spot to dry before using a cotton swab in a circular motion to remove the smudge without affecting your eye shadow.
There is a good chance that, at some point, whether you are moving furniture around the living room or guiding a large object through a narrow hallway, you will scratch a painted wall. Rather than repainting the entire surface, consider using a Q-tip to touch up the scuff. By tightening the cotton at the tip with a simple twist of your fingers, you can precisely apply matching paint to seamlessly cover the scratch.
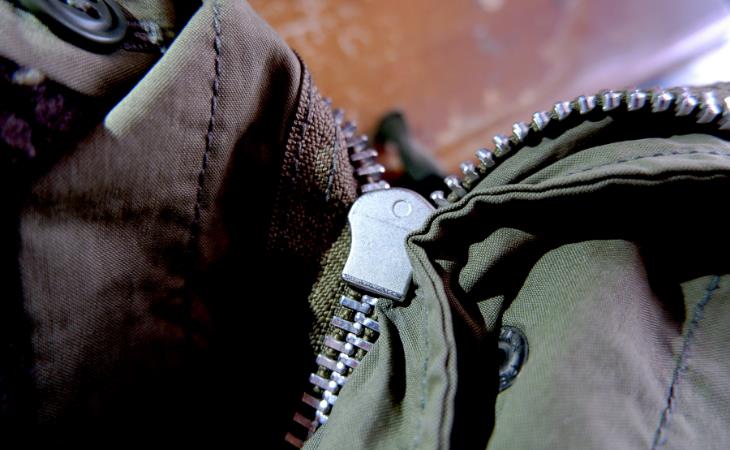
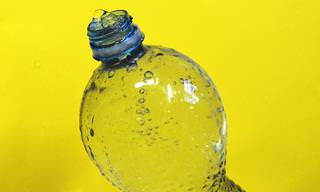
Are you tired of struggling with a sticky zipper? Although zippers are pretty helpful, they can be aggravating when they malfunction. But don't worry; there's a simple solution to this problem. Just grab a Q-tip and a dab of lubricant, like a lip balm, and you'll be able to unclog it in no time. To restore smooth performance, use the swab to apply the lubricant to the zipper's teeth. With this quick and easy fix, you will never have to worry about a stubborn zipper again.
For plant enthusiasts, Q-tips could be a secret weapon in keeping your green buddies clean. Gently brush away dust from the leaves using a cotton tip dipped in a mild soap and water mixture. This not only improves the air quality of your plants but also makes them appear more vibrant and healthier.
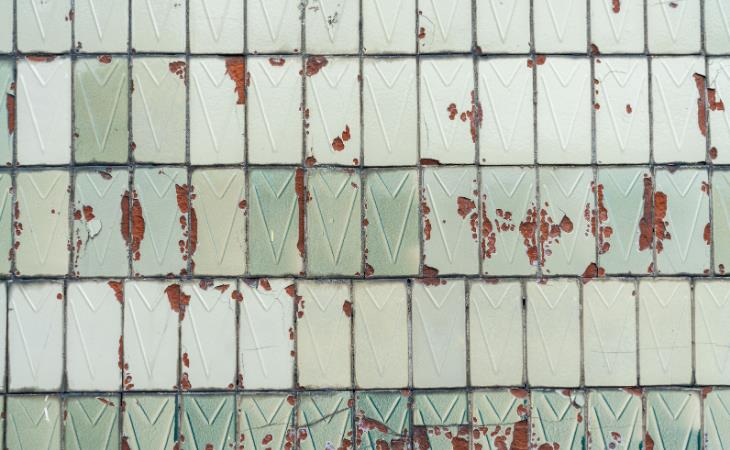
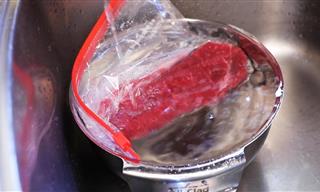
Floor tiles can be prone to damage from heavy foot traffic, and the inconvenience of a chipped tile due to an unintentional drop or mistake is hard to overlook. The time-consuming process of removing a single tile, as well as the requirement of keeping a spare for replacement, can be quite annoying as well.
Instead, get a bottle of nail paint that nearly matches the color of the tiling. Apply a coat to the chipped part carefully with Q-tips. Once dry, repeat the process to gradually build up a new layer of finish. The success of your repair depends on color accuracy, but it presents a far more manageable solution than swapping out an entire tile.
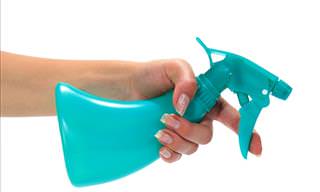
The corners of kitchen cabinet molding are notorious for harboring spilled foods and liquids, forming breeding grounds for dust and grime. To deal with this problem, use a simple technique: just spray the afflicted area with an all-purpose cleanser, then gently extract the deposited dirt using Q-tips. For harder residues, shape the swab tip into a point and clean thoroughly with firm pressure and a twisting motion.