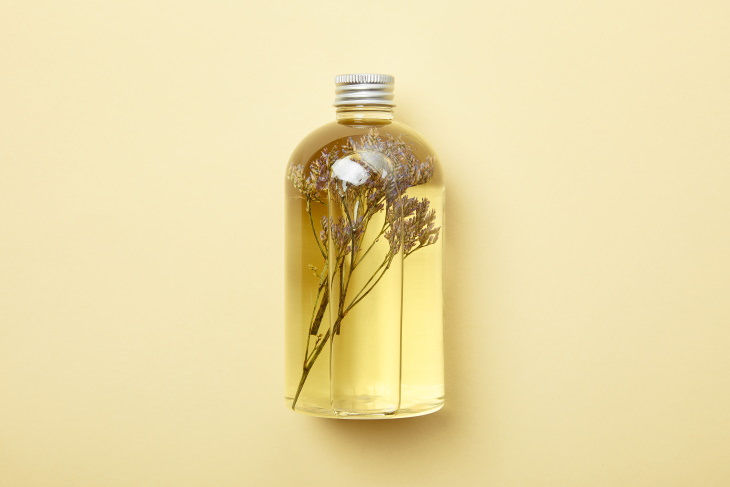
The basis for any homemade shampoo is a lathering ingredient, water, and a few drops of natural oil. It’s best to use distilled or boiled water because it will allow you to extend the shelf life of a liquid shampoo to about 2 weeks if kept refrigerated. Depending on your hair type and hair care needs, you’ll need a different balance of these three basic ingredients.
Certain hair types will also benefit from essential oils and plant-based ingredients. Essential oils will also extend the shelf-life of your homemade shampoo, and allow you to customize the scent of your shampoo. Below, we list 6 shampoo recipes that address different hair concerns, such as an oily scalp, thinning hair, or brittle and dry hair.
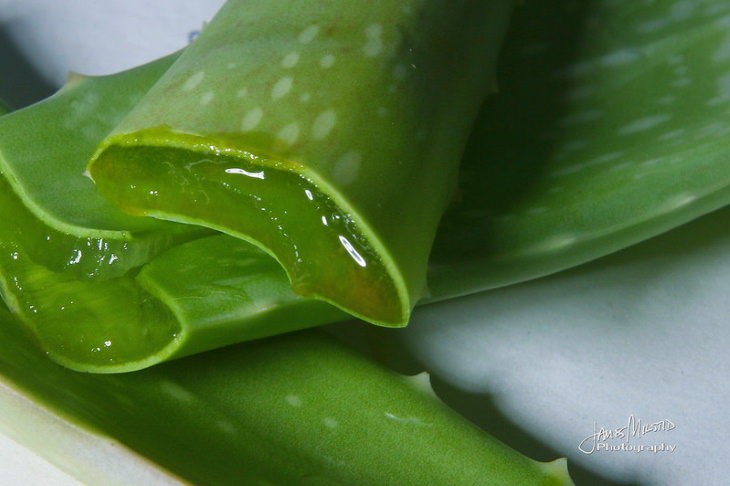
Image Source: James Milstid/ Flickr
If your hair is looking a bit flat or limp, or your goal is to stimulate hair growth, it’s useful to customize the formula with peppermint oil, aloe, and carrot seed oil. Peppermint oil and aloe have a pleasant cooling sensation that stimulates the scalp without irritating it, whereas carrot seed oil has been shown to stimulate hair growth and gently cleanse the scalp due to its antifungal properties. This recipe also contains green tea and honey, which are beneficial for cleansing and nourishing the scalp.
Ingredients:
- ¼ cup castile soap
- ½ cup strong green tea
- 1 teaspoon aloe vera juice (or aloe gel)
- 1 tablespoon honey
- 7 drops carrot seed oil
- 10 drops of peppermint essential oil
- Bottle.
Instructions:
1. Brew a strong cup of green tea and let it cool.
2. Whisk in the remaining ingredients and transfer them to a bottle. Shake well before use.
Related Article: 5 Refreshing Recipes for Homemade Soap
If you have brittle, dry, curly, or color-treated hair, using Castille soap every wash may be a bit too much for your hair. If that is the case, you can easily alternate between a stronger shampoo and this moisturizing version that’s free of Castille soap. This shampoo doesn’t lather and it contains plenty of restorative and moisturizing ingredients like honey and coconut milk.
Ingredients:
- ½ can coconut milk
- 1 tablespoon vinegar
- 1 tablespoon honey
- ½ teaspoon jojoba oil
- ½ teaspoon castor oil
- ½ teaspoon vanilla essential oil
- Bottle.
Instructions:
1. Combine all the ingredients in a bowl, blending them together in an even mixture.
2. Transfer into a bottle. Make sure to shake the mixture well before use.

Castille soap is quite a nice soothing ingredient on its own, but you can boost its calming properties with chamomile and lavender essential oil. Lastly, this homemade shampoo contains glycerin, a wonderfully soothing, softening, and conditioning ingredient.
Ingredients:
- ¼ cup water
- ¼ cup Castille soap
- 2 chamomile tea bags
- 2 teaspoons glycerin
- Bottle.
Instructions:
1. Bring the water to a boil, add the chamomile teabags, and step for 20-30 minutes.
2. Discard the tea bags and let the liquid cool to room temperature.
3. In a bottle, combine all ingredients and shake well to blend in the glycerin.
Related Article: 3 Simple DIY Hair Masks for a Healthy Scalp
Clarifying rinses and shampoos are used to remove product and mineral buildup from the hair. If you use hair styling products or live in an area with hard water, it’s beneficial to use a clarifying shampoo or rinse once every two weeks to restore a healthy shine to your hair.
If you have a store-bought clarifying shampoo, you can use it in place of your usual shampoo. But you can make your own clarifying rinse with just 2 ingredients that you can use after washing and conditioning your hair.
Ingredients:
- 2 cups water
- 3-4 tablespoons vinegar
- Bottle.
Instructions:
1. Shake to combine ingredients. Use as the last step of your hair washing routine.
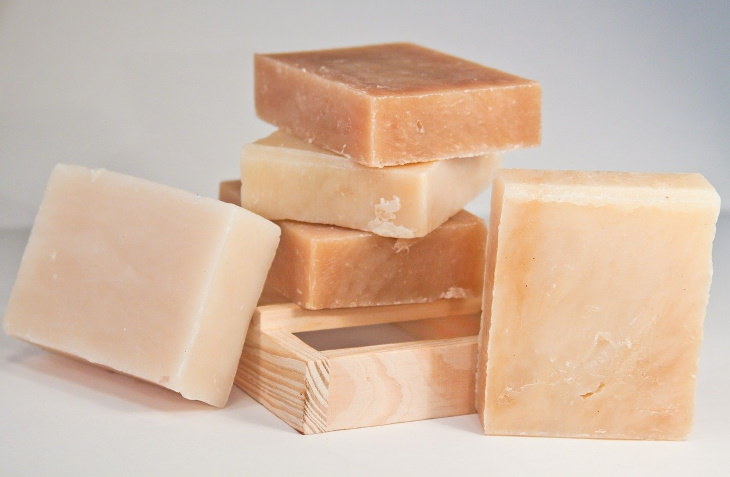
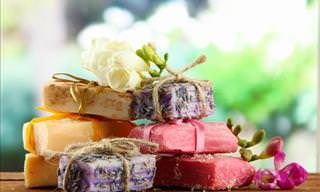
Not all homemade shampoo recipes are liquids. Shampoo bars are becoming increasingly popular these days, as they're more portable, last for a long time, and are more environmentally friendly since they don't require any packaging. Here is a basic solid shampoo recipe suitable for all hair types. The recipe uses a Castile melt-and-pour soap base that can be easily purchased online.
Ingredients:
- 1 cup Castile melt-and-pour soap base, cut into cubes
- 1 teaspoon sweet almond oil
- ½ teaspoon castor oil
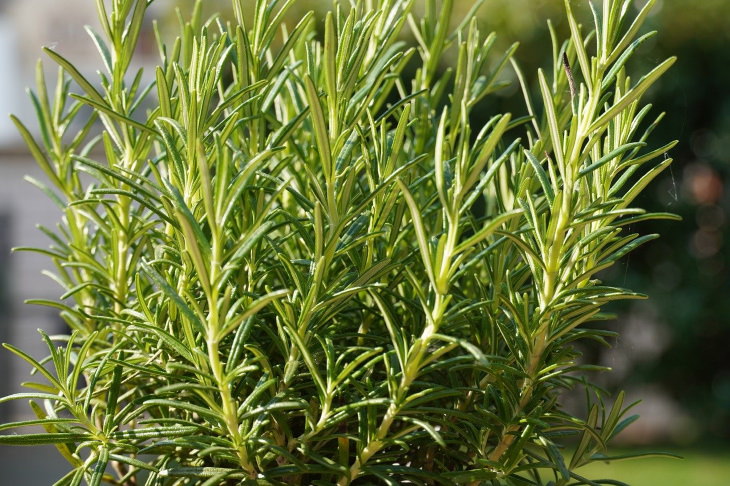
- 15 drops rosemary or vanilla essential oil
- 1 soap mold (you can also use any plastic container or a yogurt cup).
Directions:
1. In a double boiler or any metal bowl in a bigger pan half-filled with water, melt the soap base on low heat.
2. Stir continuously and add in the almond and castor oils.
3. Take the mixture off the heat and let it cool only slightly. Then add in the essential oils.
4. Pour the mixture into your mold and let cool for a day. Then store in a cool dry place for up to 2-3 months.
Share these tips with those who will find them useful!