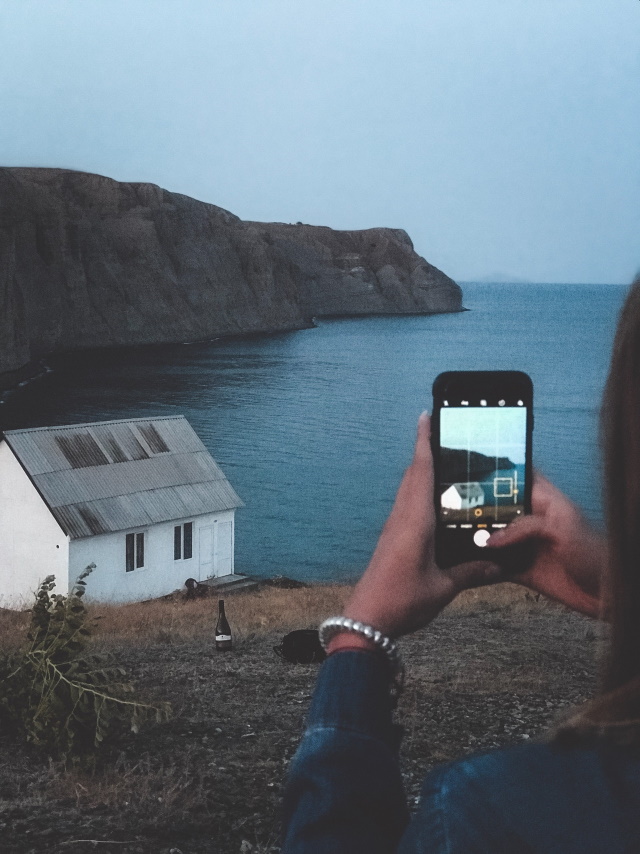
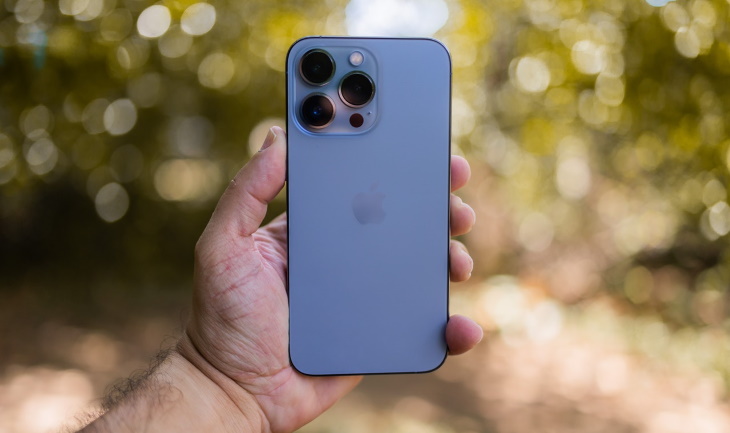
Apple’s iPhones are pretty famous for their cameras. There’s even an annual iPhone photography competition that keeps impressing us with beautiful photos every year. Every iPhone user has the potential to can start snapping professional-looking photos on their device. But having a phone with a good camera alone doesn’t cut it.
If you’re wondering why the photos you take with your iPhone look a bit disappointing, look no further. This guide contains 11 beginner-friendly tricks that will help you take professional photos on your iPhone every time. We share technical tricks, as well as a few general photo techniques.
When you first open the iPhone Camera app, the focus will be set automatically. But if you want to ensure that the camera focuses on the subject of your choice, use the lock focus feature of the app.
This is useful, no matter your subject matter (pardon the tautology). Whether you’re taking a portrait or a photo of a sunset, setting the focus to the main subject will ensure that the eye is drawn toward it.
To set the focus manually, point your camera at what you want to capture, and tap and hold the area of the screen on which you want the camera to focus. You will see a yellow square, which identifies that the focus is shifting. Continue holding the focus, and the yellow square will flicker a couple of times, and the words AE/AF LOCK will appear, indicating that the focus is locked in place.
When you’re ready, tap the shutter button and capture your photo.
Related Article: 5 Tips to Customize Your iPhone User Experience
As you’re adjusting the focus, an exposure slider will appear next to the yellow square. So, once you set the focus, you can also drag the finger up or down to either increase the exposure or decrease it, which will result in the image either brightening or darkening respectively. When you lock the focus, you’ll be also automatically locking the exposure, so no extra actions are needed.
If you want to take more professional photos, the composition is one of the most important things to keep in mind. Otherwise, you’ll be left with crooked and unbalanced-looking photos.
One of the easiest ways to align the subject matter is by having the grid setting turned on. This will create horizontal and vertical lines that divide your camera view into thirds. Why thirds? There’s a universal composition rule called the “rule of thirds” that says placing your subject at the intersection of the dividing lines and leaving the other two-thirds of the picture more open always results in a more balanced image.
How do you turn on the grid on your photo app? Go to iPhone Settings, scroll down to Camera, find the Composition section, and then enable the grid by tapping the toggle on.
Related Article: Learn These Tips and Take Amazing Travel Shots
Tapping on the nice big shutter button at the bottom of your screen is easy, but it can make the device shake a little while you’re taking a photo. As a result, you could be left with a blurry photo. So instead, you use the volume button on the side of the iPhone to take the photo. If have iPhone earbuds on hand, you can use the volume button on them to snap a shot too.

The burst mode takes a series of photos one after another, and lets you select the best one later on. This feature is especially beneficial when you’re photographing moving subjects, e.g. vehicles, children, group photos, or animals.
To enable this mode, swipe left on the shutter and hold your finger on the button shutter in an iPhone 11 or later. For older models, hold the shutter (or the volume) button for a few seconds.
Live photos are another interesting feature. It will capture everything 1.5 seconds before and after you snap a photo.
To use the live photos feature, open the Photo Mode and look for the Live Photos Icon (three circles) at the top right. If it's crossed out, it’s disabled. Simply tap on the icon to turn it on. Now take a live photo just like a regular one by tapping the Shutter button.
To play a live photo, touch the photo thumbnail, then push and hold the screen to let it play.
In a certain scenario, even the grid function won’t be able to help you take a straight photo. Luckily, there’s an easy adjustment that can fix that. This setting is especially helpful for pictures with prominent geometric shapes, such as buildings, trees, or food pictures.
Fix a picture that doesn’t look perfectly straight by tapping Edit in the adjustment options at the bottom of the picture. Click on the third setting from the left (a box with arrows around it), and then swipe right or left to edit the composition. In the same menu, you can crop and change the orientation of the image.

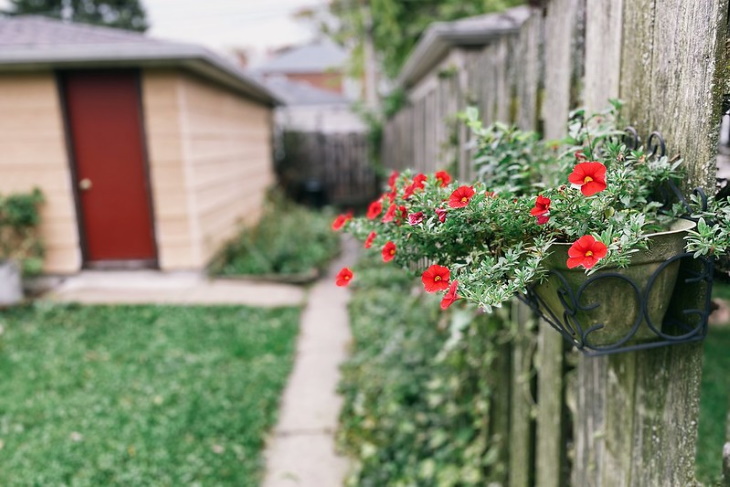
Finally, the part many are most interested in - portraits, and yes, selfies too. iPhones have a specialized Portrait Mode that creates a depth-of-field effect in portrait photos. What does that mean? Well, it includes focusing the camera on the subject and gently blurring the background.
This mode is available on all iPhone models starting with the iPhone 7 plus through to the latest model - the iPhone 13 pro max at the time of writing. Just swipe shooting modes across and select Portrait. And voila, you have pictures that pop and look extra dramatic.
As you can see from the image below, the Portrait Mode can also be used on non-human subjects. Here, the focus of the image is the hanging flower planter, and the rest of the surroundings are blurred out.
Related Article: 10 Great Portrait Photography Tips
Good lighting is another essential element of a good photo. That’s why the Portrait Mode contains a separate Portrait Lighting section that allows you to add various lighting filters to your photos. There are six lighting effects within this feature:
Tap Edit in Portrait Mode and simply swipe left and right at the bottom of the image to switch between portrait light effects. To finalize your choice, tap Done.
Even with all the tricks mentioned earlier, and the auto adjustment software in the iPhone camera, a blurry image can still occur from time to time. If you want to rule out the chance of a blurry image completely, let us introduce you to the iPhone camera's timer setting.
With this feature, you don’t need to press the shutter button to take a picture at all. Simply set the timer and hold as still as you can. You may even want to hold the phone with the added support of a table or any other steady horizontal surface.
The timer setting is best for capturing stationary subjects. To use the Photo Timer setting, follow these steps:
1. Open the Camera app.
2. Tap on the Clock icon at the top of the screen.
3. Select the timer of your choice: either 3 seconds, 10 seconds, or turn off the camera.
4 Press the release button at the bottom center and wait for the phone to take the picture.
Now that you know how to straighten images, let’s explore some of the other adjustments in the Editing Section of Photos. One of the easiest and most useful tools to master is the Auto Enhance adjustment tool, which utilizes artificial intelligence to automatically determine the best lighting and color settings for a specific image.
To use this tool, tap Edit in the adjustment options at the bottom of the picture in the Photos app. Then select the Magic Wand tool on the top right, and tap Done.

Here’s a photography tip you’ll be able to use on any device. Whenever you can, use natural light instead of the phone’s flash. That’s because a phone flash (or even Night Mode) generally produces harsh and unflattering images. Natural light is more diffused, warmer, and hence, more pleasing to the eye.
And yes, the same trick works when you’re taking pictures at night. When it comes to shooting dark scenes, newer iPhones, especially the iPhone 13 Pro, are at a major advantage. These devices are much better in low light conditions than comparable phones, so chances are, you won't need to use a flash even at night.
When taking a picture at night, at sunrise, or sunset, get as close to a source of natural light as possible. And don't be discouraged if it pours with rain. Wet streets reflect light, creating truly captivating images.