What Are Dehydrated Foods?
Dehydration is the process where foods are dried at low temperatures for long periods of time, prolonging their shelf life significantly while simultaneously preserving their nutritional value. There is even some evidence suggesting that dehydration can increase the number of antioxidants in certain foods, such as cranberries, plums, and grapes.
Although we typically associate fruit with dehydration, it is possible to dehydrate a wide variety of foods. These include, but are not limited to:
- Herbs to make your own dried herb and spice mixes or herbal tea.
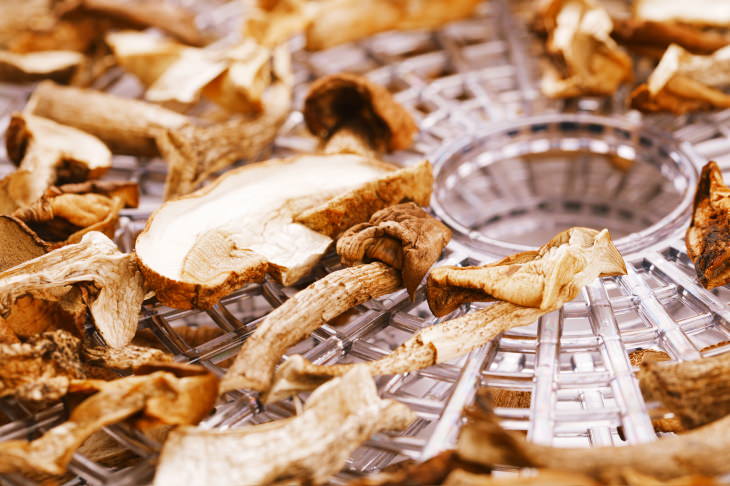
- Mushrooms, perfect to add to soups.
- Vegetables, making veggie chips, sun-dried tomatoes, etc.
- Fruit, e.g. apple or mango chips, craisins, fruit leather.
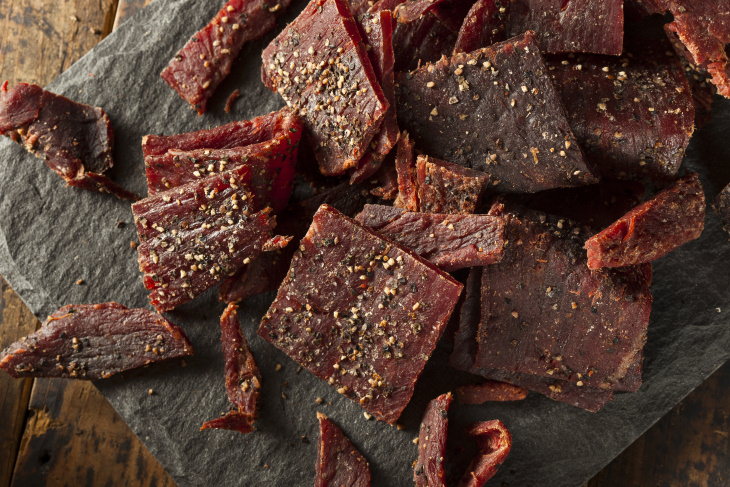
- Meat, chicken, and fish to yield homemade jerky.
- Oats, nuts, and seeds, to make homemade granola.
- Bread that you can use as croutons and recipes that call for breadcrumbs.
You can also make an abundance of homemade goods by dehydrating them, such as potpourri and healthy treats for pets, just to name a few. If stored properly in a sealed container, dehydrated foods can last for months! Unlike store-bought dried foods, the ones you will prepare at home are endlessly customizable, free of preservative and added sugar or salt-free, as well as much cheaper. We will discuss how to dehydrate foods at home below.
Related Article: Curb A Salt Craving With These 12 Healthy Snacks
How to Dehydrate Foods at Home
Making your own dehydrated foods is quite easy, and there are three main ways you can do it: in a dehydrator, in the oven, or in a DIY dehydrator.
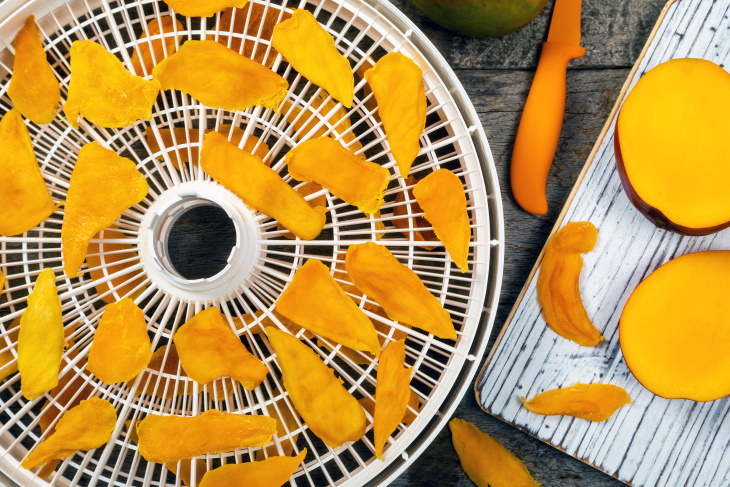
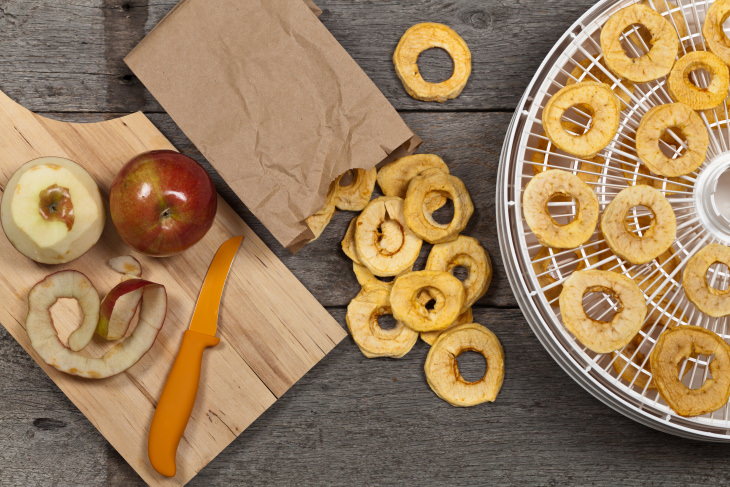
1. Dehydrator
Dehydrators are specialized home appliances designed specifically for food dehydration. These are widely available in stores and online, and many models are available under the $50 price range.
The most important advantages of these appliances are:
- They’re easy to use, as all you have to do is push a button and let the machine work without your supervision.
- You can dehydrate a variety of foods at a time.
- The dehydrator uses low temperatures, which help preserve the nutrients in the food.
To dehydrate food using a dehydrator, simply prep the foods by peeling and slicing them up, spread them evenly on the shelves of the device, and then turn on the dehydrator, selecting the intended setting. Once the dehydrator stops working, let the food cool off, remove the food from the shelves and put the food items in containers.
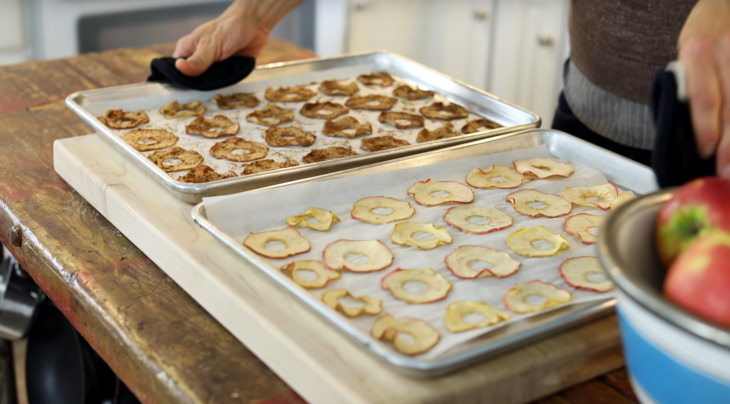
2. Oven
The main advantage of dehydrating foods in your oven is, of course, the fact that you don't need to buy any new appliances. This method is also the fastest, although it might be less capable of preserving the nutrients in foods, as the lowest oven temperature is still relatively high compared to dehydrators you can purchase or fashion yourself.
To dehydrate foods in the oven, simply set your oven to the lowest possible temperature (usually around 175°F/ 80°C) and make sure the oven fan is turned on. Spread the thinly sliced foods onto the baking sheets lined with paper, and check up on them every half an hour to make sure they don't burn or harden too much. Every food type will take a different amount of time to prepare - with meats typically taking several hours while berries and other fruit being ready in a much shorter time.
3. DIY Dehydrator
To fashion a DIY dehydrator of your own you'll need a box fan, dehydrator sheets, and clean air conditioner filters. Unplug the fan and set it on the ground with the airflow directed upwards. Prop up on side of the fan 10-15 cm (4-6 in) and put an AC filter on top. Spread the thinly sliced foods on a dehydrator sheet and put an additional dehydrator sheet followed by another filter on top. You can sandwich several layers of food in this fashion, securing them with bungee cords.
Since this method doesn't require any heat, the food will take the longest to be dried out, with most foods taking 2-3 days to be ready.
Related Article: 20 Great Ideas for Adult Low Fat Snacks!
Homemade Dehydrated Food Recipes
When dehydrating foods, you can certainly let your imagination run wild, combining different types of cereals, nuts, and fruit into the mix to make homemade granola, trying out different combinations of fruit to make fruit leather, and also making more traditional foods, such as dried apple chips and raisins, for example. To inspire a bit of variety, we will show you 4 different dehydrated recipes you can try out.
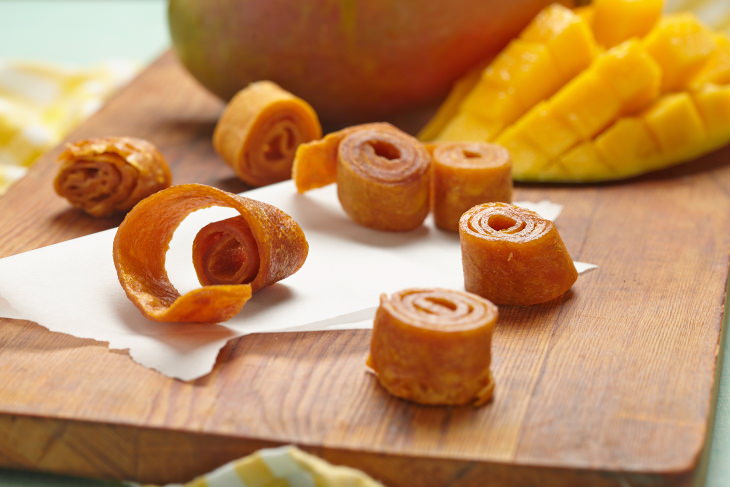
1. Fruit Leather Recipe - a healthy sweet treat
Ingredients:
½ cup mango*
½ cup strawberries*
1 cup applesauce
*you can use fresh or thawed frozen fruit. Any type of fruit you like will work for this recipe.
Preparation:
1. In a blender, puree the fruit until smooth and combine with applesauce.
2. In the oven: Spread the mixture onto a lined baking sheet in a thin even layer. Cook on the lowest temperature for 1-2 hours or until the mixture is no longer sticky. Check the mixture every 20 minutes to make sure it doesn't burn.
In the dehydrator: Line a dehydrator with baking paper and spread the mixture in a thin even layer. Dehydrate on 130-140°F (55-60°C) for about 6 hours.
3. Slice the fruit leather into thin strips and roll it up. Store in airtight container.
2. Mushroom Jerky Recipe - the healthier version of jerky
Ingredients:
4 medium Portobello mushrooms, sliced into thin strips
1 tbsp olive oil
½ cup barbecue sauce
1 tbsp apple cider vinegar
Salt to taste
Preparation:
1. In a medium dish, mix all ingredients apart from the mushrooms.
2. Add in mushrooms and coat evenly in the marinade. Let them sit in the marinade for 1-2 hours or overnight.
3. Before dehydrating, shake each piece over the bowl to remove excess moisture. Then dehydrate, 2-3 hours in the oven at minimum temperature, or 4-5 hours at 145°F (62°C) in a dehydrator. The mushroom should be dry but also remain a bit chewy.
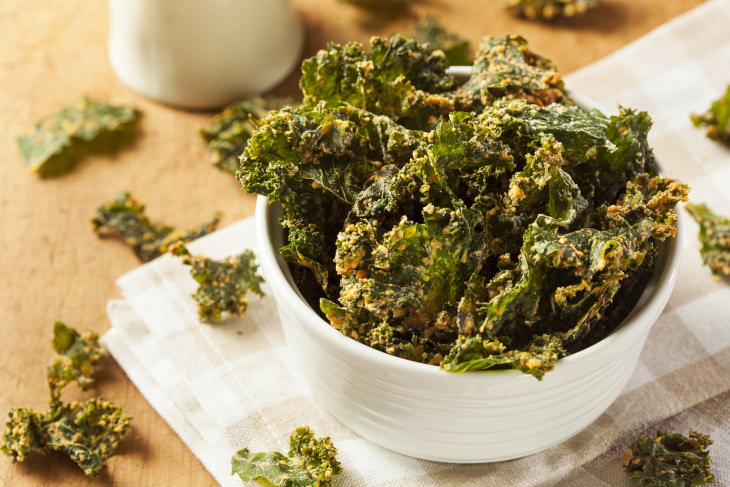
3. Kale Chips - the most nutritious 15-minute snack ever
Ingredients:
1 bunch of kale
1 tbsp olive oil
Salt, pepper, and any additional seasoning of your choice to taste
Preparation:
1. Wash and dry the kale first. Then remove the stem from the kale and tear the leaves into bite-sized pieces.
2. Toss the kale with oil, and then spread onto a baking sheet and season. If you're using the oven, set the oven to 300°F (150°C) and cook for 10-15 minutes or until golden brown on the edges. If using a dehydrator, set the temperature to 125°F (50°C) and dehydrate for about 3-6 hours.
4. Beef Jerky - the classic on the go snack
Ingredients:
1 lb (450 g) lean beef
1/4 cup soy sauce
2 tbsp sugar
Salt and pepper to taste
1/4 tsp onion powder
1/2 tsp garlic powder
Preparation:
1. Make sure the meat is fat-free, trim any fat off the meat if necessary (fat spoils quicker, so it's best to opt for lean meat).
2. Pop the meat into the freezer for about half an hour. This will make slicing it into 1/4 inch (6 mm) thin strips easier.
3. While the meat is in the freezer, combine all ingredients in a large bowl to make the marinade.
4. Combine the beef slices with the marinade, making sure each piece is evenly coated in the marinade. Let the meat marinade for at least 8-10 hours, preferably for an entire day.
5. Remove the meat from the bowl with marinade, patting it down dry using a paper towel. If using an oven to dehydrate the meat, hang the meat vertically onto the oven grid and have a deep tray underneath to catch any juices than may drop down. Then dehydrate for several hours on the lowest temperature.
If using a dehydrator, simply lay the meat on the trays, and dehydrate at 130-140°F (55-60°C) for 6-15 hours depending on the thickness of the meat. The jerky should be firm, yet chewy.