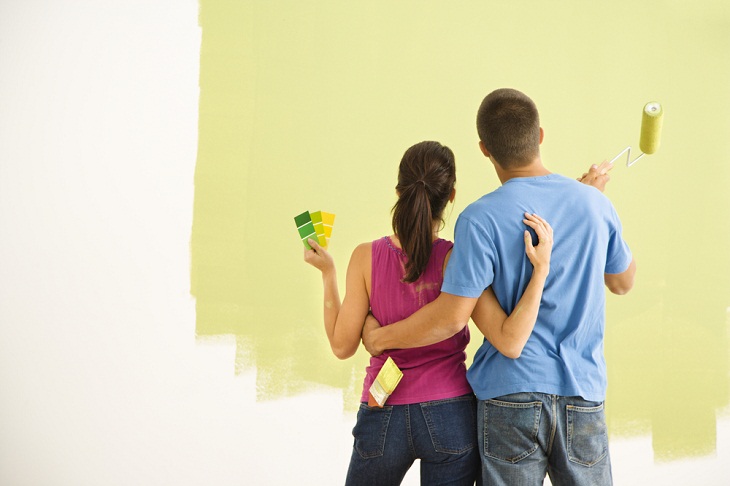
We'll also provide you with some tips on how to paint efficiently and avoid common mistakes, so you can save time and money while achieving the desired result. Whether you're a first-time painter or a seasoned DIY enthusiast, these tips will help you to achieve a flawless paint job that you can be proud of. So, let's get started!
Tip 1: Cover Furniture Before You Begin
Before you begin painting your room, cover your furniture and flooring to protect them from paint splatters and spills. Use plastic drop cloths or old sheets to cover furniture, and canvas drop cloths for the floor. This will save you time and money in the long run, as you won't have to worry about cleaning up any unwanted paint stains on your belongings.
Canvas drop cloths are the best way to protect floors and furniture during paint jobs. Unlike plastic drop cloths, canvas is absorbent, which means it won't slip around on the floor or create a tripping hazard. Canvas drop cloths are also reusable and durable, making them an excellent investment for future DIY projects.
To use a canvas drop cloth, simply lay it down on the floor and tape it in place with painter's tape. This will keep it in place and prevent it from shifting around while you're painting.
If you have any valuable items in the room, it's best to move them to another area of your home while painting. This will prevent any accidental damage from occurring during the painting process.
Tip 2: Use Tinted Primer to Achieve a Uniform Base
When painting a room, it's imperative to start with a good foundation. One of the best ways to achieve this is by using a tinted primer. Not only will a primer help your paint adhere better to the wall, but it will also create a uniform base for your chosen color to shine on.
A tinted primer is especially helpful when painting a light color over a dark one. Without it, you may need to apply multiple coats of paint to get the desired result, which can be time-consuming and costly. By using a tinted primer, you can achieve more even coverage with fewer coats.
You should choose a primer that is compatible with the type of paint you will be applying. You can also ask your local paint store for recommendations on which primer would work best for your project.
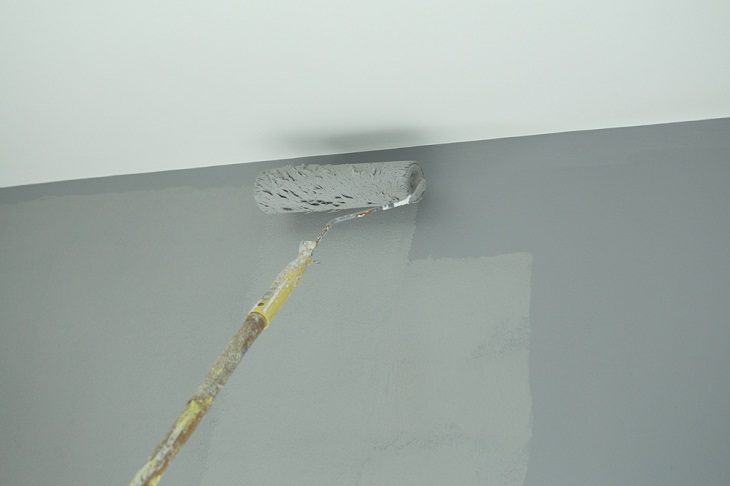
Tip 3: Scrape a Ridge in Textured Ceilings
If you have a textured ceiling, you must scrape a ridge along the edge to create a clean line between the ceiling and the wall. This will help to avoid smudging or drips on the ceiling, which can be difficult to fix once the paint has dried.
To create the ridge, use a putty knife to scrape along the edge of the ceiling where it meets the wall. By doing this, you will be able to create a small gap that can be filled with paint to create a clean, even line.
Tip 4: Use Box Paint for Consistent Color
Use the same color and type of paint throughout the entire project to ensure a consistent finish. One way to achieve this is by using box paint. Box paint is pre-mixed paint that comes in a large container, ensuring that the paint's color and consistency remain the same throughout the project.
Using box paint can save you time and money, as you won't have to worry about mixing paint yourself or running out of paint in the middle of the project. Plus, returning any unopened boxes of paint to the store is easier if you end up not using them.
Tip 5: Finish One Wall Before Starting Another
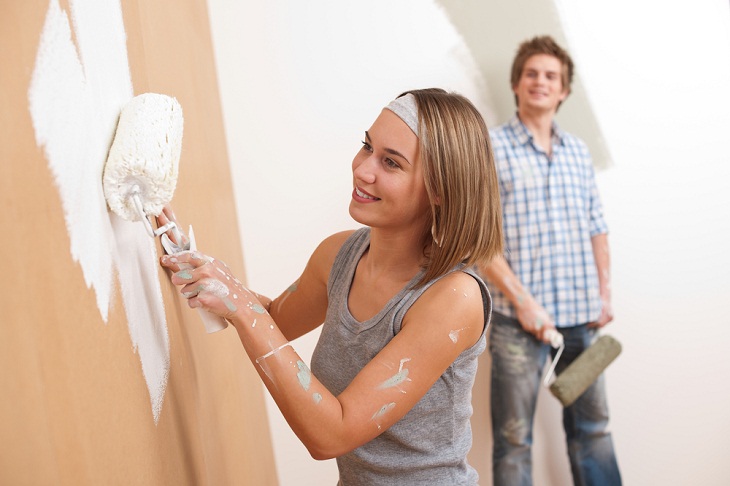
It is recommended that you paint one wall before moving on to the next in order to ensure that the paint dries evenly and prevent accidental smudges and scrapes.
Start by painting the edges of the wall with a brush, then use a roller to cover the rest of the wall. Work in small sections and blend the paint together to avoid visible brush or roller marks. Once you've finished painting one wall, allow it to dry completely before moving on to the next. This will give a smooth and consistent finish throughout the room.
Tip 6: Keep an Extra Can or Two Around
You should always purchase extra buckets of paint before beginning the project so that you will be able to finish it without running out of paint halfway through.
It's also a smart idea to buy extra paint if you plan on doing touch-ups in the future. This way, you'll have the exact same color and finish on hand, making touch-ups quick and easy.
Store the extra paint in a cool, dry place to make sure that the paint stays fresh and doesn't dry out over time.
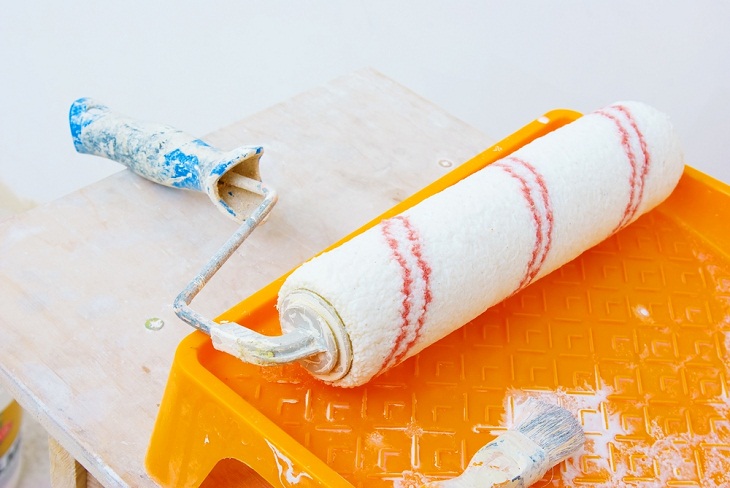
Tip 7: Wash Roller Covers
To achieve a smooth and consistent finish, it's important to use clean roller covers. Before using a new roller cover, make sure to wash it with soap and water to remove any loose fibers or debris.
After each use, wash your roller cover with soap and water to remove any remaining paint. You can also use a roller cover cleaner to make the process quicker and more efficient.
Allow the roller cover to dry completely before using it again. Storing a damp roller cover can lead to the growth of mold and bacteria, which can ruin the cover and affect the quality of your paint job.
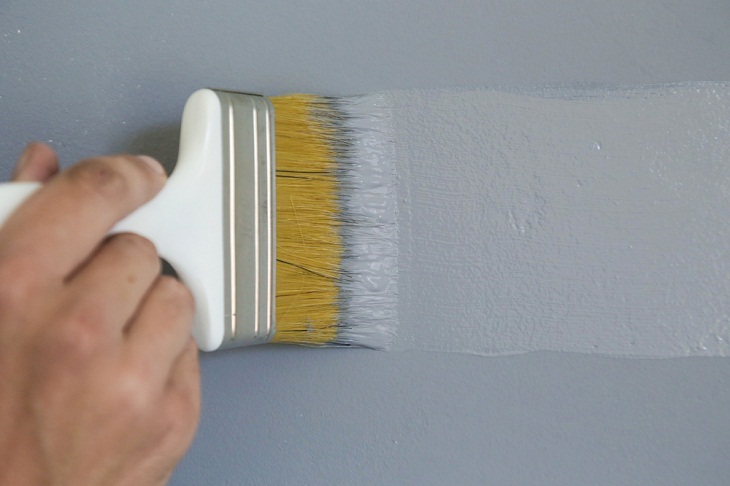
Tip 8: Start with a Loaded Brush and Push Paint to Avoid Runs
To create uniform coverage, start with a loaded brush. Dip your brush into the paint and remove any excess by tapping it against the edge of the paint can.
When painting, push the paint in the direction of the brush strokes to avoid runs and drips. If you do end up with a run, simply wipe it away with a clean brush or rag before the paint dries.
Using a high-quality brush that is suitable for the kind of paint you're using is also vital. A cheap brush can lead to uneven coverage and bristle marks, which can affect the quality of your paint job.
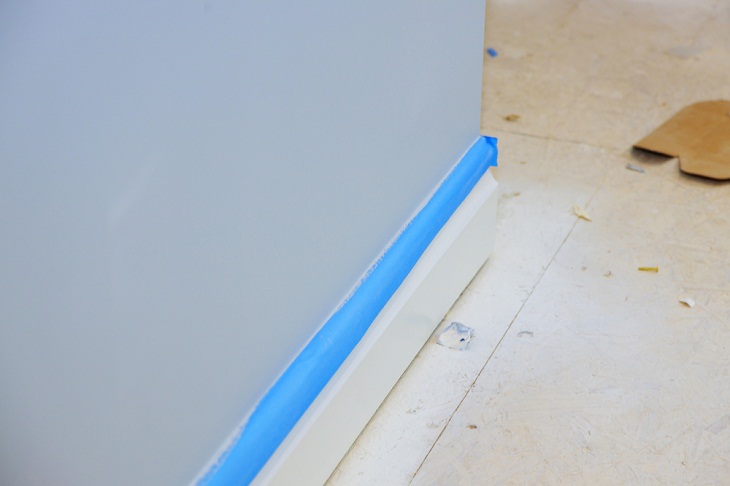
Tip 9: Tape the Trim, Window, and Doorframes
To achieve a clean and professional-looking paint job, it will be a good idea to tape off the trim, window, and doorframes before painting.
Use painter's tape to protect the edges of these areas and create crisp lines. Press down firmly on the tape to prevent any paint from seeping underneath. Once you've finished painting, remove the tape immediately to prevent it from peeling off any of the fresh paint.
Tip 10: Prime the Walls Before Applying a New Coat of Paint
Even if your walls have already been painted, use a primer before applying a new coat of paint. Primer helps create a smooth, even surface for your paint to adhere to. It can also help hide any imperfections on the wall.
Choose a primer that's appropriate for the type of paint you're using and let it dry completely before you paint.
Related: 15 Fun Ways to Add Color to Your Home
Tip 11: Prioritize Hard-to-Reach Spots with Brush Before Rolling
Use a two-inch angled brush to apply paint around trim and corners that cannot be reached with a roller. Allow two to three inches of space between windows, doors, and moldings. The purpose of this step is to prevent visible brush marks at the edges of the painting.
Then, use a roller to cover the rest of the wall in a smooth, even layer. Blend the areas where the brush strokes and roller strokes meet to create a seamless finish.
By following these tips, you'll be able to achieve a professional-looking paint job in your own room. Remember to take your time, prep the surface properly, and use high-quality materials for the best results. Happy painting!