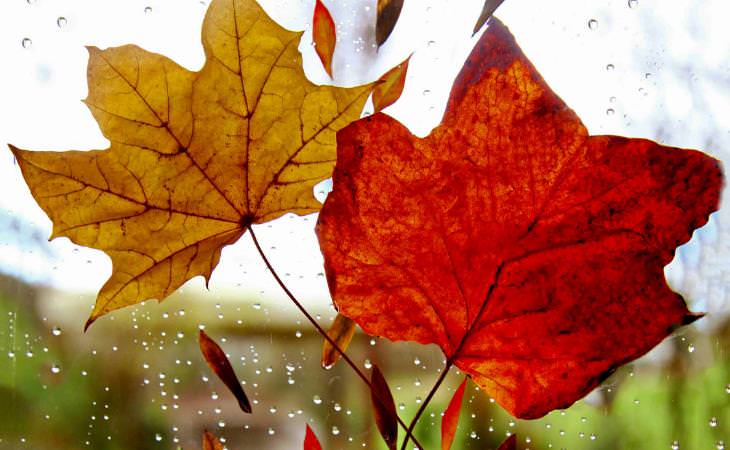
Next time you're out with the kids, collect some cool leaves for a DIY! You can even make a contest out of it - whoever finds 10 beautiful leaves first wins the prize. If you're not into the huss and fuss of preserving the leaves and making a whole project, scroll down for a leaf crown method you can make on the go using nothing but leaves. Your children will be the most interested ones in the crowd!
How to preserve leaves?
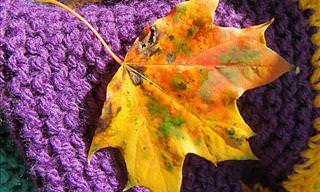
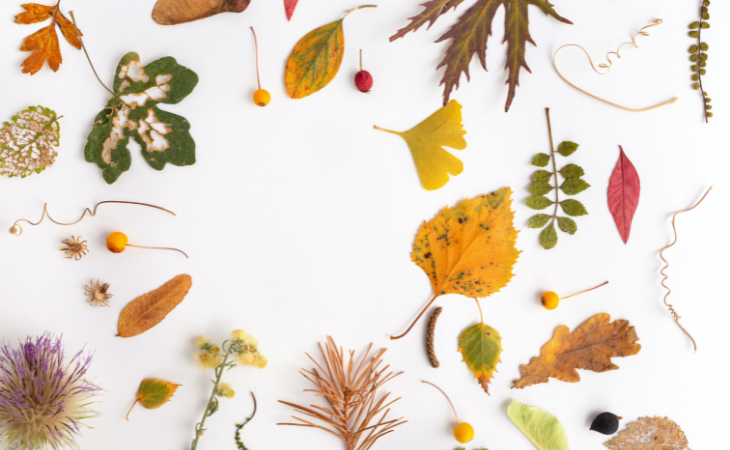 Pick the driest and most colorful ones and shake off any debris. For preserving, there's always the 'ye olde' method of pressing between two paper sheets inside a book, but why wait so long when you can dehydrate your leaves in the microwave? Simply spread them between two paper towels and start a 30-second cycle. Examine the leaves and repeat as necessary. Make sure you only use dry leaves; If they're still a bit green or wet from morning dew, avoid them.
For even longer-lasting leaves, that will be sturdy and won't break, you can wax your leaves using the melt and dip method: dip them in melted wax and either lay them on a wax paper sheet to dry or hang to dry. Keeping the stem will assist you in dipping and hanging to dry.
If you have wax paper laying around, you can combine all methods at once: spread your leaves between two sheets of wax paper, cover with an ironing cloth or a thin towel, iron without steam, and cut the leaves away from the single sheet that formed.
Alternatively, when you first arrange the leaves between the wax papers, do it as a nice composition, and frame the big wax sheet instead of cutting out the leaves. Now you have your first DIY done. Wasn't that breezy?
One last note on preserving leaves: some leaves can be used straight away but they might not last you the whole season. Use your judgment on this matter.
Leaf Garland
You'll need:
-20 to 30 leaves with the stem.
-2 pounds wax/wax papers.
-12-foot string.
Method:
If you go with the melt and dip method, we would recommend using disposable vessels to save you the trouble of cleaning the wax. Once you have your collection of waxed leaves ready, start with a simple knot in the middle of your string but don't tighten it just yet. When the knot is still a little loose, insert the stem and tighten. Repeat on each side as many times as you like. Leave an inch or two between the leaves.
Leaf Lantern
You'll need:
-Pressed, dry, unwaxed leaves.
-Craft glue.
-Clean glass jar.
-White tissue paper.
-Optional: twine.
Method:
Coat the jar with a layer of glue, then some pieces of tissue paper, another coat of glue, and then some leaves. Press them evenly across the jar. Finish off with another coat of glue.
For extra decorations, you can add some glitter glue, wrap and tie some twine on the top for decorations, or glue little twine ribbons around.
Allow to fully dry and then light a tea light for your lantern! In the video above, they didn't use tissue paper, but we recommend it for easy adhesion of the leaf to the glass.
Leaf Glass Clings
This is a quick one for ya, that will work best as a project with toddlers, or even as nice decorations for the holiday.
You'll need:
-Waxed leaves, preferably from the wax paper method.
-Clear tape.
Method:
If your kids are grown, they can cut the leaves out of the wax sheet. If not, just tape the leave on the window together and admire their beauty in the light.
Leaf Crowns
You'll need:
-Carton (a pizza box works as well!)
-Leaves, in any state.
Method:
Measure the childrens' heads and cut a strip of carton accordingly. Glue or tape the leaves on and tape the ends together.
If you're out on the playground or you just want to wow your children with your forest magic abilities, try this no-tools, on-the-go DIY:
Leaf Wreath
This is a beginner and budget-friendly tutorial that can work with any type of leaves. As mentioned throughout the article, using waxed leaves will last you much, much longer, but it can also be time-consuming.
H/T: TreeHugger, TreeHugger.