header print

Remove Rusted Screws from Wood With These Simple Steps

Rusted screws can be a frustrating obstacle when working with wooden surfaces. They not only hinder the disassembly process but also pose a risk of damaging the wood. However, with a few simple steps and some basic tools, you can effectively remove rusted screws from wood without causing any further harm. The article provides a step-by-step approach to removing rusted screws safely and effectively, saving you time, effort, and possible headaches.

Step 1: Gather the necessary tools 

Gather the necessary tools before you begin removing rusted screws from wood. Here's a list of items you'll need:
  • Screwdriver or power drill: Choose the appropriate size and type depending on the screws you're working with. A power drill can increase torque for stubborn screws.
  • Screw extractor: This specialized tool is designed to grip the screw and facilitate its removal.
  • Hammer: Useful for tapping the screwdriver or extractor into place.
Remove Rusty & Damaged Screws,
  • Pliers or locking pliers (Vise-Grips): These tools help to provide a firm grip and facilitate turning the screw.
  • Lubricant: WD-40 or a similar penetrating oil can help loosen rusted screws.
  • Safety goggles and gloves: These protect you from potential injuries while working.

Step 2: Assess the screw condition

Remove Rusty & Damaged Screws,

Before removing a screw that has rusted, it is important to carefully assess its condition. Evaluate the level of rust and determine the extent of corrosion. This assessment will help you choose the appropriate removal method. Here are some common scenarios:
Light rust: If the rust is minimal and the screw head is still visible, you can try simple techniques like lubrication and applying force with a screwdriver or power drill.
Moderate rust: When the rust covers the screw head and part of the shaft, a screw extractor or pliers may be necessary for removal.
Severe rust: In cases where the screw is heavily rusted, corroded, or its head is completely worn out, more advanced methods such as drilling or cutting a new groove might be required.

Step 3: Apply a lubricant

Remove Rusty & Damaged Screws, WD-40
To loosen the rust and facilitate the removal process, apply a suitable lubricant to the rusted screw. WD-40 or a similar penetrating oil can work wonders in breaking down rust and corrosion. Follow these steps:
  • Spray the lubricant directly onto the rusted screw. Ensure that the surrounding wood is protected.
  • Let the lubricant sit for a few minutes to allow it to penetrate the rust.
  • For better results, tap the screw gently with a hammer to further aid in the lubricant penetration.

Related: Cheap and Great Tips for Removing Rust from Any Surface!

Step 4: Use a screwdriver or power drill

Remove Rusty & Damaged Screws, power drill

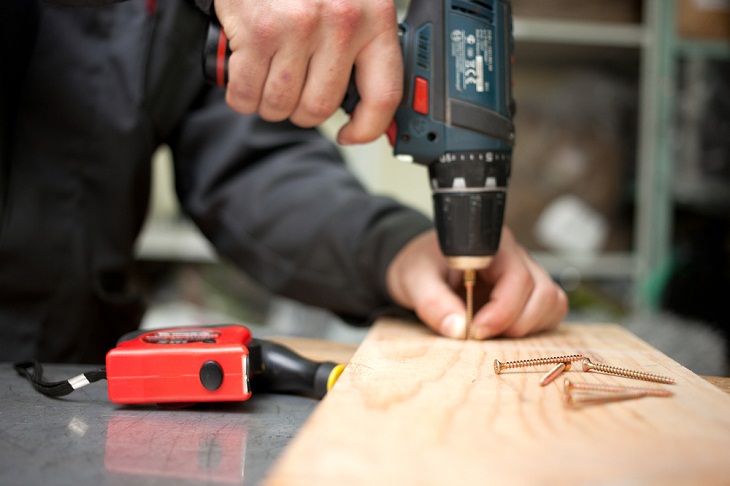
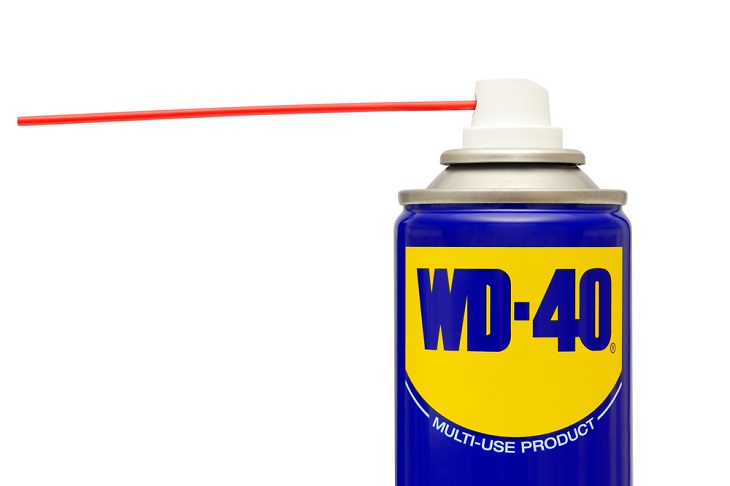
After the lubricant has had time to work its magic, attempt to remove the rusted screw using a screwdriver or power drill. Follow these steps:

  • Place the appropriate screwdriver bit or drill bit into the screw head.
  • Apply firm and steady pressure while turning counterclockwise to loosen the screw.
  • If the screw is resistant, use pliers or locking pliers (Vise-Grips) for a better grip. Ensure you're turning the screw in the correct direction.

Step 5: Employ a screw extractor

When conventional methods fail, a screw extractor can come to the rescue. This specialized tool is designed to grip the screw firmly, and ease its removal. Follow these steps:

  • Choose an appropriate-sized screw extractor bit that matches the screw head.
  • Attach the screw extractor bit to the power drill, ensuring it is securely fitted.
  • Place the extractor into the screw head and apply gentle pressure while turning counterclockwise. The extractor will bite into the screw, easing its removal.
  • If using a manual screw extractor, insert it into the screw head and turn it counterclockwise with a wrench or pliers.

Step 6: Drill or cut a new groove

In cases where the screw head is severely damaged or completely stripped, creating another groove might be the only option. Follow these steps:

  • Select a drill bit slightly smaller than the screw shaft diameter.
  • Carefully drill a small hole in the center of the screw head to ensure you do not drill into the wood.
  • Use a screwdriver with a corresponding bit or a power drill with a screwdriver bit to turn the screw counterclockwise.
  • Alternatively, you can use a rotary tool with a cutting disc to create a new slot in the screw head for a flathead screwdriver.

Related: 12 Useful Tips and Innovations for the Home!

Step 7: Put some heat on it

If you're dealing with a screw in metal or if there are stuck washers, applying heat can help loosen the rust and make the screw easier to turn. Heat causes metal to expand, which can break the rust's grip on the screw. You will need a heat source such as a hairdryer or a heat gun, a protective glove, and a hammer.

  • Hold the heat source (hair dryer or heat gun) a few inches away from the rusty screw. Direct the heat towards the area around the screw, including the screw head and the surrounding metal. Move the heat source in a sweeping motion to evenly distribute the heat.
  • Continue applying heat to the screw area for a few minutes. The goal is to expand the metal, which helps break the rust's grip on the screw threads. Be cautious not to overheat the metal, especially if it is near other sensitive materials or components.
  • After heating the screw, take a hammer and give the head of the screw a few gentle but firm taps. This tapping motion helps to further loosen the rust and break the bond between the screw and the metal. It also provides additional mechanical force to assist in turning the screw.
  • Using a screwdriver or an appropriate tool, try turning the screw counterclockwise to remove it. The combination of heat and tapping should have loosened the rust, allowing the screw to turn more easily. If the screw still resists, you may need to proceed with additional steps or alternative removal methods.

Note: Applying heat to a rusty screw should be done with caution and proper safety measures. Be mindful of flammable materials in the vicinity and avoid overheating the metal, which can cause burns. If necessary, use protective gloves to handle hot surfaces and ensure a safe working environment.

Next Post
Sign Up for Free Daily Posts!
Did you mean:
Continue With: Google
By continuing, you agree to our T&C and Privacy Policy
Sign Up for Free Daily Posts!
Did you mean:
Continue With: Google
By continuing, you agree to our T&C and Privacy Policy