Frankly, vegetative propagation is often the only way for a home grower to multiply plants, as many of the tropical houseplants we grow indoors are close to impossible to get to bloom, pollinate, and produce seeds in a home environment.
When you propagate your plants, you’ll be taking parts of the mother plant, separating them, and getting the parts you divided to develop a root system and new leaves - not necessarily in that order. For different plants, this will take anywhere from a few weeks to months, so a little patience is definitely required.
Now, shall we examine and learn each propagation technique?
Division is one of the easiest and quickest ways of getting two, three, or more plants out of a single mother plant. It works for multi-stemmed perennial plants, which includes most houseplants and a multitude of garden plants as well. As the name suggests, this method involves dividing the plant and moving it to a prepared flower pot or a new location in the garden.
Division is best done in early spring or fall when your plants are not actively growing but still get enough sun to stay strong and healthy.
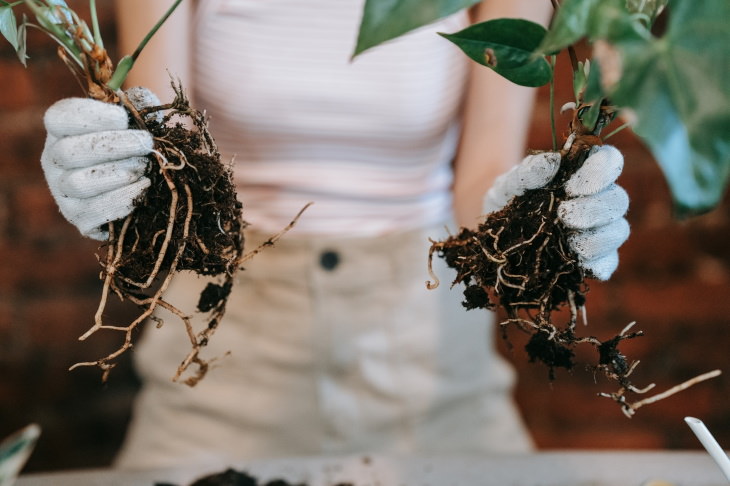
Root Division
Basic root division works great for multi-stemmed plants like most herbs, most vining houseplants, Snake plants, ZZ plants, Aglaonemas, and even indoor plants that are otherwise quite tough to multiply like Calatheas. In fact, even certain ferns, such as Rabbit's foot ferns (Humata tyermannii) or Staghorn ferns (Platycerium) can be propagated by division.
When dividing a plant, your goal is to make sure that all of the baby plants have a root system, a stem, and leaves, otherwise, the new plant may not survive.
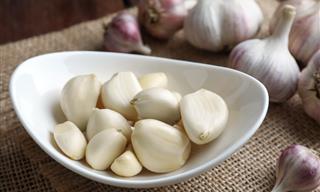
Did you know that plants that grow out of underground bulbs or tubers can also be divided into 3-4 plants? This list includes plenty of garden flowers like dahlias and lilies and even houseplants like tuberous begonia and caladium. The process is very similar to root division for soft bulbs - you simply clean the bulb and divide it by hand, teasing apart the roots.
Tubers will need to be cut using a disinfected knife. Just make sure that each section has an eye and some flesh.
You can plant bulbs and tubers immediately and water generously. Some people choose to sprinkle the freshly-divided tubers with some fungicide before planting to prevent rot.
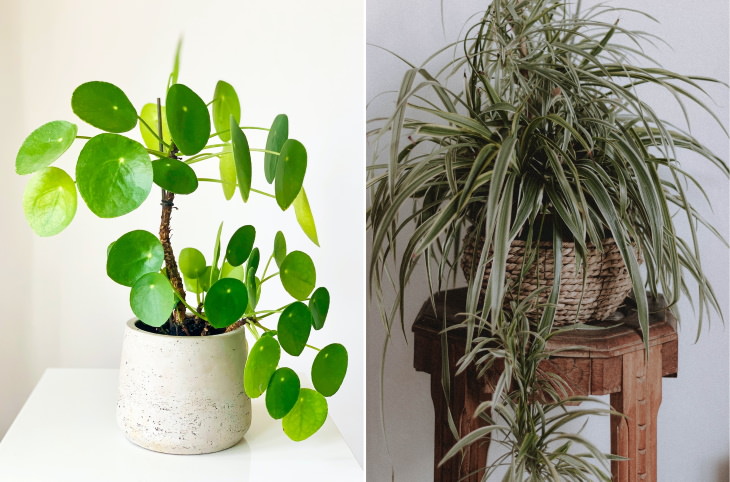
But you don’t have to travel to Utah to see plant pups. In fact, you likely have plenty of those in your own home. Common houseplants like Spider plants (Chlorophytum comosum, pictured on the right above), Pancake plants (Pilea peperomioides, pictured on the left above), many palms, most succulents, and cacti produce pups all the time.
Dividing such plants is super easy - just gently remove the pup with your hands or a pair of clean garden shears, and pot up the pups in any small pot. I use recycled deli containers to propagate pups, and they work great.
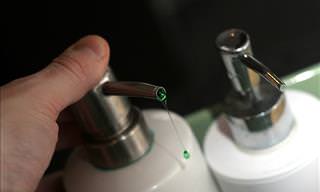
If the pup doesn’t have any roots, you can dip it in a little rooting hormone before planting. Rooting hormone is sold at most garden centers. Although not necessary for the propagation of pups and cuttings, it can be very beneficial for propagation. Watch the video below to see how to propagate pups step by step.
With all the newly divided plants, keep a close eye on them during the first 2 weeks. It’s best to keep newly propagated plants in a warm environment with bright indirect sunlight. You may also need to water new plants more often before they become fully established.
When you’re taking a cutting of a plant, you’re utilizing the plant’s incredible regenerative properties to essentially produce several plants. This method involves severing a leaf, a part of the stem, or even some of the root, and using this so-called cutting to grow a new plant. The advantage of this method is that it always allows you to preserve the parent plant, as it will continue growing.
Now, cuttings can be taken from both soft-stemmed houseplants, herbs, and even trees. But it’s always advised to propagate hardwood cuttings in the fall and go for younger stems, as hardwood generally takes longer to root. Some plants take weeks to root, whereas others take months. If you’re impatient like me, using some rooting hormone can help speed up the process a bit here as well.
There are 3 main types of cuttings (not all plants will propagate through all three techniques):
With all cuttings, you have a variety of ways to propagate them, but it’s important to provide the cutting with optimal light and humidity:
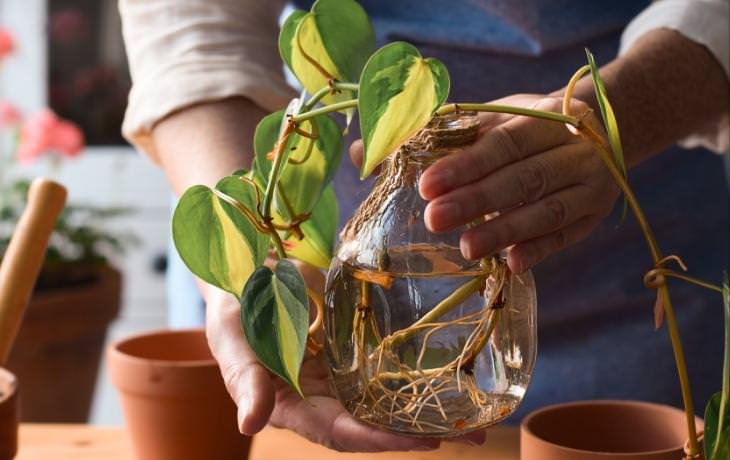
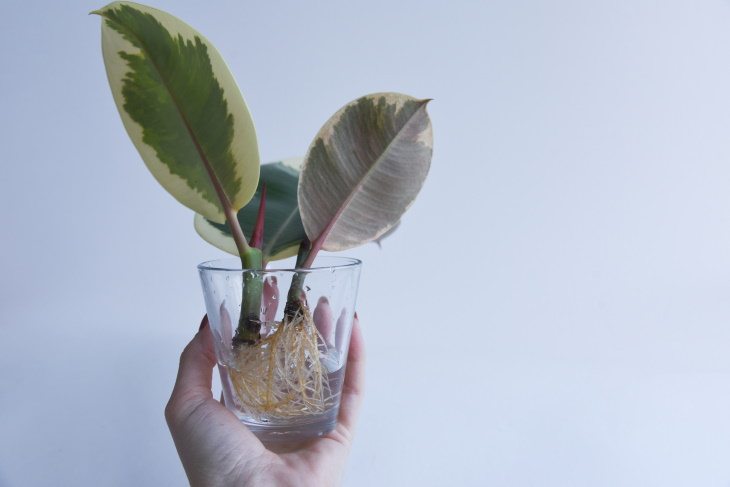
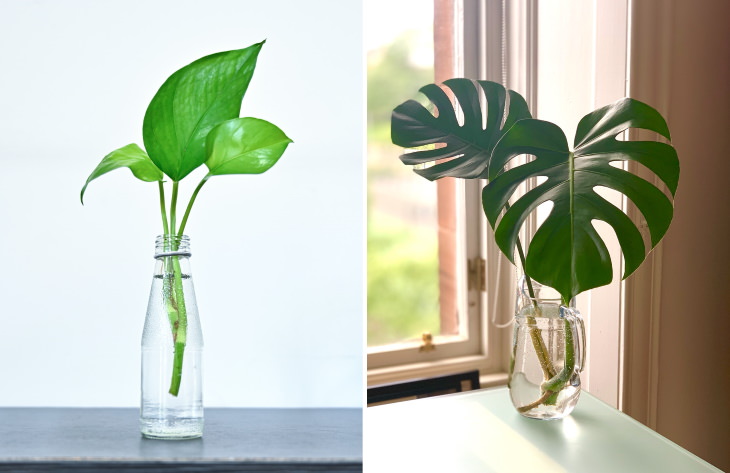
Water propagation - you can place the cuttings you took in a clear container or vase with water and replace the water every few weeks. The plant will be ready to be potted up when the roots are well developed (about 4 inches long). But for most plants, there’s no rush. Many vining houseplants like philodendrons, monstera, and pothos, for example, will live happily in water for months. Once you transfer the plant to a pot, water it a bit more than usual for 1-2 weeks to help it get nutrients and develop soil roots faster.
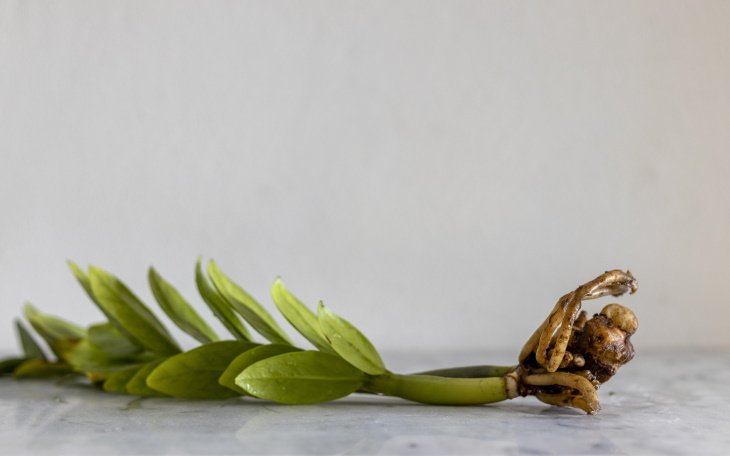
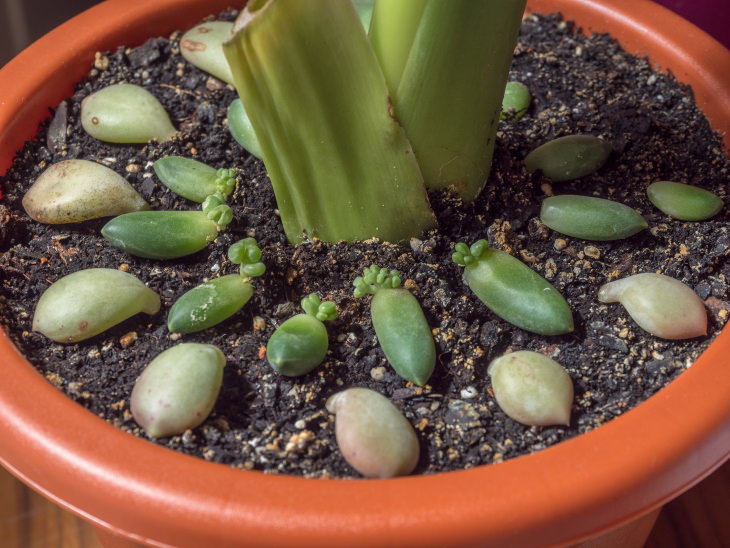
Soil propagation - You may stick the cuttings directly into the soil and keep it moist until the plant is established. Leaf cuttings of succulents, for example, are best grown this way (pictured above). The disadvantage is that you don’t see the roots, and it may take a bit longer than other methods.
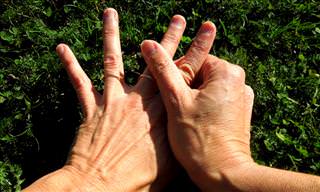
What are runners? Plants like mint or strawberries have specialized stems called ‘runners’ that root very easily to make new plants. But you can take any stem, not only a runner, and simply pin it down with a rock or brick. Wait for a few weeks, then remove the rock and check if the plant has started rooting. If so, you can cut off the connection to the parent plant, and you’ll have a brand you plant ready.
When layering woody plants, scratch or wound the bottom of the stem before pinning it down, this will urge the plant to start producing roots in that specific area.
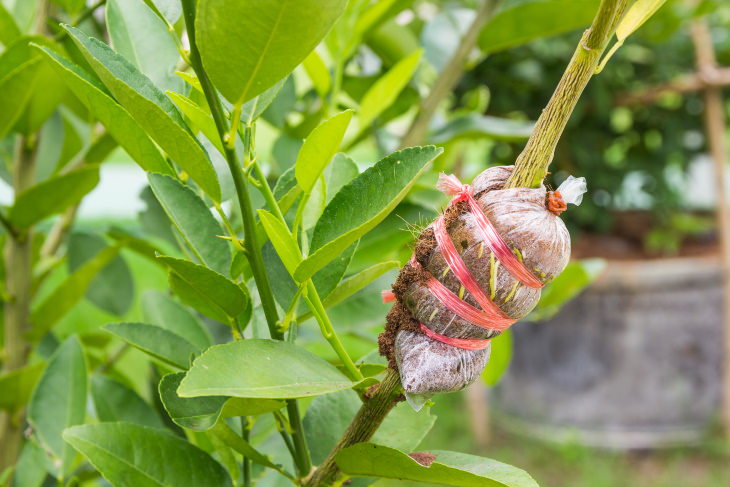
A variation of layering is air layering (pictured above), which is when the top of the plant’s stem is wounded and then wrapped in sphagnum moss and plastic, and secured until the wounded area starts rooting. This is a pretty cool method for both trees and tall, single-stem houseplants like fiddle leaf figs, bonsai, or monsteras.
Now, there are many other, more complicated, and scientific propagation techniques like grafting or tissue culture, but those are typically reserved for professionals and even labs. Since we really wanted to keep the information in this article as practical as possible, we only included the methods you can easily replicate in your own home and garden. So off you go, experiment with your plants, and start growing a lush garden for free right away!
H/T: Gardener's World, Gardenista