header print

How to Paint Plastic Outlet Covers So They Don't Chip

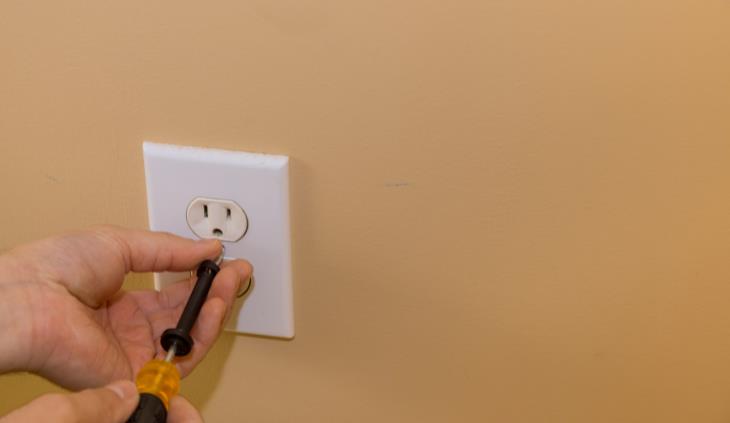
So you painted your bedroom a fresh coat color, and now, your stark white outlet covers seem to stand out with contrast. Maybe you even tried painting over them, but the paint chips away easily and doesn’t have a smooth finish. In this article, we'll cover how to paint outlet covers, plastic and metal ceiling registers, and how to wallpaper an outlet cover as well.
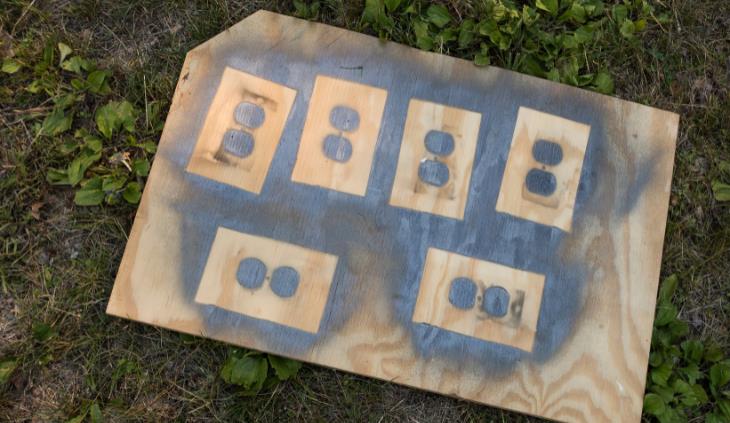
Painting plastic switch plates

Painting plastic outlet covers - unscrewing the covers
When painting plastic hardware, two things must be considered: the difference in color and the difference in material between the wall and the covers. The color of your plastic outlet is not identical to that of the wall (even if they are both white). The two must be matched. The difference in material affects the method of painting.
For plastic covers, you'll need:
* An abrasive sponge or sanding paper of 220 grit.
* Oil-based primer.
* The same paint you used for the wall.
* A small foam roller.
1. Unscrew and clean the outlet covers. Use a simple solution of warm water and dish soap. Let it dry completely.
2. If there are any paint stains or a full layer of paint, use rubbing alcohol to remove it. Avoid paint thinner, as it might melt the plastic.
3. Scuff and smooth down the surface with the sponge or sandpaper.
4. Apply a spray on oil-based primer in a single, even, and thin layer. Do this outdoors from a distance of at least 10 inches. Let it dry completely and sand again to smooth out the surface.
5. Work with well-mixed paint and apply the paint with a small foam roller. Start with a light coat and let it dry completely. Once dry, place it up against the wall to see if the colors match. If another layer of paint is needed, scuff the cover again before you apply it. Repeat this process until the colors match.
6. Paint the heads of the nails too. Before installing, finish the paint job with a clear protective finish – it doesn’t have to be shiny if you’re not after that look.
7. Carefully reinstall the socket cover. For the next two weeks or so, be extra careful around your newly installed painted switch covers. It may seem dry, but paint does take a while to dry completely.
Painting plastic outlet covers - spray paintingDecorative painting
If you'd like to take a finer brush and paint a decorative pattern, the preparation process should be just about the same. 
1. After removing the cover from the wall, cleaning it, and scuffing it, apply the primer. 
2. Let the primer dry and scuff with the sponge or sandpaper. 
2. Paint on a smooth base layer - this can be any color you like, but you must do it to cover the primer completely. 
3. Using a fine brush, draw your design and let it dry.
4. Do not scuff- simply cover with the clear finish layer and reinstall the cover once dry. 

Painting metal covers

For metal ceiling registers and other covers, you can skip the sanding and scuffing. Simply wash them with warm water and dish soap, let dry, apply the primer, and follow up with the paint.
If there is rust, a five-hour vinegar bath should treat it. Rust-neutralizing products will also work. Let them sit for 24 hours and paint the next day.

Applying wallpaper to outlet covers

This process requires some finessing and patience, but it pays off. Follow the instructions on the video below, and your socket should be perfectly hidden! 
Source: 1, 2, 3
Next Post
Sign Up for Free Daily Posts!
Did you mean:
Continue With: Google
By continuing, you agree to our T&C and Privacy Policy
Sign Up for Free Daily Posts!
Did you mean:
Continue With: Google
By continuing, you agree to our T&C and Privacy Policy