header print

Step-by-step Guide for Removing Scratches on Wood

Wooden floors and furniture are fabulous investments that can add value to your home and easily last a century or more when well-maintained. But even a sturdy material like wood is prone to scratches. Fortunately, they are quite easy to repair on your own. Use this handy guide to restore hardwood floors and wooden furniture to their former glory.

What can damage wood surfaces?

Removing Scratches on Wood scratches on floor

Wooden furniture and hardwood floors are stylish, lasting, and tough, but they’re not indestructible. Here are a few habits that can damage wooden surfaces:


  • Allowing dirt and dust to accumulate can degrade wood surfaces.
  • Cleaning wooden surfaces with abrasive or acidic cleaners, such as baking soda or vinegar.
  • Use too much water when cleaning wooden surfaces. Wood should never be drenched when you’re cleaning it.
  • Missing pet stains on hardwood floors and not cleaning them up right away. 
  • No pads on the legs of chairs and other furniture can scratch hardwood floors.
  • Forgetting to fix a loose door hinge.
  • Wearing high heels indoors.
  • Not protecting furniture and floors that get more traffic and are more susceptible to water damage with mats or rugs.

Avoid these habits to prevent scratches in the future.

Determine the type of wood finish

Removing Scratches on Wood wood finish

First things first, determine the type of wood finish you’re working with. It may be varnished, stained, water-based, oil-based, or wax-based. The scratch solution depends on the type of finish with which the wood is treated. For example, pre-finished wood may be more resistant to tinting and sanding.

If you don’t know what finish is used, we recommend testing the stain treatment in an inconspicuous area – e.g. the underside of wooden furniture or areas on floors that are typically concealed by rugs.

Clean the area of concern

Removing Scratches on Wood mopping floor

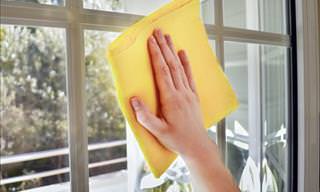
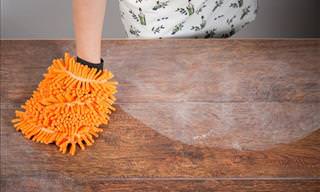
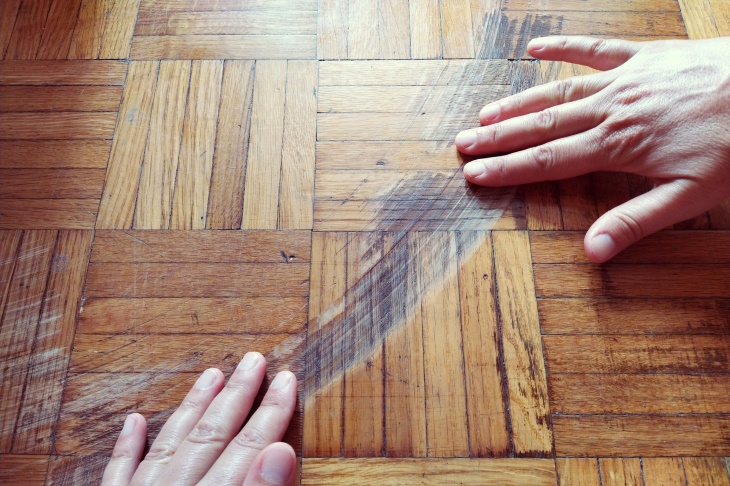
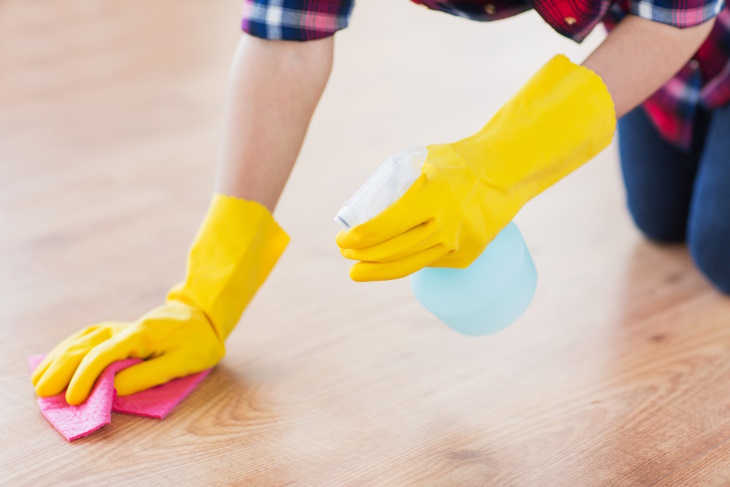
In order to assess the severity of the scratch, begin by gently but thoroughly cleaning the trouble spot. Remove dust and grime with a soft-bristled brush or broom. Then clean the area of the scratch or crack with a gentle wood cleaning product or a drop of dish soap diluted in a bucket of water. Furniture and floors coated with a layer of wax can be pretreated with a wax remover solution.

Avoid using wood cleaners that contain oil, polish, wax, or paste – anything that adds shine or a protective coat. It’s not time to seal the wood finish just yet; you can do it as a last step after removing the scratch itself.

How to remove minor scratches

Removing Scratches on Wood minor scratches

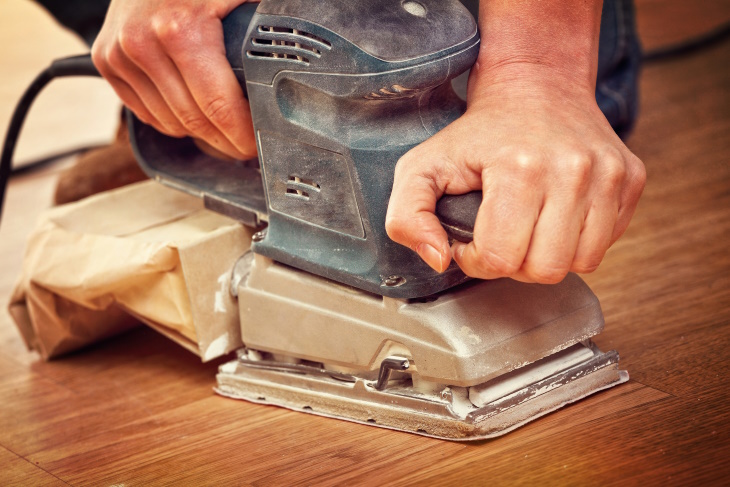
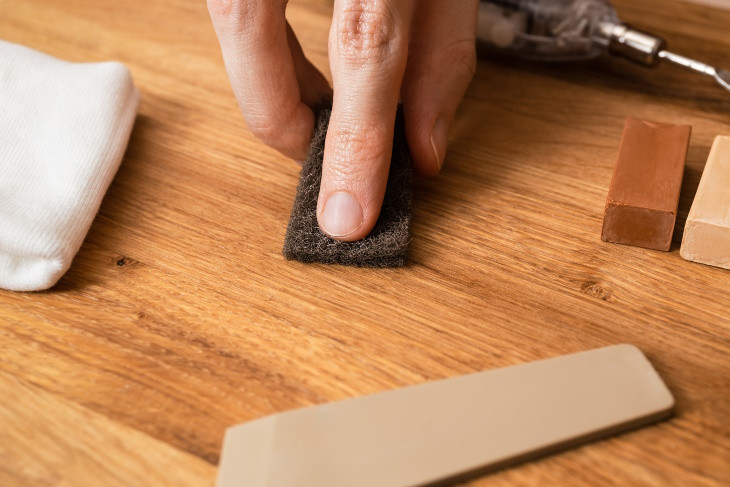
What is considered a minor wood scratch? Generally, a thin and shallow scratch that’s around 1/16 inch or less falls within this category, like scratches caused by playful pets or sliding chairs. Such small scratches can be easily buffed down by hand using fine-grit sandpaper (180-grit or higher) and restored with color-blending products and refinished. 

Generally speaking, scratches that are parallel to the grain of wood are easier to fix than irregular-grain scratches. Barely noticeable scratches may not need special color-restoring products and sanding – applying a finish restorer is sometimes enough to make the scratch vanish.

Here are a few effective ways to color-blend small wood scratches:

1. A two-ingredient DIY solution

Removing Scratches on Wood cleaning floor
If the scratches are small, try using a mixture of equal parts olive oil and apple cider vinegar. This method is considered to be the most effective DIY fix for wood scratches. Dip a clean cloth into the solution and use it to work into the scratch. Leave it on the area of concern for a full day, and then wipe it away with a clean cloth. See this method in action right here – A Super-Easy Fix for Scratched Furniture.

2. Color-match wood using walnuts

Removing Scratches on Wood walnuts
Believe it or not, walnuts contain natural brown dyes and emollient ingredients that can camouflage minor scratches on lighter wood and repair the wood finish. Just rub a raw peeled walnut into the scratches. The walnut should produce a natural oil that seals and conceals the wood. Warm up the oils in the nut in your hands, then rub it into the damaged area in small circular motions. Let it sit for a few minutes, then buff it away with a clean cloth.

3. Use blending pencils, pens, or paint to cover the scratch

Removing Scratches on Wood wood pencil

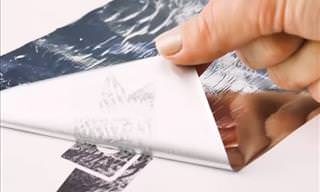
There’s a variety of color-correcting pencils, pens, and colorants manufactured to conceal scratches. These types of color-blending products are available at home repair stores.

Just make sure to pick a color that matches your wooden surface. These products are super easy to use – just fill in the scratch with the pen and then buff it out with a cloth. Follow the product instructions for more details.

How to get rid of deep scratches

Removing Scratches on Wood damaged door
Deep scratches are those that are wider and deeper than 1/16 inches, like heavy furniture marks, chips, and cracks. If you’re dealing with just one or a few separate scratches, you can treat them individually. However, if there’s an entire area with scratches, you may need to sand down and refinish an entire section of the floor.

1. Fill and stain deeper scratches

Removing Scratches on Wood color parquet

Deep wood scratches and gaps must be filled before they can be dyed and refinished. There’s a special wood filler available at stores; it looks like pliable putty, and it comes in a few different colors. 

Using a plastic putty knife, cover the damaged area with wood filler, leveling it out and smoothing it out. Let the filler dry for 2-4 hours, and then buff it out neatly with fine sandpaper. Wipe away any dust with a dry paintbrush, then stain the filler with a color-correcting product. Once the stain has set, refinish the wood with a polish or sealant.

2. Sand and refinish numerous scratches

Removing Scratches on Wood Sand floor
If you notice many scratches throughout the wood surface, treating them all individually will be very time-consuming. A much faster and more effective way is to sand down the surface completely and refinish it. This works on any thick hardwood surface, not bamboo or thin wood.
You’ll be sanding down at least 1/32 inches off the surface – using an automatic buffer is best. Once you’re done, clean the floor and tint it again with a dye of your choice – be it with tinted oil, wax, or any other tint of your choice. Once the stain has set, protect the floor with a lacquer or type of another sealant.
Last but not least - be mindful that big gashes or deep cracks in wood must be repaired professionally.
Next Post
Sign Up for Free Daily Posts!
Did you mean:
Continue With: Google
By continuing, you agree to our T&C and Privacy Policy
Sign Up for Free Daily Posts!
Did you mean:
Continue With: Google
By continuing, you agree to our T&C and Privacy Policy