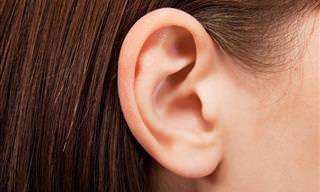
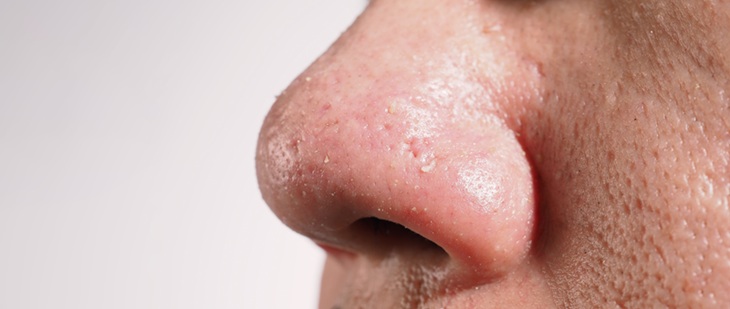
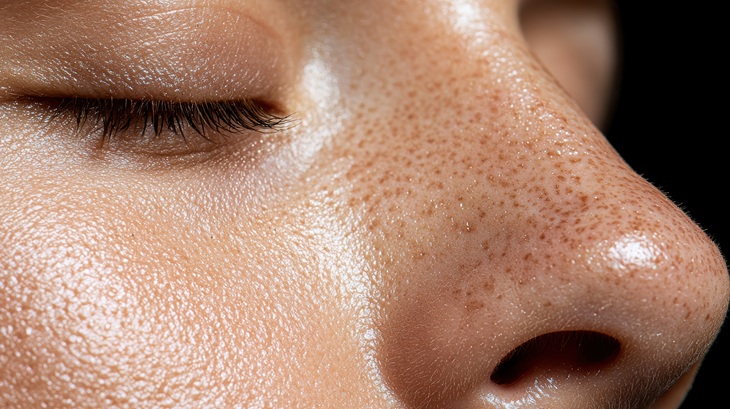
Blackheads are one of the most common — and most stubborn — skin concerns. They form when oil (sebum) and dead skin cells clog your pores, creating a visible plug. While some blackheads come out with basic cleansing and exfoliating, deeper ones often resist DIY treatment and may need more targeted care.
Here’s a comprehensive guide to treating and preventing blackheads — both at home and with help from a professional.
Understanding Blackheads
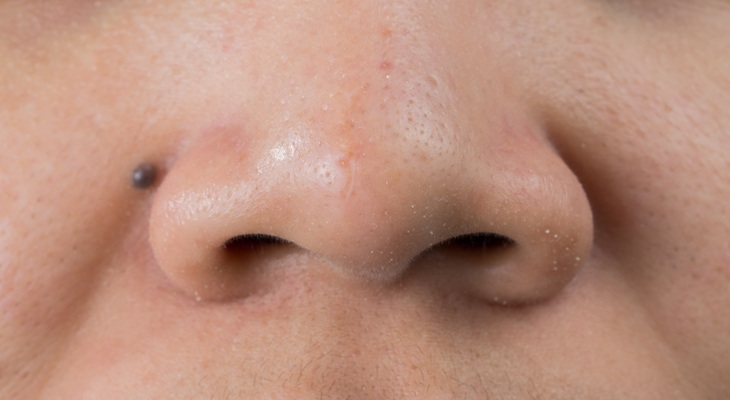
Blackheads are a type of non-inflammatory acne that forms when pores get clogged with oil and dead skin cells. When this mixture is exposed to air, it oxidizes and turns black — hence the name.
Some blackheads sit near the surface and are easy to extract. Others form deeper in the pore and harden over time, making them more difficult to remove without the right approach.
At-Home Blackhead Removal: A Step-by-Step Routine
1. Cleanse the Right Way
Start with daily cleansing — morning and night. If you sweat during the day (after workouts, for example), an extra rinse with water can help, but avoid overcleansing. Too much washing can dry out your skin and actually increase oil production.
Tips for choosing a cleanser:
Gel-based cleansers are a good pick — they’re less oily than cream-based formulas and work well for oily or sensitive skin.
Look for a daily cleanser with gentle exfoliants to help remove dead skin cells before they clog pores.
2. Exfoliate (But Gently)
Exfoliating helps clear away dead skin and buildup. Physical exfoliants — scrubs with particles — can work well, but avoid harsh options like ground-up nuts or rough beads, which can irritate or inflame the skin.
Better choices include:
How to use exfoliants:
1. Apply a thin layer
2. Massage gently — no scrubbing
3. Leave on for a few minutes (if recommended)
4. Rinse thoroughly
3. Use Steam to Loosen Pores
4. Apply a Clay or Charcoal Mask
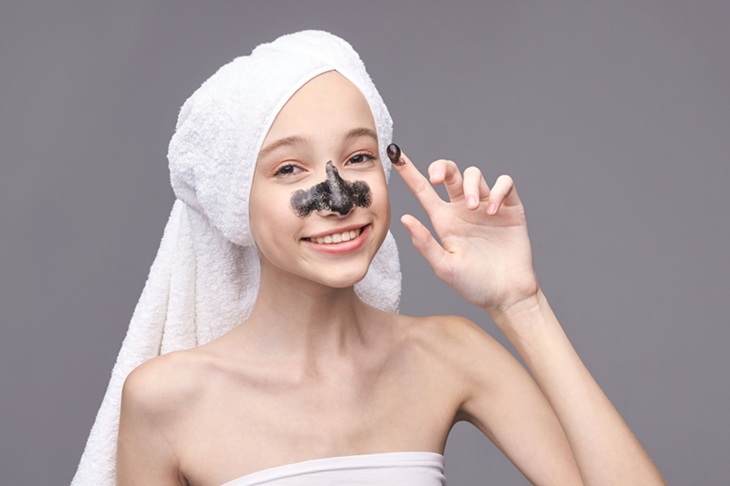
Clay and charcoal masks help draw out deep impurities from your pores.
Steps:
1. Apply a thin, even layer
2. Let sit for 15 minutes
3. Rinse thoroughly with warm water
This primes your skin for extraction and clears out excess oil and dirt.
5. Extract Carefully (If You Must)
If you're attempting extraction yourself, take extreme care to avoid irritation or scarring.
How to use an extractor tool:
Never squeeze blackheads with your fingers — it can cause damage, inflammation, and even scarring.
6. Soothe Your Skin Post-Extraction
After extractions, calm your skin with a cooling gel mask or serum. Look for ingredients like green tea, vitamin E or
almond oil. These reduce inflammation and help your skin recover. Rinse off gel masks and continue with your normal routine afterward.
7. Skip the Pore Strips
Although marketed as a quick fix, pore strips mostly pull surface debris — not deep plugs — and can dry out or irritate your skin. They’re not a long-term solution.
What About Home Remedies?
Be cautious. Many viral home remedies either don’t work or can make acne worse.
Avoid using: Apple cider vinegar, baking soda, epsom salts, lemon or toothpaste
These are too harsh and can cause dryness, irritation, or inflammation.
Not harmful, but not proven:
These ingredients may offer antioxidant or moisturizing benefits, but won’t effectively treat deep blackheads.
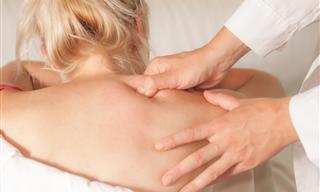
Professional Blackhead Removal Options
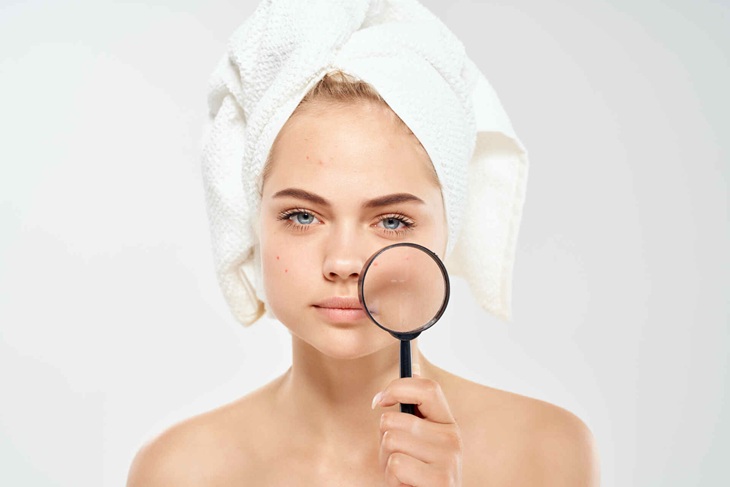
If home treatments aren’t working after six weeks, it might be time to see a dermatologist or licensed aesthetician. Here are a few in-office treatments that target blackheads more effectively:
1. Manual Extraction
After creating a small opening in the pore, a professional uses a sterile loop extractor tool to remove the plug with precision.
2. Microdermabrasion
This involves exfoliating the skin using fine crystals or a diamond-tip handpiece, combined with suction to remove dead skin. It can also improve the appearance of large pores.
3. Chemical Peels
Professional-strength acids remove the outer layer of skin to clear clogged pores and encourage cell turnover. Peels also improve skin texture and clarity.
Note: Your skin may be more sensitive to sunlight afterward, so daily sunscreen is essential.
4. Laser Therapy
Photopneumatic therapy combines light energy with suction to clear deeply embedded blackheads. It’s often used when other methods haven’t worked and may require annual follow-up sessions.
How to Prevent Blackheads
Removing blackheads is only half the battle — preventing them is key to long-term clear skin.
Do this consistently:
Final Thoughts
Getting rid of blackheads — especially deep ones — takes time, patience, and the right technique. Whether you go the DIY route or seek professional help, consistent care and prevention are key.
If nothing improves after several weeks, reach out to a dermatologist or