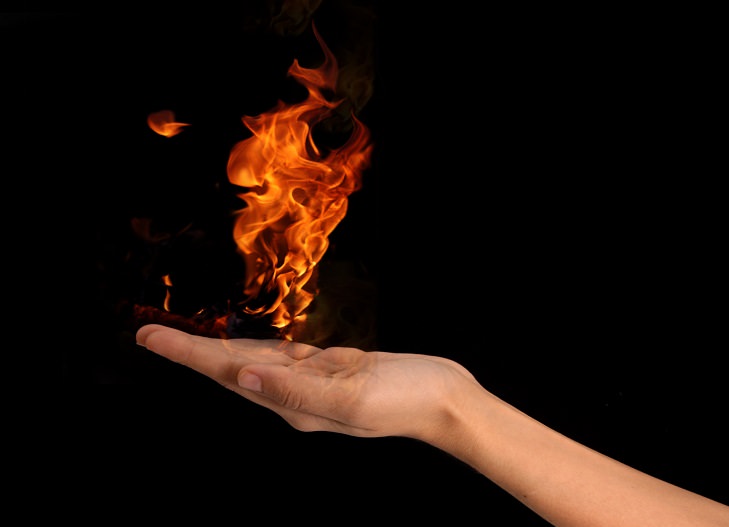
Setting your hands on fire makes for both a fascinating demonstration of scientific principles and a neat party trick. The idea is to create a protective chemical layer on the outside of your skin that protects your hands while another flammable substance burns out. What results is a burst of fire that you can hold in your palm as though you can control the elements. With the right practice, supervision, materials, and precautions, this is a relatively safe and easy trick to reproduce.
Performing Fire Tricks Safely
1. Remove All Rings and Other Jewelry
Before getting started, take off all rings, watches, bracelets and other accessories. These contain metals and materials that may react unpredictably when exposed to flammable chemicals. To add to this, you don’t want to risk ruining them.
2. Watch Out for Loose-Fitting Clothing and Long Hair
It’s best to wear short sleeves or snug clothing that rests close to the skin. Baggy, loose-fitting garments will hang nearer to the fire, and may get too close for comfort. Long hair should be pulled back tight or kept under a cap to keep it out of the way.
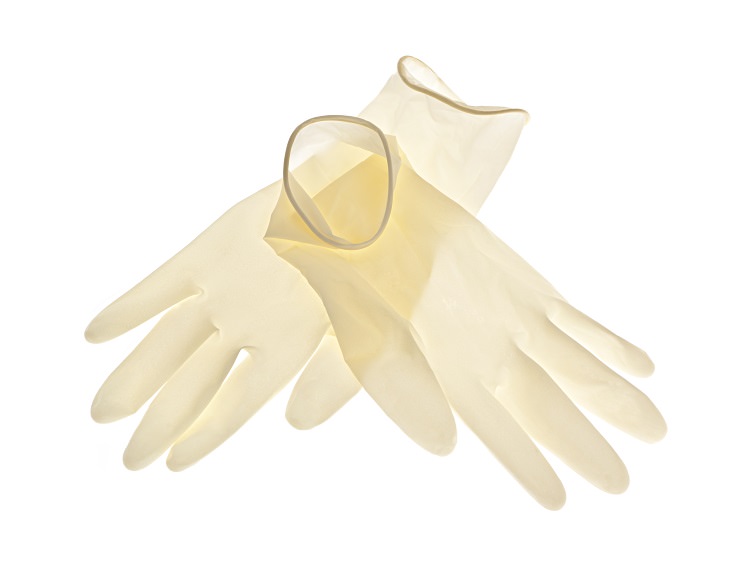
Make sure to submerge your whole hand in the alcohol or gas-infused soap solution so that the entirety of your skin has been coated. Do not leave any skin exposed or allow the skin to dry before lighting it. For maximum protection, consider wearing rubber laboratory gloves when lighting your hands.
4. Have Safety Measures in Place
When trying out fire experiments for the first time, make sure that you have a bowl of cold water nearby. In the unfortunate event that you get burned, wash the area thoroughly and apply a burn ointment to soothe the pain.
5. Practice on Another Object First
Try lighting another object first to prevent accidental injuries when experimenting with flammable solutions. A scrap piece of wood or hard metal can be used as a control until you feel comfortable trying it on yourself.
Method 1: Using Alcohol and Water
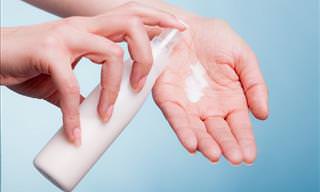
1. Wash and Dry Your Hands
Before attempting to set your hands on fire, give them a good wash and make sure that they’re completely dry. Use a mild soap with warm water and scrub your hands vigorously. The natural oils that are on your skin can interfere with the chemicals that you’ll be using to protect and light your hands.
2. Mix Together Equal Parts Water and Rubbing Alcohol
Pour 10 ounces of water into a medium-sized bowl. Then add an equal amount of rubbing alcohol. Whisk the water and alcohol together to mix them.
3. Soak Your Hands in the Alcohol Solution
Place one hand in the alcohol solution. Let it soak for 60 seconds. Make sure your hand is completely submerged so that the flame will burn evenly.
4. Ignite the Alcohol Solution on Your Hands
With your hand still wet from the solution, use a lighter to ignite the fire. When lit, the alcohol solution will produce a quick burst of flame, leaving your hand untouched.
N.B. Alcohol doesn’t burn for long, so this version, while providing the safest conditions, won’t be the most impressive.

1. Gather Your Materials
For this trick you’ll need a large bowl, water, liquid detergent, and access to flammable gas such as butane or methane. You may also need a rubber hose to direct the gas into the soap solution.
2. Combine the Soap and Water in a Large Bowl
Fill your bowl ¾ full of water. Add 1-2 ounces of liquid soap and stir until the soap is dissolved in the water.
3. Add the Flammable Gas to the Soap Solution
Begin infusing the gas into the soap solution. If you’re using a commercial butane canister, simply place the nozzle below the surface of the water and give it a few squeezes. If you’re using a large methane tank or gas valve, release the gas slowly into the soap solution until it begins to bubble.
4. Coat Your Hand Completely in the Solution
Dip your hand into the gas-infused soap solution, making sure your entire hand is coated. Most of the gas will be trapped in the bubbles, so scoop up a handful for a bigger flame that burns longer.
5. Light Your Hands
Set the gas bubbles alight with a lighter. The fire will burn intensely for a few seconds, but the soapy water will act as a barrier between the flame and your skin.
Whether you want to get someone’s attention or you’re just jamming along to your favorite tune, there’s nothing like knowing how to give a sharp, loud snap of your fingers. Snapping comes easier for some people, but with a little practice, almost everyone can do it.
Doing a Basic Snap
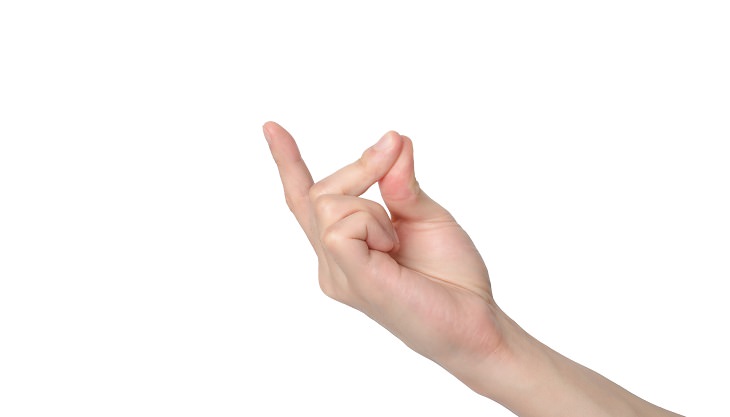
1. Press Your Thumb to Your Middle Finger
Start by resting the pad (the flat, fleshy part) of your thumb against the pad of your middle finger. A good way to get the positioning right is to pretend you’re picking up something heavy with your thumb and middle finger.
2. Fold Your Ring Finger and Pinky Down
Without moving your thumb and middle finger, take your ring finger and pinky and rest them against the heel of your palm. Try to leave a little room at the base of your thumb so that your middle finger can snap against the fleshy part at the bottom.
3. Build Some Pressure between Your Thumb and Middle Finger
Start to press your thumb and middle finger together, but don’t let either one move out of the way just yet. There should be enough pressure here to turn the tips of your fingers a little red.
4. Snap
Move your index finger down so it rests against your thumb without letting up on the pressure. Move your thumb from the middle finger to the index finger. Your finger should slide off your thumb and snap towards your palm. It should hit the fleshy base of your thumb and make a sharp cracking sound. Congratulations, you just snapped your fingers.
5. Practice This Snapping Motion Until It Comes Naturally
The only way to get better at this is to practice. Once you get your first good snap, try to replicate your motions exactly until you get good results again. Within a few days, you should be able to snap fairly consistently.

Whistling with your fingers can be an important skill to have in many situations. With just a little practice, you’ll be whistling loud enough for everyone to hear.
Method
1. Position Your Lips Over Your Teeth
Moisten your lips to facilitate the whistle sound. Position your now moistened lips over your top and bottom teeth so that none of them are showing. Keep your lips over your teeth throughout the whistle.
2. Place Your Fingers Under the Tip of Your Tongue
Do this gently and don’t push too hard. Be sure to wash your hands before sticking your fingers in your mouth.
3. Push Your Tongue Back with Your Fingers
Use your fingers to push back the tip of your tongue, so that the first quarter rolls back on itself. Keep pushing until the first knuckles on your fingers reach your bottom lip.
4. Close Your Lips Tightly Around Your Fingers
Keeping your mouth sealed around your fingers is essential when it comes to producing a high-pitched whistle. There should be no gaps around your fingers except a gap where your two fingers would meet. This gap is where the sound is produced, and finding the correct size of the gap will come with practice.
5. Blow Through Your Fingers
Try blowing softly at first to practice blowing air through the gap in your fingers. Adjust your finger placement and lip tightness if you feel air escaping anywhere but through the gap.
6. Practice as Often as You Can
Keep practicing and make adjustments to your lip and tongue placement when needed. Eventually, you’ll find the perfect position that produces a clear, loud, whistle.
Source: wikihow
Images: depositphotos