Terrariums are miniature gardens enclosed in glass containers. Apart from being a great addition to a plant collector’s home, a terrarium makes a beautiful gift and an outlet for your creativity. Since they act as miniature ecosystems, terrariums are also easy to maintain even for inexperienced plant growers.
Best of all, you can arrange a simple terrarium in just 1-2 hours using basic and inexpensive materials. If you want to learn the basic rules of building a terrarium and get inspired to create your own terrarium at home, simply continue reading.
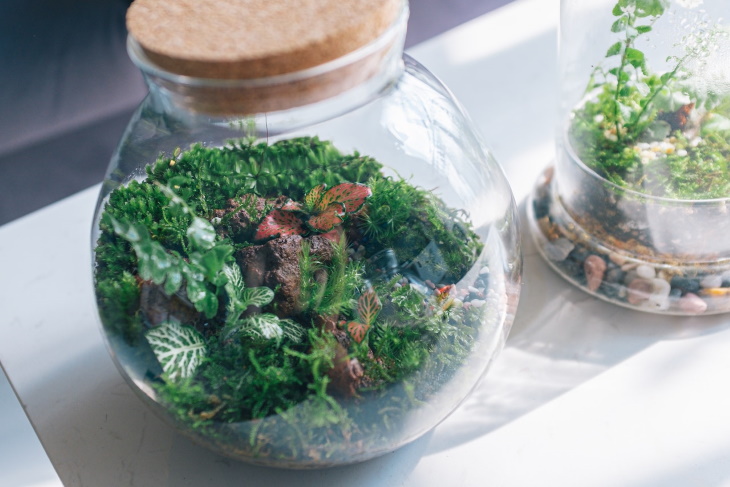
An enclosed glass container used to house indoor plants is called a terrarium. The term comes from the two Latin words terra for “earth” and arium meaning “place or receptacle.” Regardless of its size, a terrarium consists of four levels from bottom to top: gravel, moss, soil, and plants.
Since a terrarium is either fully or partially enclosed, it helps conserve moisture and heat, which makes it great for growing or propagating humidity-loving plant species. It’s also generally a good idea to select plants with smaller foliage, especially if you’re starting with a smaller terrarium.
It’s generally recommended to choose a mix of leaf shapes, textures, and colors for the best-looking terrarium. African violets, nerve plants, club moss, creeping fig, and small ferns will all thrive in an enclosed terrarium.
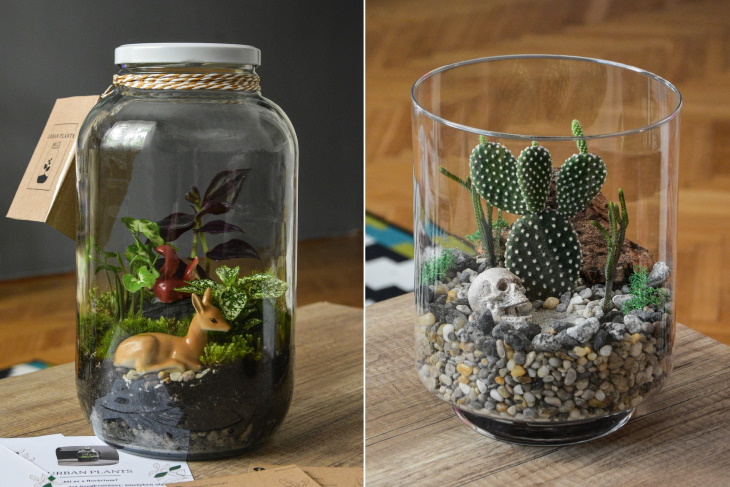
If you wish to build a terrarium for cacti and succulents, opt for a partially enclosed terrarium and a sandy, rocky potting mix. That’s because these plants generally prefer an arid and dry environment, and an open terrarium is less likely to have high humidity, condensation, and mold issues than a closed one.
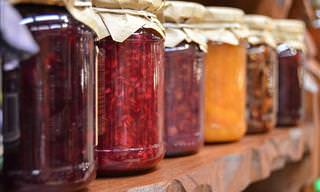
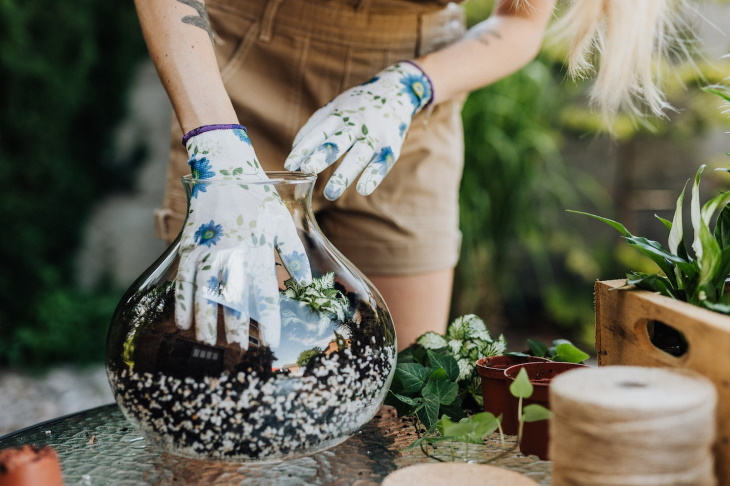
A variety of glass containers will make beautiful terrariums. Of course, there are specialized terrarium containers on the market, but you can use pretty much any transparent glass container with a wide mouth. Old goldfish bowls, cookie jars, mason jars, cold frames, and aquariums will all work just fine. Just make sure to get a container with a wide opening, as you’ll need to fit your plants, soil, decorations (shells, rocks, and figurines), and your hands into the container.
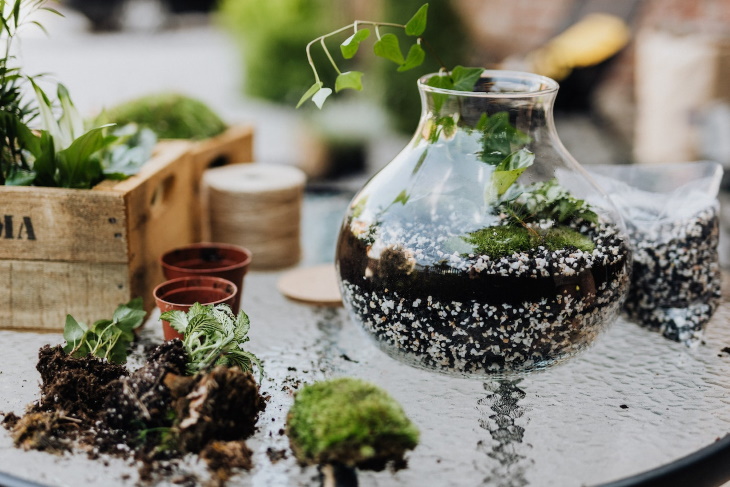
1. Add drainage. Since a terrarium does not have a drainage hole, you’ll need to line the bottom of the container with some kind of drainage material to prevent root rot in the plants. We recommend using any small stone or gravel - around a 2-inch layer.

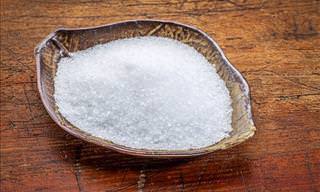
2. Spoon in the activated charcoal. Take a large spoon and spread a thin layer of activated charcoal - around half an inch thin - on top of the gravel. Activated charcoal keeps germs at bay and helps control odors.
3. Add the soil. With the same spoon, add the potting mix best suited for your specific plants - around 2-3 inches - or enough for your plants to still have plenty of room to grow. Avoid using fertilizer, as terrarium plants don’t need any additional fertilizer.
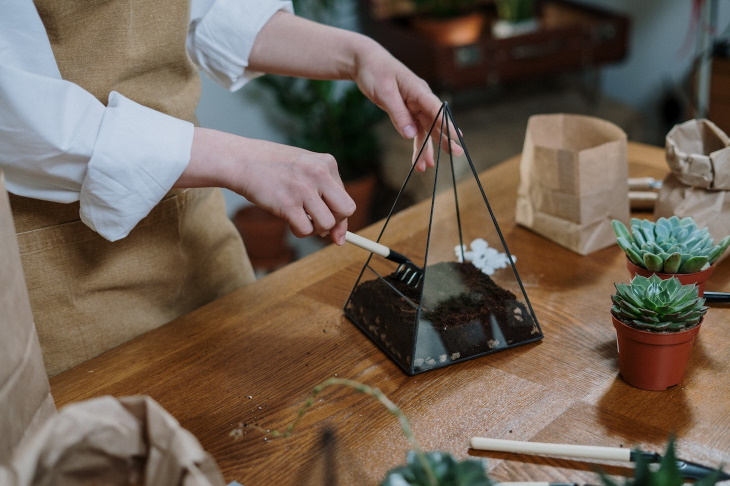
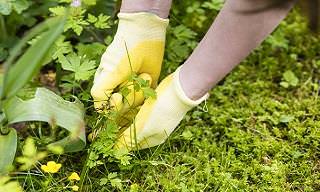
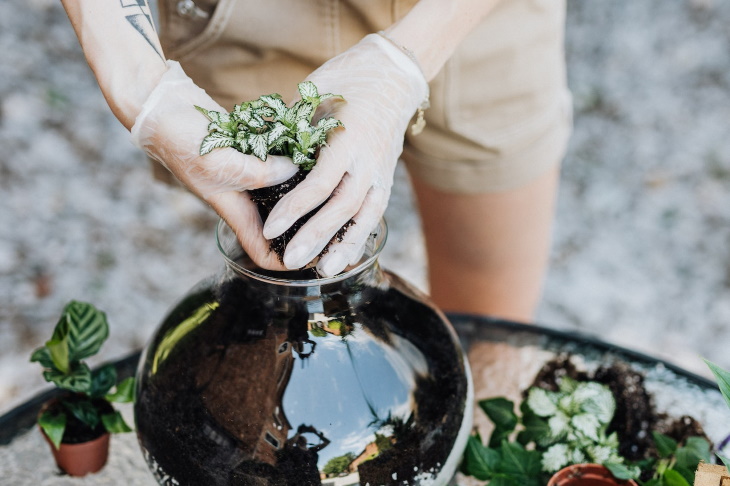
4. Arrange the plants. Prepare the plants by shaking any excess soil off the roots. Using the spoon, dig a small hole to fit the plant in the potting mix. Repeat for all the plants. You can separate a few plants and place patches of them on different sides of the container for a more cohesive look.
Gently press on the soil with the spoon to secure the plants and make sure there are no air pockets. For a more specific arrangement, you can use chopsticks or tweezers to place the plants.
5. Fill in the gaps with moss. Divide the sheet moss into patches and use them to fill in gaps with visible soil. This will help add interest to your terrarium and make it look like a miniature forest.
6. Place the decorations. If you have any dry branches, stones, shells, or figurines to add to your terrarium, now is the time to do so. This is best done with long tweezers. Don’t be afraid to tinker and rearrange things until you’re happy with the results.
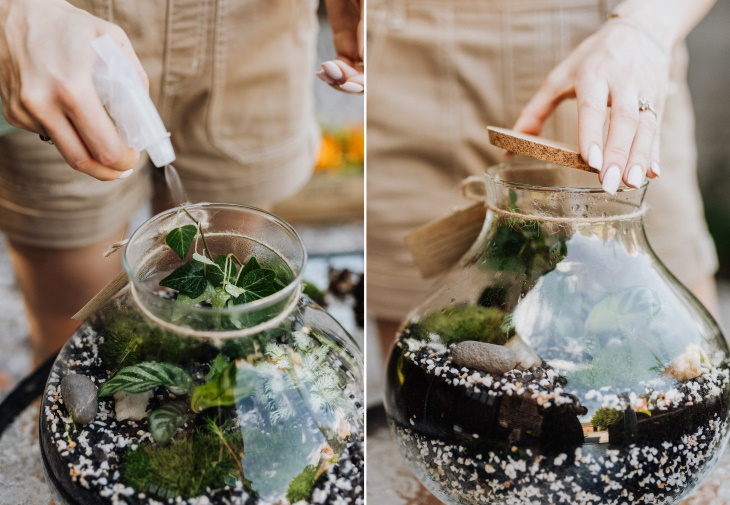
7. Add water. Fill a spray bottle with water and spray the plants until the soil is damp but not soaking wet. You can also use water or a paper towel soaked in water to clean away any dirt clinging to the walls of the terrarium.
8. If you have a terrarium with succulents or cacti, then congratulations, you’re done! For a closed terrarium, cue the drumroll and close the terrarium with the lid. You are now officially done!
Place the terrarium in a location with bright indirect light like a shaded south-facing window. Avoid strong direct sun, as you may end up scorching your plants.
That’s it! Now you’re ready to build your own terrarium. If you need a bit more inspiration, check out this post - These 14 Dreamy Terrariums Marry Art and Gardening.
Every 2-3 weeks, do these three things to maintain your terrarium:
1. Touch the soil to see if it needs water. You can use chopsticks for this. Stick it inside the soil. If it’s damp, you’re fine, but if it’s dry, you need to spritz it again. Just like testing a cake! Tip: If you accidentally added too much water, take the top off until the soil reaches the desired level of dampness.