From a very early age, we master different life skills that serve us throughout our life. We learn how to sew, change a light bulb, hang shelves, and mend a sock. We also pick up many potentially life-saving skills and information, like not touching electric sockets with wet hands, avoiding the circuit breaker with bare feet, and steering clear of fallen power lines. Knowing how to give basic first aid is also a life-saving skill anyone should have, and so, in this article, we'll learn how to splint an injury at home or outside.
What is a splint?
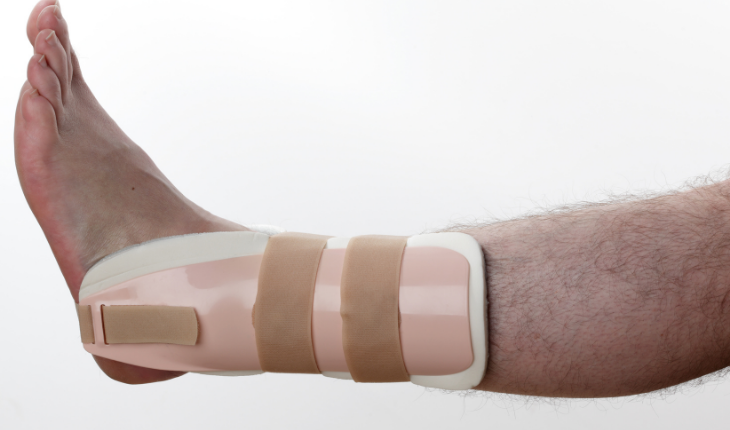
A splint is a medical device meant to immobilize an injured body part to protect it from further damage until the patient can reach a medical care center. It's mainly used for broken bones but also for severe strain or sprains in the limbs. Apart from protection from further damage, the splint will also help ease the pain of the injury.
Outside of the doctor's office, a splint can be made from a stick (such as a walking stick or even a piece of a broomstick), stiff cardboard, or a rolled-up towel or newspaper. It can be tied with medical tape, shoelaces, rope, a necktie, or a belt. If you're out in nature, you can use your clothing, towels, a walking stick, a branch, a rolled-up camping mattress, or some rope to fashion a splint.
How to splint
Keep in mind before you start:
- A splint should be applied to the body part in the position it was injured. Do not move the body part.
- If using wood or anything with a rigid surface, wrap it in cloth to avoid scratching and splinters.
- The splint shouldn't interfere with blood circulation.
General splinting:
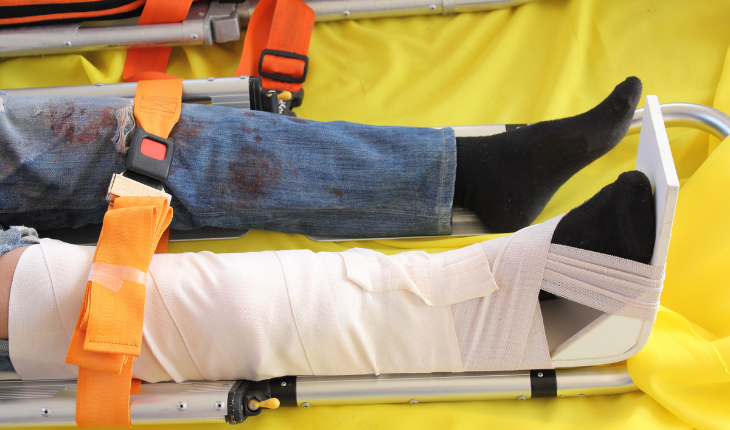
1. If there's bleeding or an open wound, tend to it and stop the bleeding. Apply a bandage, and only then start applying the splint.
2. Place the splint over the injury. It should extend and reach all the way to the joints above and below the injury. So if your calf is injured, the splint would extend to the ankle and the knee.
3. Tie the splint around the body without over-tightening. Allow circulation.
4. Call 911 or head to the ER. Check periodically for signs of poor circulation, as the swelling can cause the ties to be too tight.
5. In case of numbness, tingling, pale limbs, faint pulse, or swelling, loosen the ties.
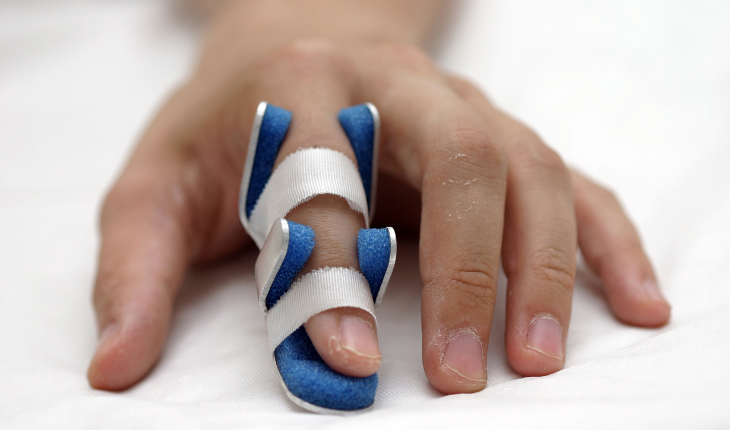
Palm splinting:
As this is an anatomically complex area, the splint would look a little different.
1. Place a soft ball (could also be a sock) in the palm of the hand. From this point on, the injured person should not move their fingers anymore.
2. Place padding in-between the fingers.
3. Wrap a cloth or gauze around the whole hand from the fingertips to the wrist, leaving the fingertips exposed to check on the pulse.
4. Secure with tape or ties.
Know how to self-check your splint
How can you tell if you applied the splint effectively? A proper splint should:
- Insulate from the cold- don't forget padding!
- Be padded all around.
- Be rigid and supportive on all parts.
- Be lightweight so that it doesn't apply more strain.
- Allow access to fingers, feet, or hands to allow frequent pulse checking.
Source: 1, 2.