Luckily, because the pelvic floor is a muscle, it, too, can be strengthened and returned to its initial happy and healthy form through regular exercise. All of the exercises that we will show you are easy, they can be done in the comfort of your own home and don’t require any special equipment (although we will give you optional uses of some sports equipment that you may have lying around at home).

This is a great exercise because it is not only effective, but also can be easily done at work, in the car, or anywhere else, really. The movements you will do are so minimal no one will ever know you’re in the middle of exercising. You will benefit from this exercise if you experience leaking after sudden movements or if you have a strong urge to urinate right after urinating.
Here’s how to do this exercise:
Step 1. Identify your pelvic muscles. To do so, just stop urinating midway. The muscles you use to stop the stream are your pelvic floor muscles.
Step 2. Now that you know which muscles we’re talking about, simply contract them and hold for 5 seconds and then release for another 5 seconds. To see progress, repeat this exercise 10 times, 3 times a day.
Extra tip: If you feel like it’s difficult to keep the pelvic muscles activated, let your abdominals join in and suck in your belly as you’re contracting the pelvic floor (we illustrated this in the picture below).
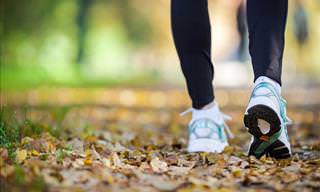
Squats are a very powerful exercise for engaging the entire lower body. It engages both small and large muscles, such as the gluteus muscles, the back muscles and the leg muscles, and. of course, the pelvic floor. Remember that alignment is key in this exercise because otherwise your can hurt your lower back.
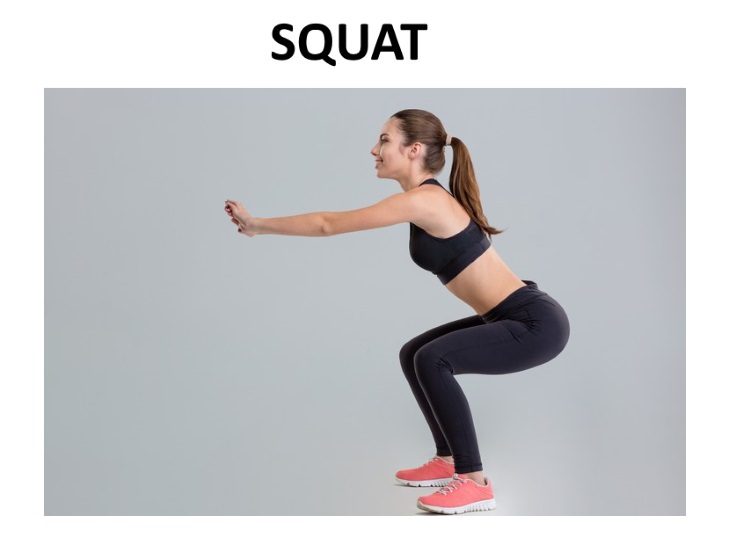
Step 1. Stand with the feet slightly wider than shoulder-width apart. Toes either look forwards or point out slightly. Engage your core and keep your spine straight as you slowly bend your knees and push your hips and bum down and back, as if you’re about to sit down on a chair. Make sure you don't carry all the weight on your knees and that your knees don't splay out.
Step 2. Squat until you can keep your shins perpendicular to the floor, no need to bend forward. Then rise up and straighten your legs, returning to the initial position.
Repeat 15 times.
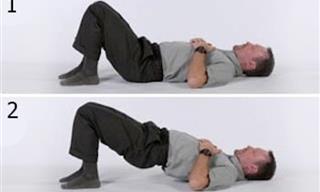
Though many people think that the bridge is mainly an exercise for the glutes, by doing it correctly you will also strengthen your pelvic floor and inner thighs. You don’t need any equipment for this, but for beginners it is beneficial to use some kind of object until you understand which muscles to activate. This can be a yoga block, a small book or even a balled-up pair of socks, we’ll explain how to use it later.
Step 1. Lie on the floor with your arms straight and palm facing down. Bend your knees in around a 90-degree angle, legs at shoulder width apart. If you want to use a block or any other object, keep your legs together, hugging the object that you’ve placed between your legs at around mid-thigh level.
Step 2. On an inhale, push your abdomen, hips and thighs up as much as you can or until your body forms a straight line. You will feel the glutes immediately, but the trick is to squeeze your thighs in as well. If you’re using an object, don’t let it fall by holding it with your thighs. Stay in this pose for 1–2 seconds, and then slowly return to the initial position.
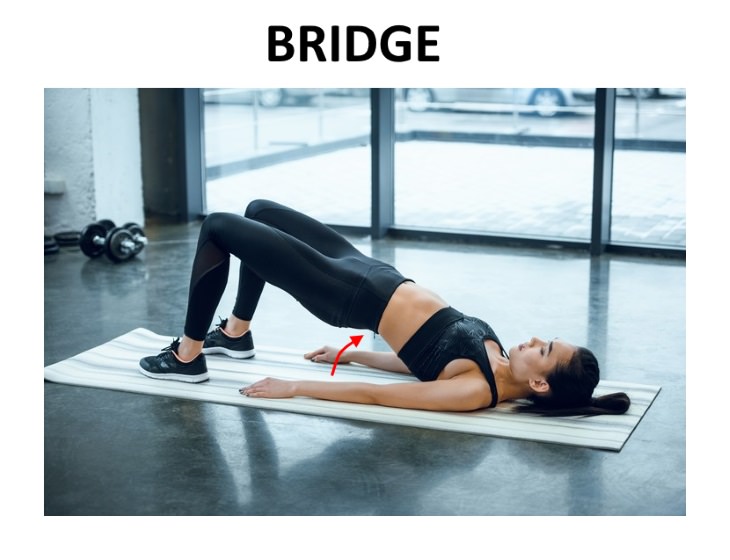
Repeat 10–15 times and do 2–3 sets with a 30–60 second interval between the sets.
If you want to do an even more advanced version of this exercise, you can use a stability ball. Instead of keeping your feet on the ground in the starting position, place them on the ball and raise your hips just like we instructed above.
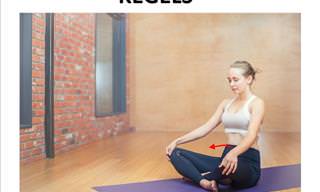
This exercise looks just like the starting position of an ab workout, which means that you will activate your core. The split element, in turn, will activate your thigh muscles and pelvic floor. If you suffer from back pain, we recommend doing this exercise on a mat or similar.
Step 1. Start laying down with your back on the floor and your knees bent so that your shins are parallel to the floor.

Activate your abdominal muscles and flush your inner thighs together.
Step 2. Slowly and mindfully start splitting your legs outwards, so that each knee falls outward as much as you can.
Step 3. Return your knees to the initial position.
Repeat 10–15 times and do 3 sets with a 30–60 second interval between the sets.
This was the last exercise we had to offer in this article. Keep in mind that with any exercise it takes time to see any effects, so repeat these exercises for at least a month or two to see any results.
Disclaimer: If you think you might be suffering from a weak pelvic floor, please see your doctor. These exercises may not be sufficient for your condition.
H/T: healthline, nih, betterhealth