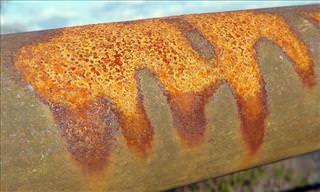
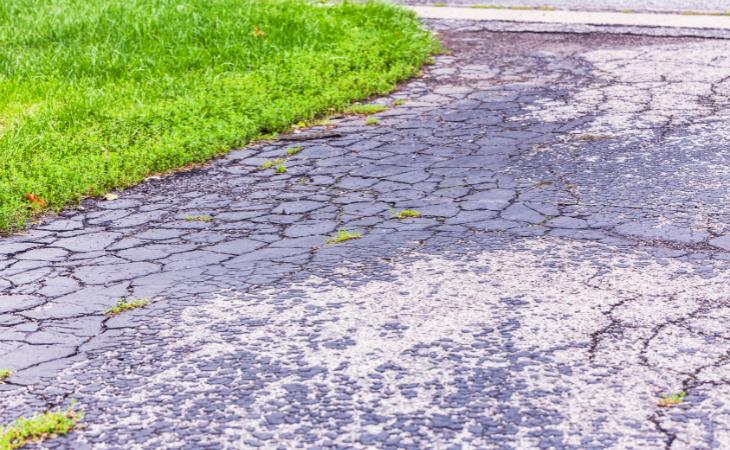
If you don't experience snow or your driveway is relatively new, the situation may not be so dire for you - the driveway is probably still looking fresh. But over time, the accumulation and melting of snow and ice cause cracks and even potholes in the driveway, and no one is coming to fix that for you.
The time to do it is now, over a weekend with no rain and temperatures higher than 50°F.

Necessities:
- Sealant (buy an extra bucket)
- An 18-inch squeegee
- A 4-inch brush
- Grass trimmer (string trimmer is best)
- Asphalt caulk/ crack sealer
- Trowel/ shovel/ scraper
- Cold tar mix and a stamper (for potholes only).
Optional and helpful:
- Leaf blower
- Pressure washer
- General degreaser
- Cones/ tape to mark the area.
Start 1-2 days ahead by turning the buckets upside down so they rest on the lid. When you open them, they will mix easier. Alternatively, buy a sealer that needs no mixing and skip the wait.
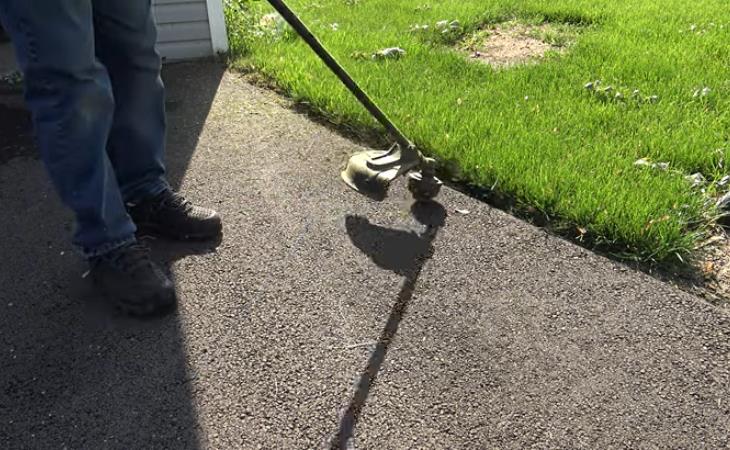
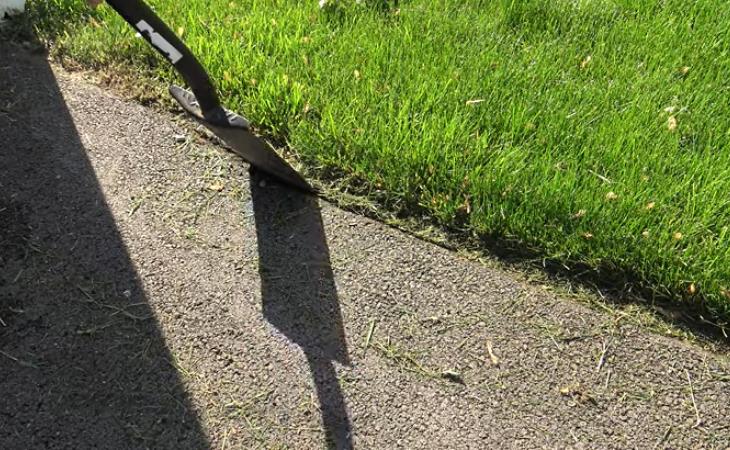
1. Cut the grass neatly near the driveway. Using a shovel or a trowel, push back the roots and dirt to reveal the edge of the driveway. Cut any grass that grows through cracks in the asphalt.
2. Use a broom, a leaf blower, or a pressure cleaner to clean the driveway to the best of your ability.
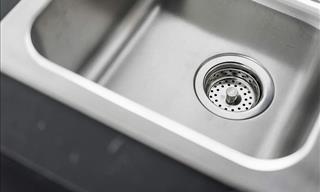
3. To remove greasy stains, use hot water and soap or a degreaser. Use a stiff brush to break up the stain.
4. Finish with a final rinse but avoid flooding the driveway.
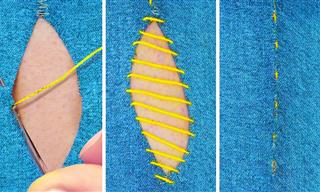
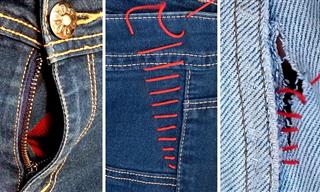
Sealing cracks:
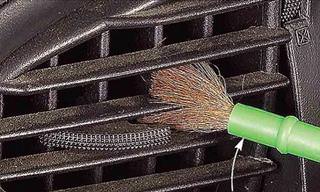
1. Clean the cracks of grit and grass. Use a screwdriver to clean the crack if needed. Sweep away any standing water there may be inside the crack with a broom.
2. Use the crack sealer to fill them up.
3. Flatten everything with a scraper or a trowel.
For larger cracks, you may need a rubberized sealant that only sets with a torch. This is a larger, hazardous project, and you may want to contact a contractor for that.
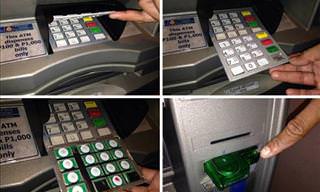
Sealing potholes:
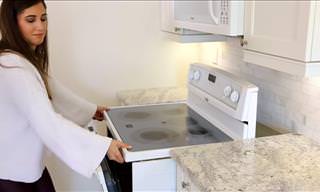
This one is easier than you may think. You only need a stamper, a bucket of water, and some cold tar mix. This video will take you through the steps:
Let everything set for 24 hours.
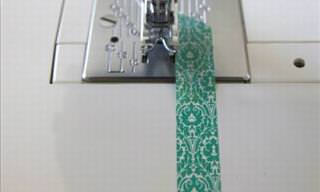
Start by covering the borders with a brush. Next, move on to spilling the sealer little by little straight from the bucket and spread it evenly across the driveway.
Apply minimal pressure and drag the squeegee in vertical and horizontal lines for an even spread.
If you're a visual learner, this guide is the one for you: