Are you fascinated by the idea of shaping clay into a sculpture? For beginners or those who have dabbled in other forms of art, this guide will be your comprehensive introduction to the world of sculpting, with a focus on traditional clay modeling.
Here's a snapshot of what we'll be discussing:
- The ideal clay type for beginners
- The basic tools necessary for sculpting
- Essential workspace requirements for sculpting
- Tips on handling clay to prevent drying
- Steps to create a simple clay sculpture
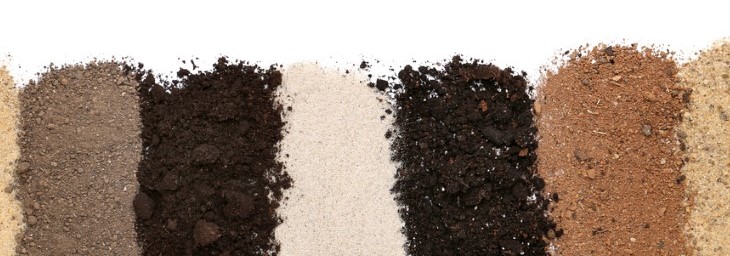
The world of sculpting clay is vast, usually falling into three general categories: water-based clay, oil-based clay, and self-curing clay.
These clays can be found in various colors and require different kiln temperatures to harden. For beginners, a low-fire clay, often referred to as earthenware, is a perfect choice. This clay matures under 2000 F in a kiln.
Grog, or small particles of fired clay, can be added to the clay body to increase its stability, giving it a sand-like texture. A recommended option for beginners would be a water-based, low-fire clay mix with fine grog, available in buff or grey.
Local art or pottery stores should carry this clay type, but if you're located in a remote area, online purchasing is an excellent alternative.
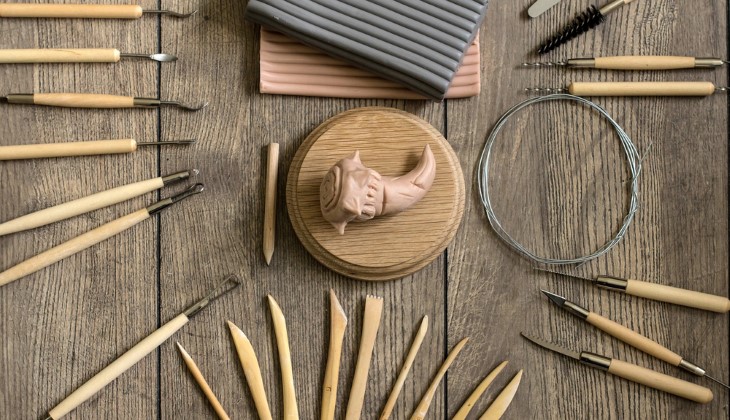
When you begin your sculpting journey, you may find that your hands are the most intuitive tools to mold and shape your creation. However, as you progress, you'll find that having an array of dedicated sculpting tools opens up a world of possibilities and fine details that can really elevate your work.
Here's a deeper look into the basic toolkit for a beginner:
Wooden Modeling Tools: These are versatile and come in various shapes and sizes. Some have rounded edges for smoothing and adding contours, while others have more pointed ends for creating lines and intricate details. They're great for shaping your sculpture and adding texture.
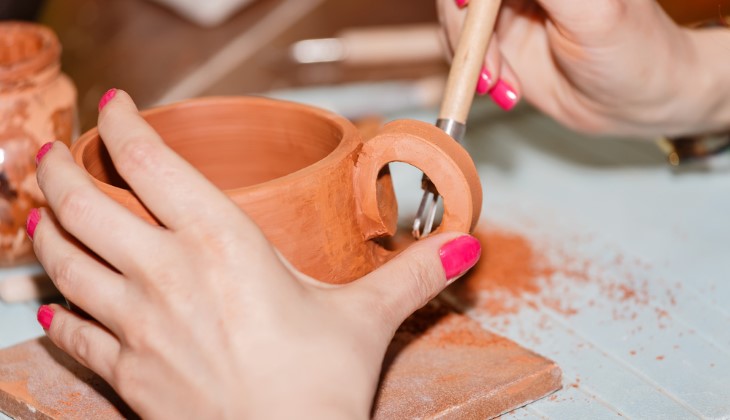
Metal Loop Tools: Also known as wire-end tools, they're often used for carving, smoothing, and creating hollows in clay. The looped ends, which can be of different shapes, allow you to remove controlled amounts of clay.
Cutting Wire: This simple tool consists of a piece of wire, usually attached to two handles. It's primarily used for cutting large amounts of clay straight from the block, or slicing through a piece of work. The wire makes a clean cut without distorting the clay, as a knife might.
Sculpture Calipers: These are essential for maintaining accurate proportions in your work. They're particularly useful when working from a model or reference, allowing you to transfer measurements from the model to your sculpture accurately. They come in many sizes, so pick one that matches the scale you're working on.
Paring Knife: A simple kitchen paring knife can be useful for cutting clay, creating straight lines, and adding details. The sharp, pointed blade is perfect for making clean, precise cuts and lines.
Fork: You may be surprised to see this everyday utensil on the list. However, a fork is great for scoring the clay. Scoring involves making rough marks or scratches on the clay surface before joining two pieces together, which helps to strengthen the bond.
Spray Bottle: Clay must stay moist to be workable. A spray bottle filled with water is essential for lightly misting your clay as you work, keeping it from drying out. It's especially useful for prolonged sculpting sessions.
While these tools form the basic kit, there are numerous other tools and materials you might consider as you advance, such as rubber-tipped tools for smoothing surfaces, a wire clay cutter for slicing through thicker pieces of clay, and a needle tool for piercing or fine detailing.
Always remember to clean your tools after each session. Clay can harden and become difficult to remove if left on your tools, potentially reducing their effectiveness.
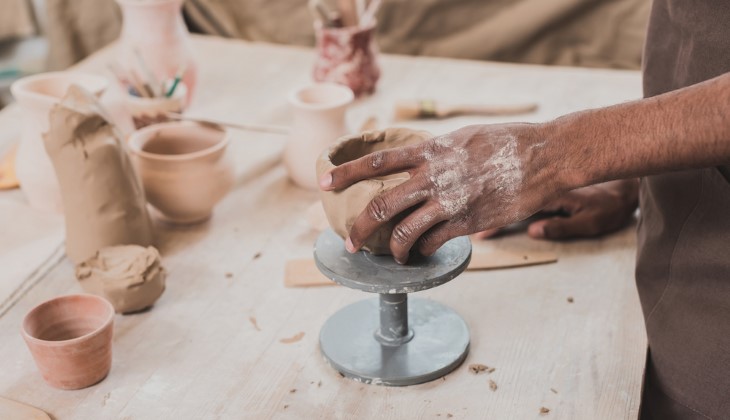
From a simple table to an expansive, messy studio, sculpting workspaces can vary drastically. However, the basics you need are:
- A working table or stand: A sturdy surface in your studio or a spare room would suffice. Even your dining table or kitchen counter could be an alternative (just remember to use a fabric or plastic drop cloth to prevent dust and stains). However, a specialized sculpting stand, which allows 360-degree access and adjustable working height, would be an ideal investment.
- Deciding on standing or sitting while sculpting: Your work should be between eye level and an easy reach for your hands. You may need to raise your working surface if it's too low to avoid a distorted view of your sculpture.
- Selecting a sculpting board: Plywood is a great option as it doesn't warp from moisture. If you aren't using a sculpting stand, a Lazy Susan or turntable will help you view your work from all angles easily.
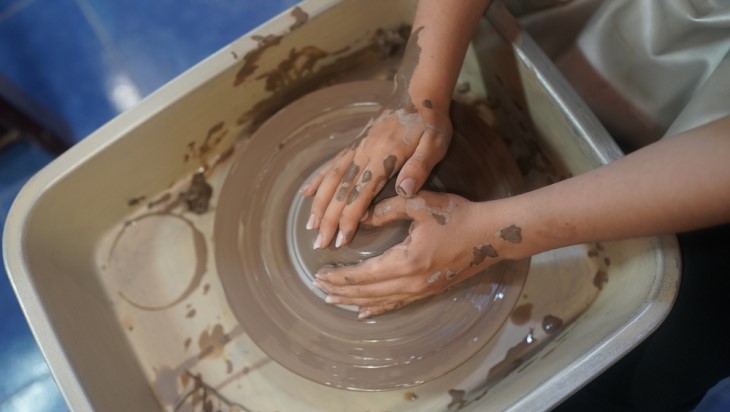
Maintaining the moisture of water-based clay is crucial to its malleability. If you're planning to work on your sculpture over multiple sessions, you'll need to cover it in a plastic bag to prevent drying. For longer breaks, wrapping the clay in a lightly damp cloth before bagging can retain additional moisture.
Before starting, sketch out your anticipated sculpture from multiple viewpoints and consider the dimensions and ratios of the main shapes. For beginners, you might want to limit the viewing angles of your first few sculptures, or even consider creating a relief sculpture on a flat slab of clay.
Health and hygiene are vital. Using wet cleaning methods prevents breathing in clay dust, and avoid washing large amounts of clay down the drain as it can cause blockages.
Once you're done with your sculpture, you can hollow it out and let it dry slowly before firing. Your local pottery store might provide kiln services, or direct you to local guilds or associations that can.
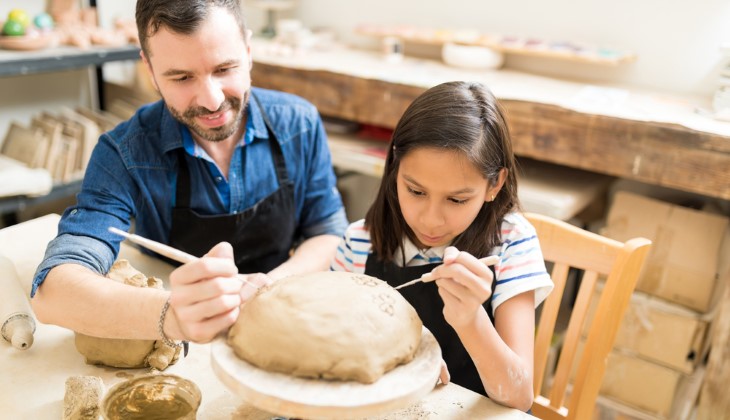
Starting your journey in clay sculpting with a simple sculpture can be quite helpful. It allows you to grasp the basic skills required, without overwhelming yourself. Here’s a detailed look at how you can create your first simple sculpture in clay:
Stage 1: Block In
At the initial stage of sculpting, your main goal is to approximate the general shape of the object you're sculpting. This process is known as blocking in, and it involves focusing on the larger forms of your subject.
Preparation: Begin by conditioning your clay to ensure it is malleable. Knead the clay until it's soft enough to shape but still retains its form.
Initial Shape: Start shaping your clay to resemble the basic form of your subject. If you're sculpting a fruit, for example, form the clay into a rough approximation of the fruit's shape. It doesn't need to be perfect at this stage – just aim for a general resemblance.
Proportions: Now, view your reference object from various angles to establish its overall proportions. These are the relative dimensions of the various parts of the object. Use your fingers or a sculpting tool to add or subtract clay as needed.
Technical Tip: When adding clay, make sure you blend it well with the existing clay to avoid trapping air pockets. These can cause cracks or explosions when the sculpture is fired in a kiln.
Stage 2: Develop the Forms
After blocking in your sculpture, the next step is to further develop the forms by adding more specific shapes and details.
Defining Features: At this stage, you can start shaping the main features of your object. For example, if you're sculpting a human face, this would be the time to form the nose, eyes, mouth, and other prominent features.
Refinement: Once you've shaped the main features, use your sculpting tools to refine them. This could mean smoothing out rough edges, adding more clay to build up certain areas, or removing clay to create hollows or recesses.
Once the primary forms are established, it's time to focus on the smaller details. This is where your tools can really shine.
Observation: Spend some time studying your reference object. Notice the smallest details, like how the light and shadow interact with its surface, any unique textures it might have, or intricate patterns that are characteristic to the object.
Detailing: Start adding these observed details to your sculpture. This could involve carving in small lines or wrinkles, creating textures on the surface, or smoothing out certain areas for a polished finish.
Once you're satisfied with your sculpture, the final step is to prepare it for drying and eventually, firing in a kiln.
Hollowing: If your sculpture is thicker than an inch, you'll need to hollow it out. This helps the sculpture dry evenly and reduces the risk of cracking or exploding in the kiln. Use a loop tool to carefully carve out the inside of your sculpture, making sure the walls remain at least 1/2 inch thick.
Drying: Place your sculpture in a cool, dry place to allow it to dry slowly. This process can take anywhere from a few days to a few weeks, depending on the size and thickness of your piece.
Firing: Once your sculpture is completely dry, it's ready to be fired in a kiln. This process hardens the clay and makes it durable, transforming your piece into a permanent work of art.
Remember, patience is key during the entire sculpting process. Practice and time will allow you to hone your skills and create more intricate and refined sculptures.