|
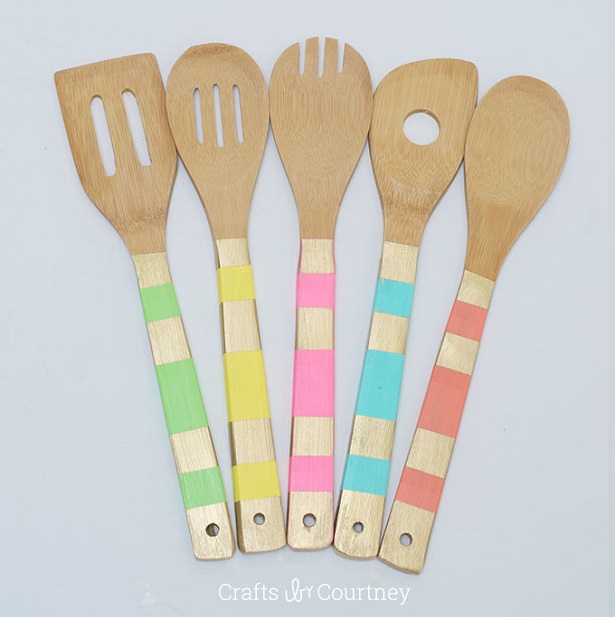
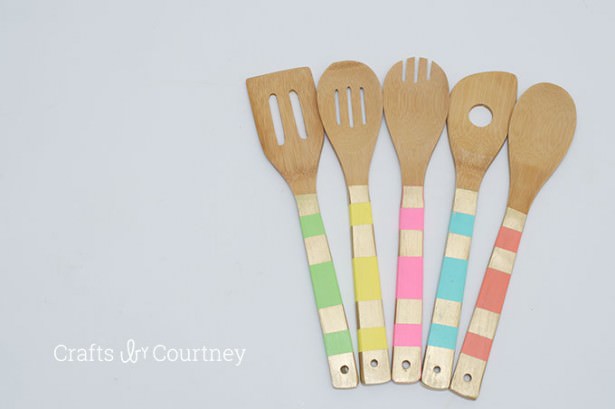
I love making my customizing items in my kitchen. I can enjoy a one-of-a-kind item, and feel a sense of pride knowing I made it. This wooden spoon makeover is a quick crafting project that can add a touch of color to your kitchen. The easy to follow instructions can help you create this perfect personalized gift. You don’t need many tools or supplies and the project can be completed within a few hours. |
|
 |
|
 |
|
|
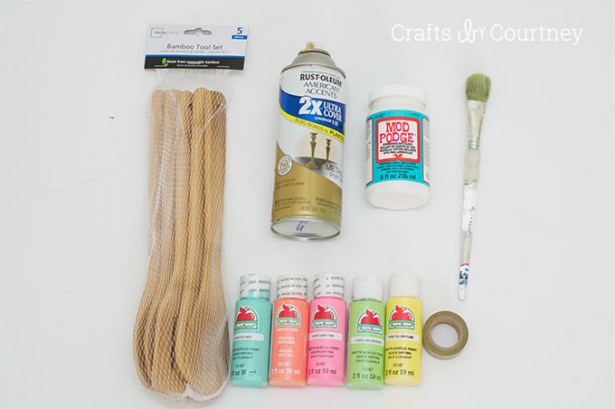
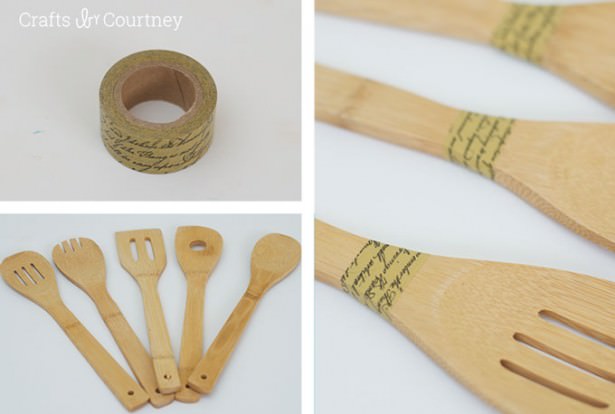
Tools & Supplies
|
|
 |
|
|
Step 1 – Tape the wooden spoons Using washi tape, cover the handle of the spoon with stripes of tape. I varied the widths of the stripes. |
|
 |
|
|
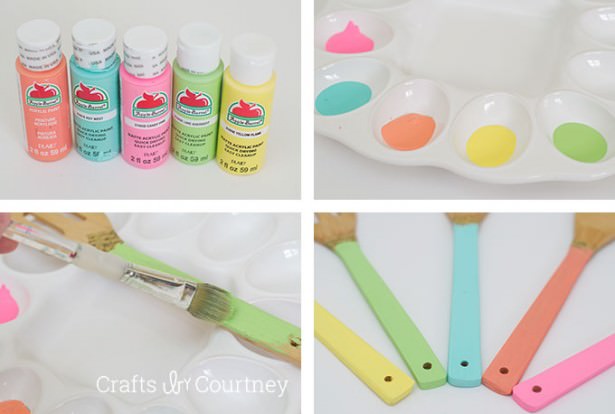
Step 2 – Paint the handle Add a pop of color with paint. Paint the handles with two coats. Let each coat dry for 30 minutes. |
|
 |
|
|
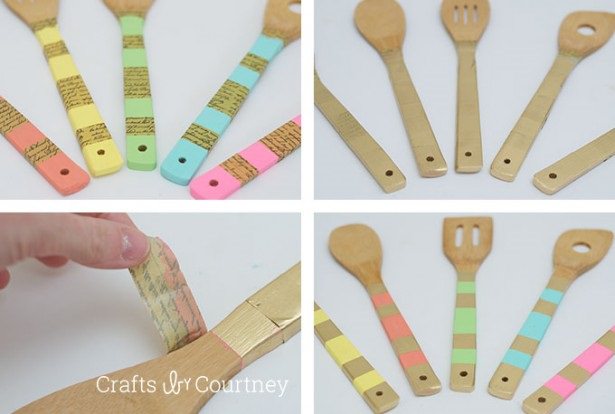
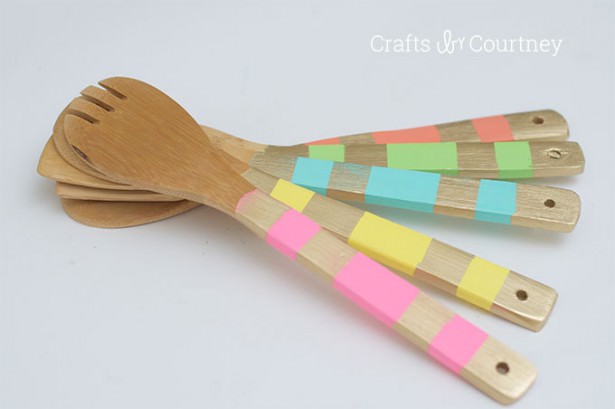
Step 3 – Spray paint the spoons Remove the washi tape from the painted spoons. Cover the colorful painted parts with washi tape and spray paint the handle with one coat of spray paint. I chose gold spray paint. Let the spray paint dry outside for an hour. |
|
 |
|
|
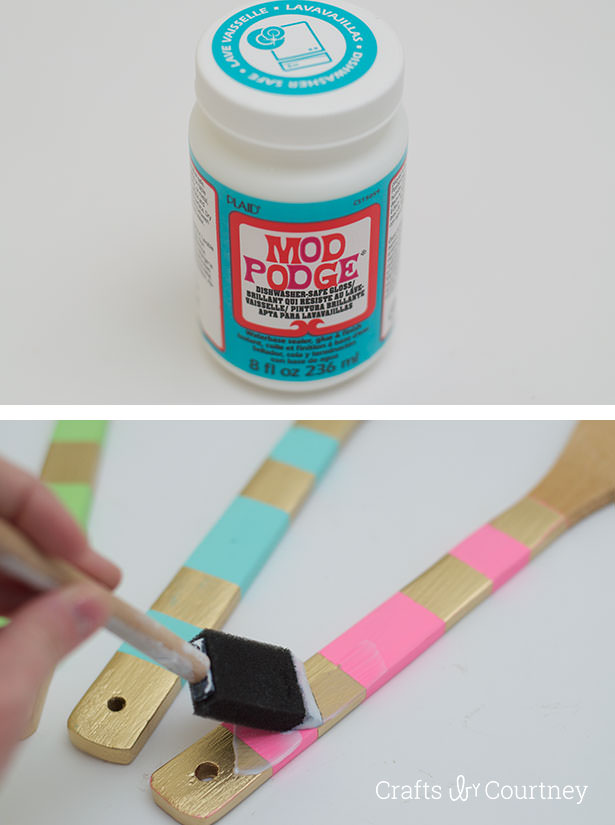
Step 4 – Add Modge Podge To make your spoons safe and looking good add a coat of Dishwasher safe Mod Podge. This is a special white glue that will protect the layers of paint from washing away. Paint each spoon with 2 to 3 coats, letting each coat dry for an hour. |
|
 |
|
|
Step 5 – Patience Let the spoons dry, or “cure”, for 28 days so that it can become fully water resistant and safe for using in the kitchen. |
|
 |