|
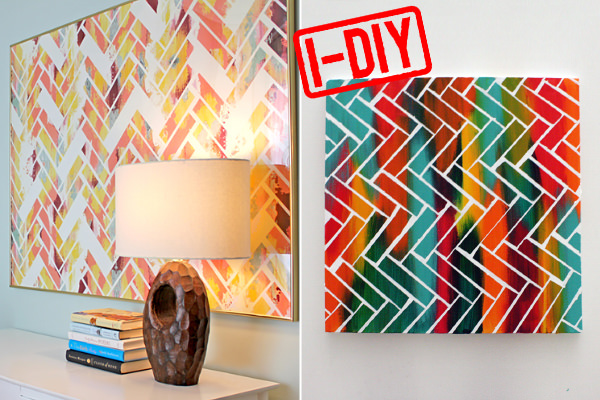
If there are two things that have been commanding our attention lately, they're cool artwork and chevron prints. So, we were obviously pretty stoked to find a way to incorporate both — for cheap! — in an amazing DIY project for your apartment.
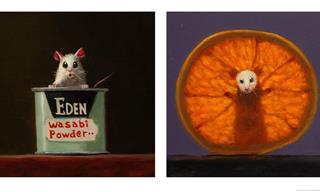
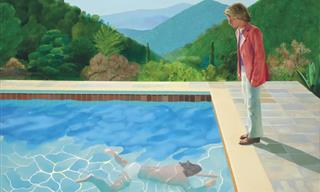
Inspired by the work of artist Nancy Ramirez, there's no need to be intimidated — this project is doable for any level of skill, and actually, is supposed to look a little imperfect!
All you need is a paintbrush, your favorite colors of paint, a canvas, and some painter's tape. After you've assembled your supplies, prepare to channel your inner Picasso, because your masterpiece is but a click away.
|
 |
|
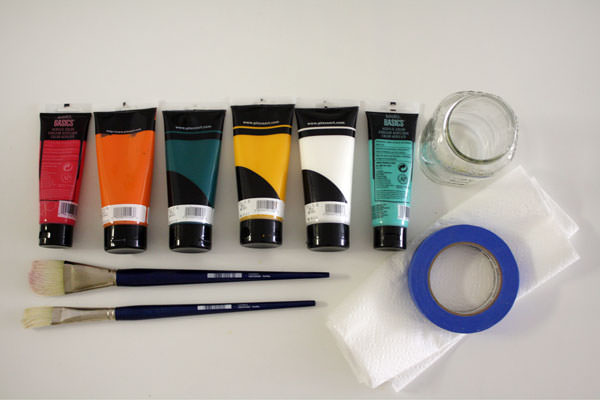
To do this project, you'll need:
- A canvas, in any size you choose
- Painter's tape
- Acrylic paints in your preferred colors, plus one bottle of white paint
- A paintbrush (or two, if you'd rather alternate brushes than wash one between colors)
- Scissors
- A disposable plate, wax paper, or scrap cardboard to use as a palette
- Paper towels or a drop cloth to cover your work area
|
 |
|
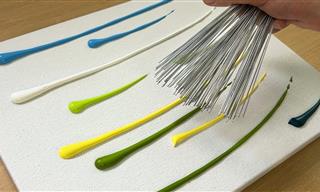
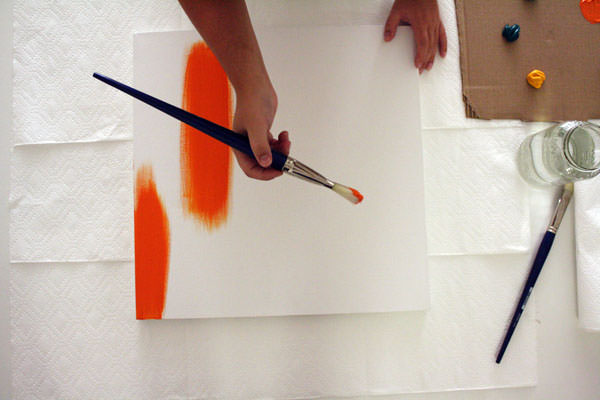
Assemble your paints and squeeze a quarter-size amount of each color onto your palette. And now, for the part where you get to go wild: Create the abstract painting of your choice. You can work with one color at a time, or alternate between hues as you work across the canvas. |
 |
|
To incorporate all of our colors, we used one at a time, rinsing our brush between each and blending until we covered the canvas. Experiment with long streaks versus wide splashes of color until you find a look you love. |
 |
|
|
 |
|
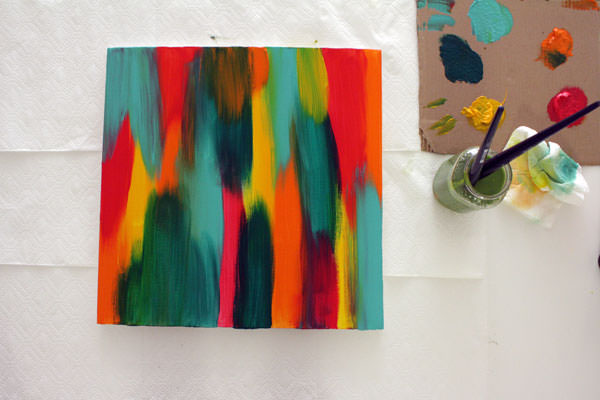
Once you've covered the canvas, let it dry for a few minutes. (If you're impatient, you can set it in front of a fan or blast with a hair dryer on the cool setting.) We used a second, slightly smaller paintbrush to apply a second layer of color, making sure the canvas was completely covered and the colors were blended well. (A little messiness is okay here!) Let the canvas dry completely. |
 |
|
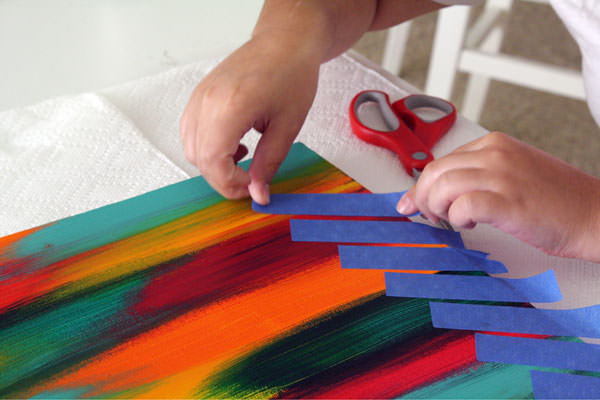
Taping is the trickiest part of this project — but once you get the hang of your pattern, it gets easier. Cut roughly same-sized strips of painter's tape and apply them to one side of the canvas in a staggered pattern. Leave an even amount of space between each strip to keep your pattern consistent. |
 |
|
Continue across the canvas, creating a design that looks like rows of stacked arrows. (Tip: Don't worry if your tape strips aren't lining up — you can easily lift up the end of a strip and cut it to fit with scissors.) |
 |
|
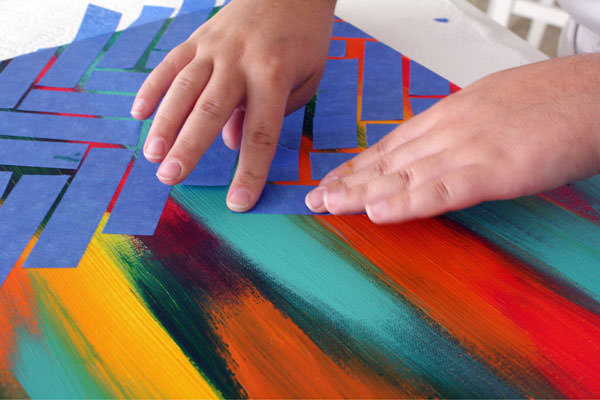
For our design, we chose to cover the entire canvas in a consistent chevron pattern. But, you can get more creative and remove random pieces of tape across the canvas to create a more abstract feel. Just remember that any areas not covered with tape will end up white. |
 |
|
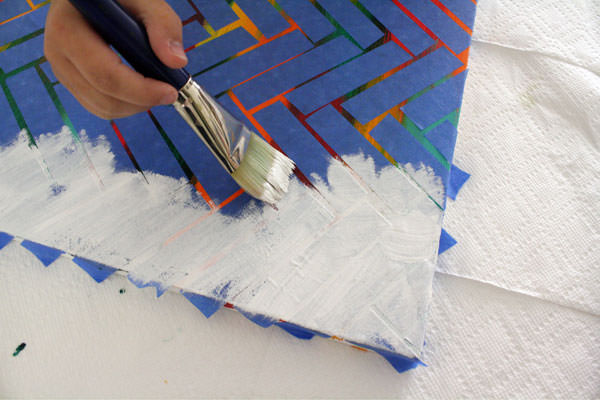
First, examine your tape strips to make sure the edges are completely sealed along the canvas. Then, use your paintbrush to cover the canvas in white paint, being careful not to disturb the tape strips in the process.
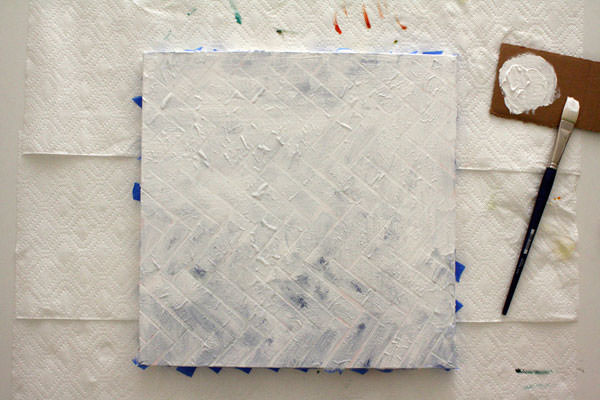
Be sure to cover the canvas completely — we applied two coats for good measure. Once you've finished painting, let the canvas dry. Be patient with this step, since removing the tape before the paint is fully dry could mess up your design.
|
 |
|
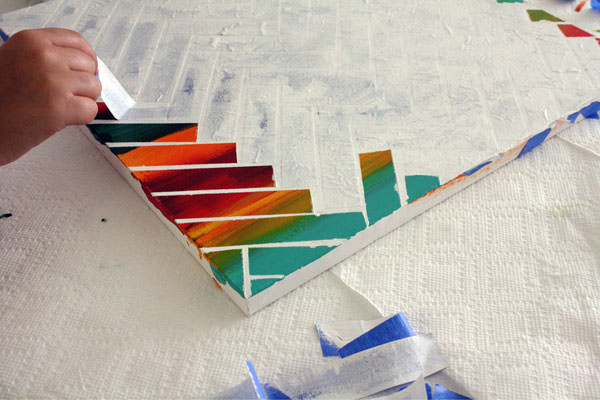
Starting at the sides of the canvas, carefully remove the strips of tape to reveal your painting underneath. |
 |
|
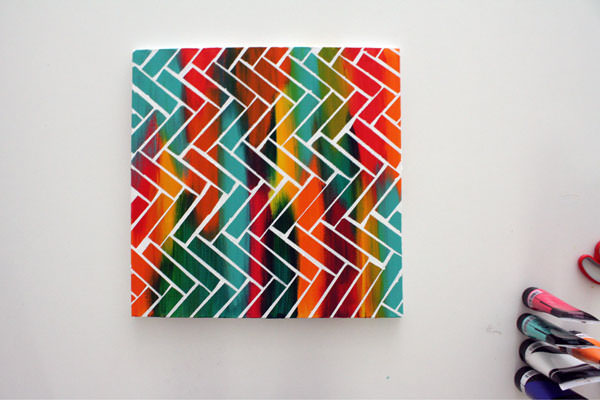
Et voilà! Your masterpiece is finished. Now, how easy was that? |
 |
Submitted by: Nelson H.