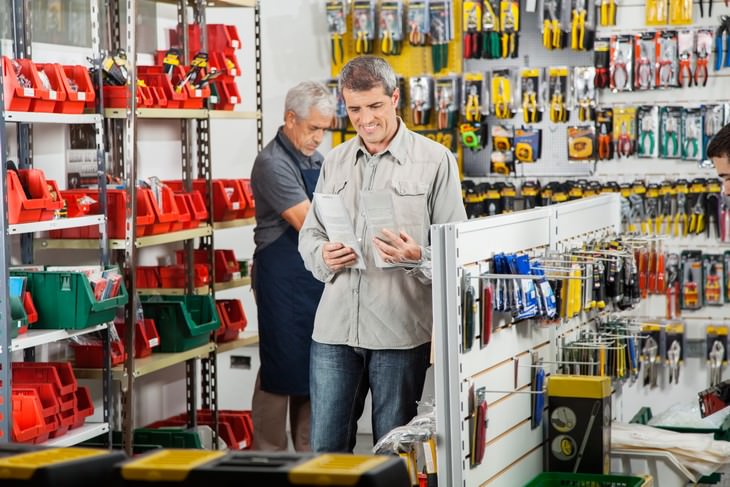
1. Going Shopping Without a List
The first step to starting your project will probably be visiting the hardware or craft store. Make sure you research what materials and tools you will need, as well as their quantities thoroughly. It's the same as when you go grocery shopping - not having a list often results in buying a lot of fun but unnecessary things. When it comes to DIY, precision is important, so getting the wrong kind of something will just get you another trip to the store.
2. Not Investing Enough in Your Materials
One of the benefits of DIY projects is that they can save money. But that doesn’t mean you have to resort to the cheapest option when buying tools and materials. Home repair experts advise investing in quality tools that will be of use for many years. It will make life easier and probably also make the end result look better. If a particular tool is very pricey and specific, thus not very practical to purchase, many stores offer rentals.
When it comes to materials like crepe paper or paints, it would be best to buy a bit more than the tutorial says. You can always return the excess (take a picture of the receipt to be on the safe side).
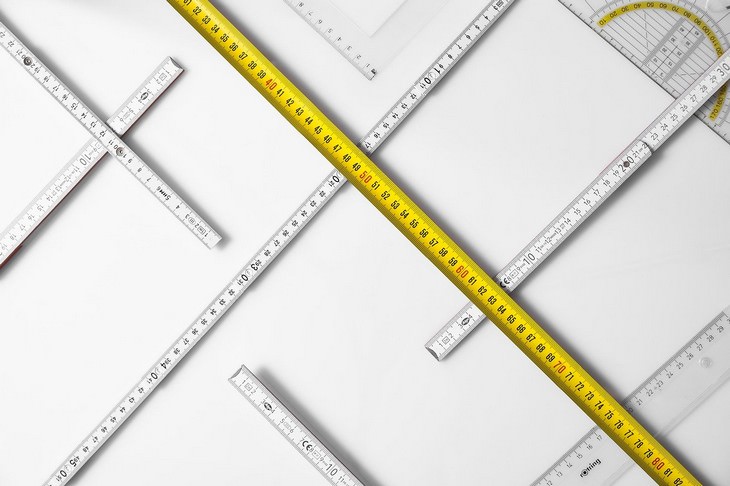
3. Messing Up the Measurements
Measure twice, cut once - that is the handyman mantra. By all means, linger on the measuring part. Take measurements before going to the store, and bring the measuring tape with you.
Being as accurate as possible should generally be the DIYer’s goal. It’s especially important for projects like building walls, hanging drywall, or cutting baseboards, countertops, or pipe. So get the measurements right and be careful; you can always make something shorter, but you can’t make it longer.
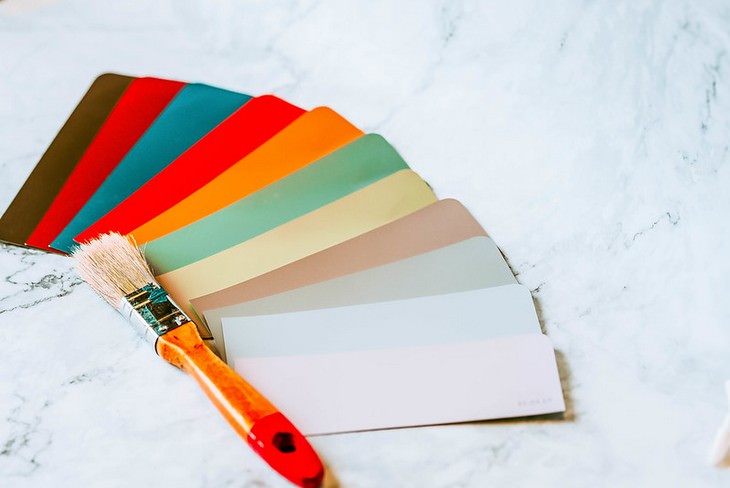
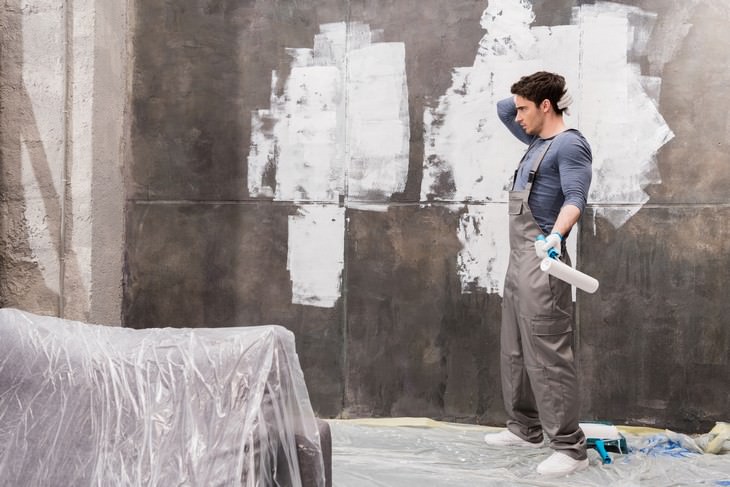
4. Buying the Color
There are specific paints for raw wood, plastics, outdoors, brick, etc. Using the right type is important, otherwise, it might not stick to the surface. Once you’ve figured that out, it's time for the fun part - the shade. Paint samples and chips are your best friends. Do utilize them before you commit to a certain color. Paint tends to look slightly different on the wall or surface, depending on the material. When in doubt, experts advise going a shade lighter than you originally planned, as paint gets darker when it dries, particularly when you use several coats.
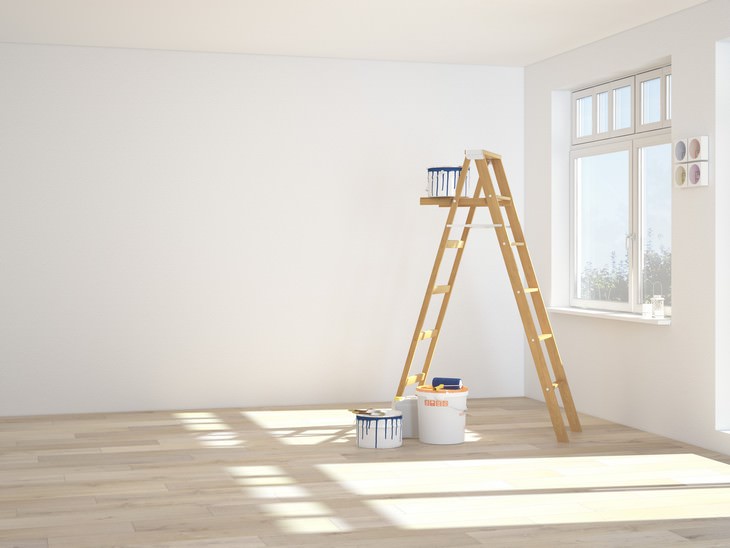
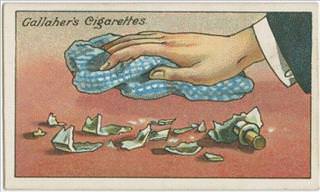
5. Not Prepping Before Painting
Painting is fun, but cleaning up spills and drips after a sloppy paint job isn’t. Here are some important prep steps before you start painting:
- Clean the walls and patch up holes using filler.
- Use painter’s tape for windows, doors, ceiling lines and anything you don’t want paint on.
- Lay down something like tarp on the floor, so you don’t have to fear every drip.
- If you’re painting a dark wall with a lighter shade, it's recommended to set a primer. It can save you another coat of paint and much effort.
Related article: 3 Easy-to-Make Natural Household Recipes, That'll Save You Money
6. Removing Popcorn Ceiling or Wall
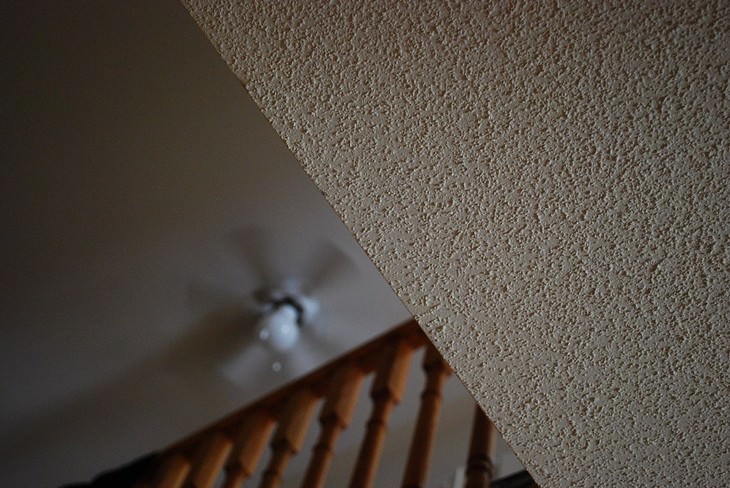
Popcorn ceilings and walls, also known as cottage cheese texture, were all the rage during the 1960s and 1970s. It’s not clear why exactly they were so popular. Some say it was mostly a matter of cutting costs on ceiling finishing and providing some degree of acoustic sound absorption. The best way to get people to keep their ceiling basically unfinished was to convince them it looked fabulous.
It’s understandable if you’re over your popcorn ceiling but refrain from removing it yourself. If the ceiling was installed between 1950 and 1980, it might contain asbestos, and introducing those fibers into the air can be toxic. If you’re not sure, you can take a small sample of the ceiling and send it to the laboratory to be tested. If the result for asbestos is positive, you will want to contact a specialist to remove the texture for you.
7. Doing It All by Yourself
Taking on a DIY project is a great way to learn some new things. Even if you feel fairly confident, don’t try to fly solo. Consult a friend or acquaintance who has done something similar or has a lot of knowledge in the field. Alternatively, there are so many bloggers, videos and tutorials online that can be very helpful, and give you new perspectives and working techniques. Treat it as a learning experience.
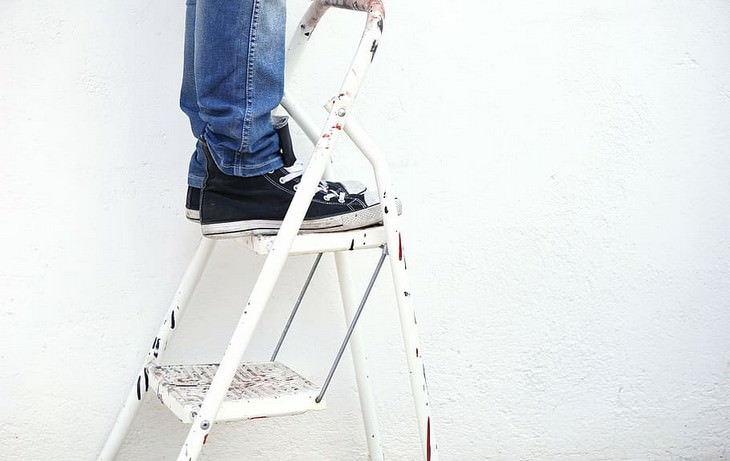
8. Not Making Safety a Priority
As obvious as it seems, a reminder never hurts - safety should be your first priority! If you don’t feel comfortable with a certain project, simply don’t do it. Some people draw their line at electrics, some - with heights. If you do decide to use a ladder, this is a good universal restriction: do NOT stand on the top steps and definitely do not tiptoe while standing on it. An estimated 43% of all fatal falls involve ladders, according to the U.S. Centers for Disease Control and Prevention.
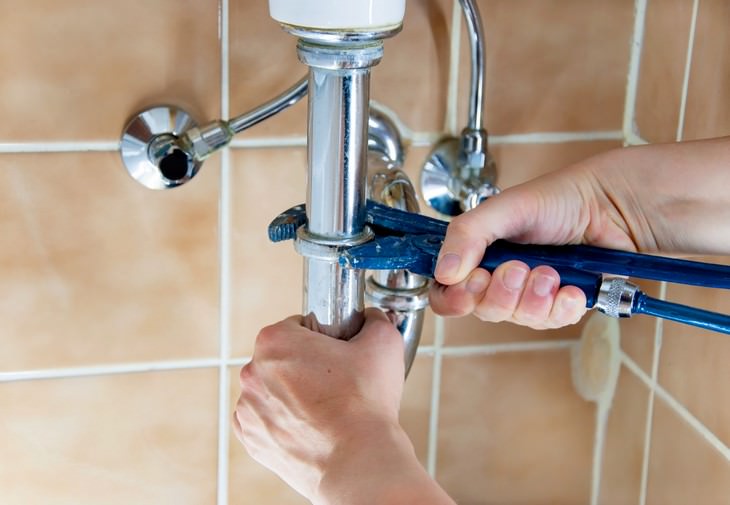
9. Messing with Plumbing
Plumbing is tricky. While installing a new toilet is considered quite an easy task, anything that directly involves modifying the existing pipes in your home should be done by a plumber.
Removing or adding new plumbing connections requires working inside the walls and floors of your home. When a new plumbing connection isn’t installed properly, you run the risk of damaging your home. Even if you’re a big DIY enthusiast, in case you realize a plumbing project is going to be extensive, it’s best to call a professional.
10. Dismissing Permits
As annoying as it sounds, permits are there for a reason. They’re not just there to raise revenue for the government; they make sure the job is done right and you don’t hurt yourself. Having the right permit also ensures that your insurance carrier has the right paperwork to keep you covered during the renovation.
Not sure if you need one? The general rule of thumb is, any job bigger than painting or wallpapering usually requires a permit. Call up the building department at the city hall and ask to avoid any inconveniences later down the road.
11. Getting Overly Stressed
At the end of the day, DIY should be fun! Don’t stress yourself with time, take as much of it as you need and enjoy the process. If you’re getting frustrated, take a break, have coffee or a snack, and come back fresh and inspired. Finishing a successful DIY project is one of the most satisfying sensations.