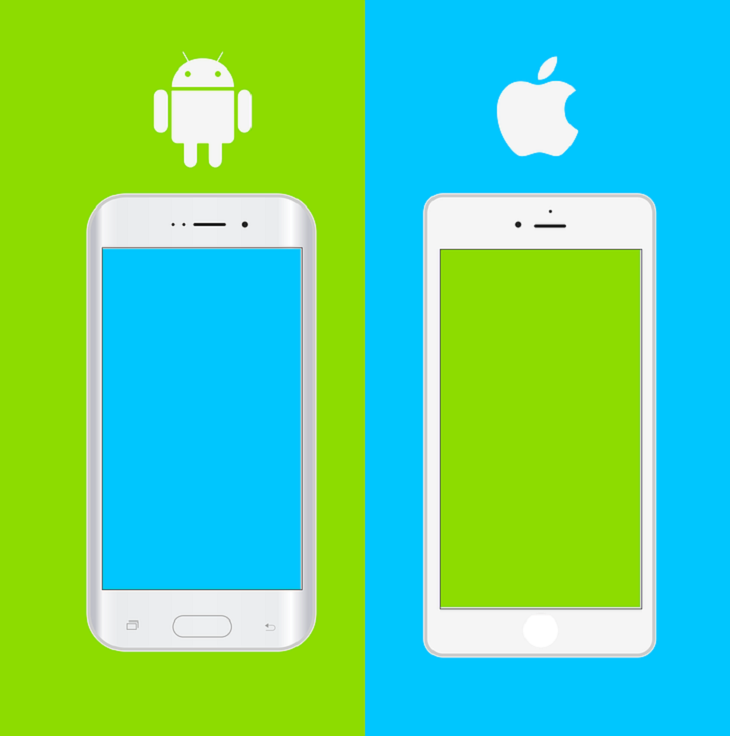
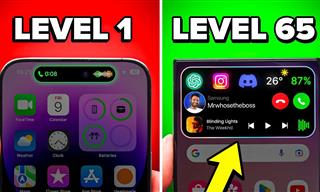
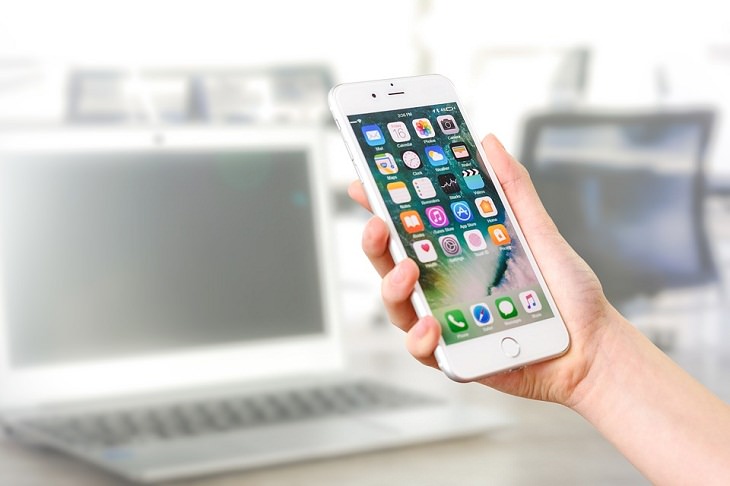
Google's Android and Apple's iOS are the most used operating systems today in mobile technology, especially for smartphones and tablets. Both of these operating systems have their fair share of loyalists all over the world. Linux-based Android is popular because of its user-friendly interface and customizable features. Meanwhile, iOS' uniform design elements are considered classy and easy to use.
Both Android and iOS have a number of very useful features their users could take advantage of, but simply don't know. Here is a look at some truly useful, but little known tips and tricks that will surely come in handy for Android and iPhone users.
Click on the type of device you have to be transported to the tips:
Tips and Tricks For Android Users
Tips and Tricks For iPhone Users
1. Make sure you can always find your phone:
Do you get worried about losing your phone? Of course, you do. All of us do. While you cannot completely ensure your phone’s safety, there is a neat built-in tracking system on Android phones to help you locate your phone in case it's lost.
You need to open Settings, go to Security and tap Find My Device. Once you’ve done that, if you lose your Android device you would need to visit the Google Find My Device page and log in to your Google account. This will give you your handset’s location on the map. You can then even choose to lock it or erase the data from it.
Background apps on your phone can eat up a lot of unnecessary data; especially when you aren’t connected to Wi-Fi. Thankfully, Android has a built-in system to limit this.
Open Settings and choose 'Network & Internet', and then 'Data Saver'.
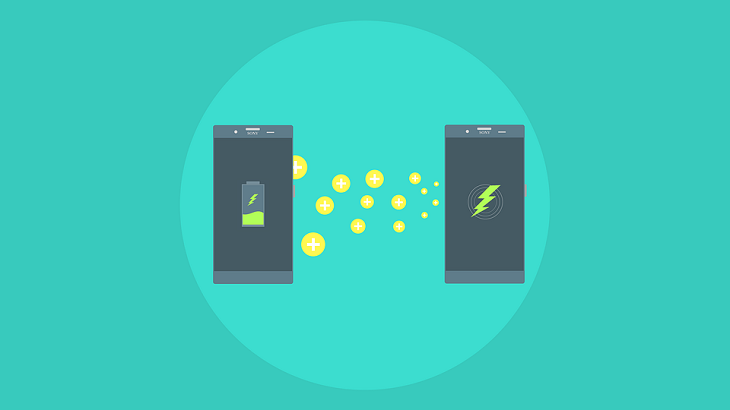
Some apps drain the battery more than the others. For instance, a certain app might be running in the background, looking for updates constantly and you might not be even aware of it. There is a way for Android users to stop this.
Go to Settings and then tap on Battery. You will see the menu button on the top right where you need to tap on 'Battery Usage'. This will now give you a list of the apps that are using your battery the most. You can click on any of them and then press on 'Battery Optimization'.
You can assign customized ringtones to certain contacts on your Android phone. This will be especially helpful if there some contacts who call you more regularly than others – a family member, close friend, or even a coworker. A customized ringtone will help you know when they are calling.
Launch the Contacts app, and then tap on the Contacts tab. Here, you can select the contact you wish to assign a special ringtone to. Open the menu by tapping on the three dots on the top right and choose 'Set ringtone'. You can then select specific audio for that contact. Bear in mind, though, that your default ringtone will remain the same.
You must have faced this situation at some point: you find an interesting link and tap on it, but the link opens in a certain app rather than the browser. It can be quite annoying, right? Well, here’s how you avoid the situation.
Go to Settings and then Apps. Find the particular app(s) that keep opening. Select them, scroll down 'Open by default', tap on it, and then opt for 'Clear Defaults'.
In case this doesn’t work, you can follow the same process for your browser app.
Switching between Wi-Fi networks is not a big deal, right? You can go to Settings > Wi-Fi and change it there. But what if we tell you there is a faster way?
You will need to swipe down twice from the top of your screen to open the 'Quick Settings' menu. However, don’t press the Wi-Fi icon to disable it. Instead of that, you tap on the network’s name. This will instantly show a list of all the networks in your vicinity, and you can choose and switch the network according to your convenience.
One of the most underrated and underutilized features on your Android device is the 'Priority mode'.
By using this feature, you can put your phone into the quiet mode and yet let some notifications and calls come through. These could be calls, texts, or WhatsApp notifications from specific contacts in your device. It can also be some important reminder or alarm.
For setting up Priority mode, simply go to Settings, move to 'Sound & Notification' and then tap on 'Do not disturb'. Here, you can select the options you need and customize it. Furthermore, this feature can swiftly be toggled on and off from the 'Quick Settings' menu.
Having kids at home who can access your mobile phone can be a little awkward at times. Especially if they accidentally tap on some content that isn't age-appropriate. Screen Pinning is a great Android feature to help you in this regard.
In most Android phones, this feature is turned off by default for some reason. So you will firstly need to enable it. Go to Settings, move to Security and scroll down to find 'Screen pinning'. Now when you need to pin a screen, open the particular app, tap the Overview button and then the pin icon.
There’s also an option of PIN-protecting the pinned screen if you want.

Jumping from app to app can be quite annoying at times. The 'Overview button' (the square icon in the navigation bar) can be your savior if you constantly juggle between apps. This button gives you a view of all your open apps as tabs. If you double-tap on the button, you will be instantly transported from your current app to the one you were using previously.
Also, note that there are no buttons on Android 10. However, you can still switch between apps easily. When you are using an app, just swipe up from the bottom of the screen and then move to the right where you can easily jump to the next opened app.
This is a vital and useful feature that often gets overlooked. Suppose you have been in an unfortunate accident. Having some crucial medical information about yourself stored on your phone can actually save your life. Android phones have this option that must be utilized.
Open Settings, choose About Phone and then press on Emergency information. Here, you can input essential health details like blood group, allergies, and organ donor status. You can also use it to add your emergency contacts.
There are often several pictures on your phone which are private and which you wouldn’t want anyone to see. At times, though, your phone may be in the hands of someone who can accidentally swipe through your photo album.
Well, iPhone users have a built-in option of hiding selected photos to avoid such a scenario. Open the Photos app and press on “Select” at the top right. Here, you can choose the photos you want to hide and then tap on the Share icon at the bottom left. Now you will find the option of “Hide Photo”. Press on it and that particular photo will be hidden from your library. You can access all the hidden photographs in the Hidden album.
2. Click photos with headphone:
A lot of us are still not comfortable holding a big smartphone and using it to capture proper pictures. Photos can often become jittery if we are not used to positioning the frame properly with one hand while clicking on the shutter button of the iPhone.
Thankfully, though, iPhone users can also take photos by using their headphones as a shutter button. Yes! When you are inside the iPhone camera app, just press the center of the headphones and the photo will be comfortably taken.
Guided Access is an important tool for iPhone users. It limits your device to a single app and allows you to control which features are available. This is particularly useful when you have to hand over your phone to your kid to let them play a game but you want them to stay off particular apps.
Turning on Guided Access is simple. Just go to Settings, then to Accessibility and find Guided Access. Activate it by moving the button towards the right. Triple-click the Home button in the app you want to use to begin Guided Access.
Did you know that your iPhone’s keyboard can also work as a trackpad? This will mean that you can move your cursor around properly rather than tapping on the screen.
To activate the keyboard trackpad mode, press and hold anywhere on the keyboard. Now you can move your finger around like a mouse cursor and make quick edits without having to reach up and tap the display.
Do note that this feature works on any iPad or iPhone that supports 3D Touch.
Does typing with one hand on your smartphone bother you at times? If so then you can use a useful one-handed keyboard feature on your iPhone that will shift the keyboard to the left or the right. This will allow you to use one hand to reach all the keys.
To use the one-handed keyboard on your iPhone, press and hold on the globe or emoji next to the 123 button. Then, select the left or right-handed keyboard icon.
Someone has sent you an important text. You pick up your iPhone to see it, but can’t find your reading glasses. That can be quite frustrating, isn't it? Tiny print and small writings too can be hard to read for many people.
Don’t worry. Just turn on the Magnifier feature on your iPhone. This handy tool acts as a magnifying glass that lets you zoom in on any area you want to read using your iPhone camera.
To turn this feature on, open the Settings app, press on “Accessibility” and find “Magnifier”.
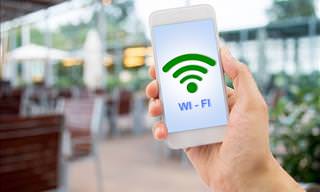
There might be a situation where you are stuck in a place where there is no reception and you have to make an important call. You do, however, have access to Wi-Fi. In such a scenario, iPhone users can still make calls using Wi-Fi.
Go to your Settings app and open the Phone tab. Here, you will find 'Wi-Fi Calling' which you can enable if you want to use it. This is quite a useful tool in case of emergencies.
The Assistance feature in Settings is a great boon for seeing- and hearing-impaired people as they can use some aspects of the iPhone with just a tap.
Go to Settings, then Accessibility and then find Touch. Once you do so, select 'AssistiveTouch' to turn it on. You can also use "Hey Siri" to say, “Turn on AssistiveTouch.” The moment this feature is on, you can adjust volume, lock your screen, use multi-finger gestures, restart your device, or replace pressing buttons by just a mere tap.
It might be possible that you miss some important notifications because you weren’t paying attention to the phone at that particular moment despite the device being right next to you. Here, LED Alerts would be quite handy. Through the “LED Flash for Alert” feature, your iPhone’s LED light will flash every time you receive a message.
Open your Settings, then go to General and tap on “Accessibility”. Scroll to find “Audio/Visual” and enable “LED Flash for Alert” to make it work.
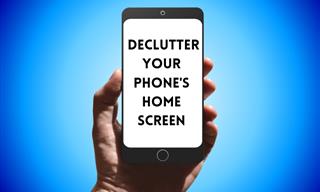
Your iPhone has plenty of built-in Apple apps on the home screen. While a lot of them are useful (Calculator, Calendar, Contacts, FaceTime) many of them can become unnecessary too after a while (Compass, Podcasts, Tips, Stocks, Voice Memos). Also, they clutter your home screen and become an eyesore. More importantly, they also take up a lot of space.
To remove a built-in app, touch and hold it lightly until it jiggles. Then, tap the cross mark next to the app then tap Remove. Once you have done so, press the Home button to finish.
Bear in mind, though, that when you remove a built-in app from your Home screen, you also remove any related user data and configuration files.
Related Articles:
7 Smartphone & Tablet Apps Ideal For Seniors
Use These Apps to Make Your Life Online Much Easier
12 Must-Have Apps to Train Your Brain
14 Top Free Apps Available for Both Android and Apple Phones (2020)