 Tip 1. Only Use Cold Ingredients
The perfect pie crust is crispy, and yet still soft and not crumbly. The first thing you should keep in mind before mixing the dough is the temperature of the ingredients. For a flaky dough you want to use ice-cold ingredients, whereas for a bread-like fluffy consistency you want to keep all ingredients warm.
So, for pie dough, it’s essential to cool all of the ingredients, here’s how:
- Keep the butter in the refrigerator until you want to use it
- Vegetable shortening can be kept in the freezer (don’t worry, it will not freeze hard)
- Instead of using room temperature water, add a few ice cubes into a measuring cup and add water. Use this ice-cold water to add to your dough, 1 tablespoon at a time.
Tip 2. Don’t Overwork the Dough
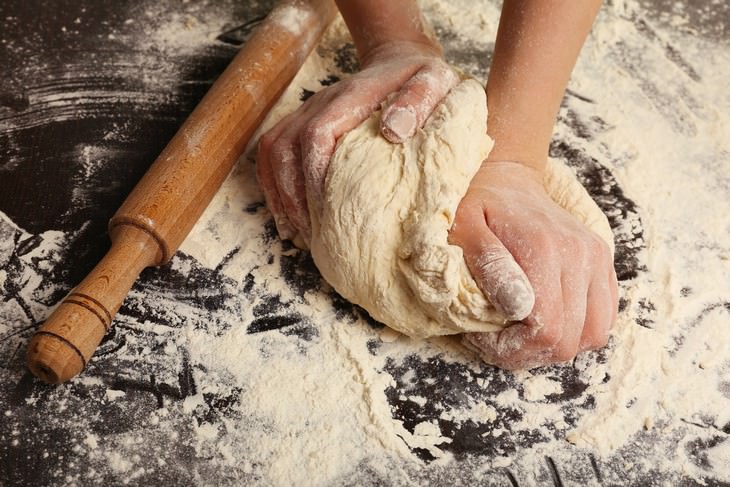
While you’re kneading and rolling out your pie dough, handle it as little as possible, otherwise the crust will end up being tough. If you happen to find cracks and holes in the dough, try patching them up with a tiny pinch of dough instead of re-rolling the dough.
Tip 3. Don’t Use Too Much Flour When Rolling Out the Dough
Start rolling out your dough from sprinkling a little flour on your work surface (NOT like in the picture below). Cover your rolling pin with a thin dusting of flour and start rolling out the dough.
If the dough sticks to the work surface or the rolling pin, re-apply a little bit more of the dough. Adding too much flour can harden and dry out your dough.
Tip 4. Refrigerate the Pie Dough After Every Step
Not only should you use cold ingredients, but you should also make sure your dough stays cold, too, to prevent the butter from melting at all costs. It is recommended to pop the dough into the refrigerator for a few minutes twice:
- First, chill your dough immediately after mixing it. This will let the flour absorb all the liquid
- Chill the dough once more after rolling it out and putting it into the pie pan. This will relax the dough and it will not shrink in the oven.
Also, if you’re making a double-crust pie, first roll out the top part of the crust and refrigerate it on a piece of parchment-lined plate or pan. Meanwhile, roll out the remaining dough and prepare the filling.
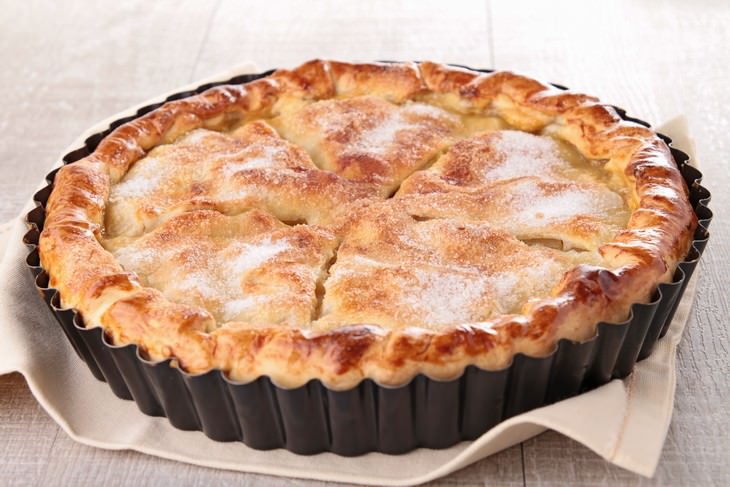
Tip 5. Vent Double Crusted Pies By Cutting Out Slits On the Top
Those signature slits or a criss-crossed dough pattern (called a lattice top) on most fruit pies are not there for aesthetic purposes only, they are necessary for your pie to release excess heat and steam while baking, so don’t forget to cut them out just before baking your pie.
Tip 6. Pre-Bake the Crust
Open pies, such as quiches, cream and custard pies benefit from a quick crust pre-bake to preserve the shape and texture of the crust.
This is how you can do it:
1. Preheat your oven to 425°F (220°C).
2. Cover the crust with aluminum foil and load the tin up with weights of beans.
3. Immediately before baking the crust, lower the temperature to 400°F (195°C) and bake for 10-12 minutes. The crust is ready when it catches just a little bit of color.
4. Cool for 10-15 minutes before adding any filling.
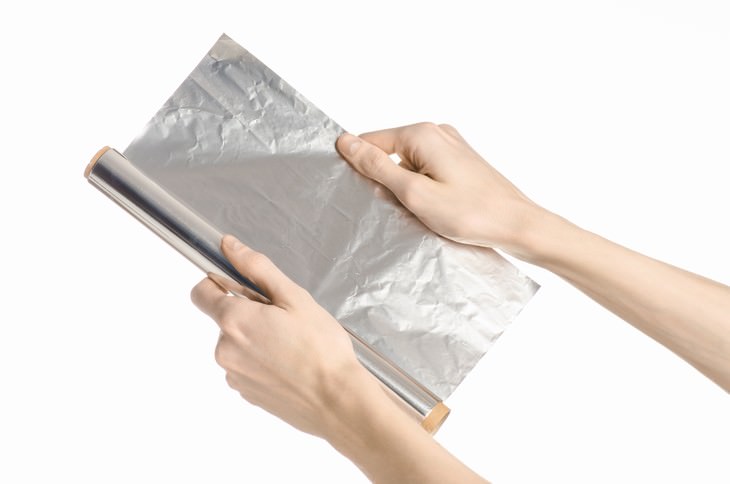
Tip 7. Protect the Edges of the Crust With Aluminum Foil
If you find that the edges of your pie always get burned, simply cut 2 inch (5 cm) thick strips of foil and gently fold them around the edges where the pie crust meets the tin.
This should protect them from burning.
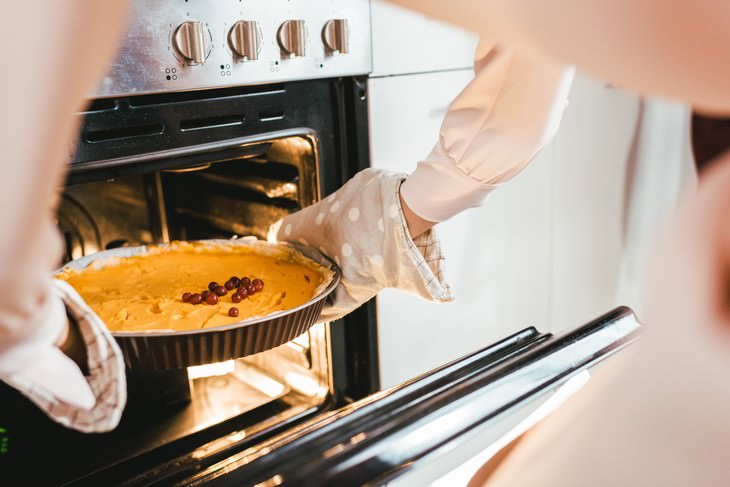
Tip 8. Bake Your Pie On the Lowest Rack In the Oven
This trick prevents an undercooked bottom crust. You should also preheat a rimmed sheet pan in the oven and put the pie on it: this will keep your oven clear in case some of the filling bubbles over. It will also add an extra source of heat to the bottom of the crust and prevent it from undercooking and being soggy.
Tip 9. Don’t Overbake Or Underbake Your Pie
This is when you will need to look at your recipe and follow it very closely. And remember, every pie needs special handling. Fruit pies, for example, need to get hot enough for the filling to start boiling and thickening properly.
Custard pies, on the other hand, are very delicate and can crack, shrink and dry out if you overbake them. Here is a test you can do to know that your custard pie is ready:
Insert the tip of a knife 1 inch (2 cm) from the center of the pie. If it comes out clean, it means that the pie is ready. Don’t worry if the center is a bit runnier, it will firm up when you let the pie cool.
Tip 10. Let Your Pie Cool Before Digging Into It
If you find that the filling of your pie is always runny and difficult to slice up, despite the fact that you baked it according to the recipe, it might be that you’re not letting it cool enough. You should let it cool completely, at least for 2 hours, but preferably overnight.
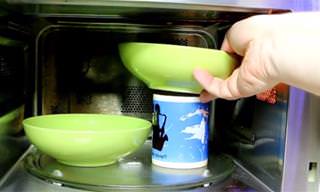
If you like to eat your pie warm, you can always preheat each slice in the microwave, or simply pop the pie into an oven preheated to 300°F (150°C) for 10-15 minutes before serving.
One last thing you can do to improve your pie-making skills is learning to decorate your pie like a professional baker. We have a great in-depth article that will teach you to do anything from braided edges to decorative tops that can be accessed through this link.