Caramel is best enjoyed when it’s neither too liquidy nor too hard. It should stick to your teeth and fill your brain with an explosion of delicious flavor. Before you scurry down to the store to get yourself some, you’ll be happy to know that you can make it in the comfort of your own home. Here’s how to make caramel at home:
First off, some science
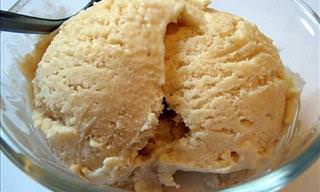
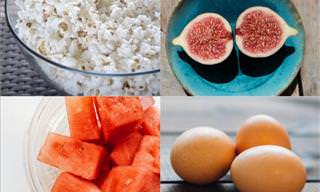
Caramel comes in many different forms. For instance, it can cover an apple to make a delicious candy apple, popcorn can be coated in it, it can be drizzled over ice creams and cakes, or it can even stand alone in the form of crunchy toffees or soft caramel chews.
In essence, caramel is a glass that consists of viscous syrup with milk solids dissolved in it and fat emulsified into it. Although it’s a glass (an amorphous solid), thankfully it doesn’t taste like the stuff that goes in your windows. A glass is an amorphous solid, meaning that it’s a solid that lacks an inherent crystalline structure.
When manufacturers make glass, they heat crystals of sand to a very high temperature until they melt. After that, they very carefully allow them to cool into a translucent solid before the glass can set. Caramel is made in much the same way, only that it’s sugar, not sand, that’s used at the standing point.
Time to begin
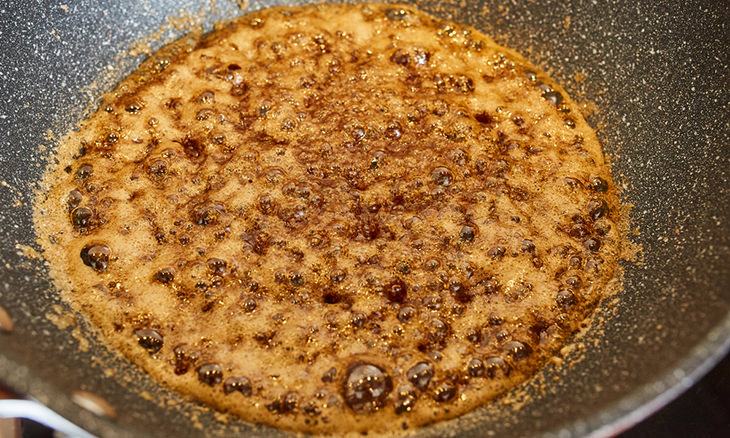
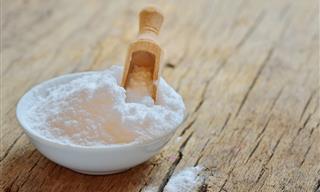
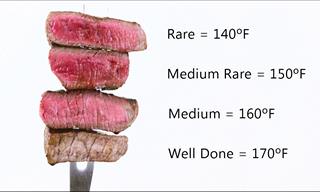
Place some white sugar and a little water in a pan and heat it until it melts into a liquid. What this does is break down the sugar into two types of molecules, namely fructose, and glucose. When the temperature reaches 338°F, these molecules begin to turn brown, creating that beautiful shade that we all know and love. You need to be cautious about the caramel getting too dark, however, because it will taste bitter if it’s left to heat for too long.
You also need to watch out for recrystallization, a process when the liquid candy solidifies again, which ruins the caramel’s texture. This process can be triggered by just a single unmelted sugar crystal. To prevent this from happening, you should wipe down the sides of your pan continuously and avoid stirring the caramel as you heat it. What you should do instead is shake the pan gently. Just be wary of getting molten sugar on your skin.
Another solution is to add some corn syrup to stabilize the caramel. Doing this is especially useful if you have a big batch of the stuff. Although it won’t completely get rid of the grainy caramel problem, corn syrup can help prevent the recrystallization process from occurring.
The end result of this process is a brittle caramel that’s normally used in candyfloss decorations. Another thing to be wary of, however, is water vapor. If this gets into your mixture, then it could spell disaster, because sugar absorbs moisture.
If you want to create caramel that’s softer and chewier, you need to add cream and butter to the mix. See how to create soft and chewy caramel below:
Chewy caramel time!

Seeing as chewy caramel contains milk and butter, those ingredients help to stabilize the mixture when you’re heating it, thus reducing the risk of recrystallization. They’re also what will give the caramel its smooth, buttery texture.
Caramelization occurs at a lower temperature when sugar is mixed with milk and butter – around 245°F. This is because the proteins in the dairy undergo the Maillard reaction (a chemical process), releasing thousands of chemicals that make caramel so delicious.
That doesn’t mean to say that things can’t go horribly wrong – you need to be eagle-eyed and completely focused on the temperature. In addition, you need monitor it as it changes color to make sure that it doesn’t turn too brown.
When the mixture reaches 245°F, the next thing you need to do is pour the mixture into a greased pan and allow it to cool for several hours. When it’s completely cooled and set, you can chop up the candy into bite-sized pieces and wrap them in wax paper. Wrapping the pieces in wax paper is absolutely essential, and although it’s a tedious process, doing so is a must. The pieces will simply melt back into amorphous blobs if they don’t!
After you’re done, it’s time to enjoy!
Images by Deposit Photos.