|
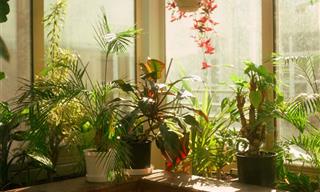
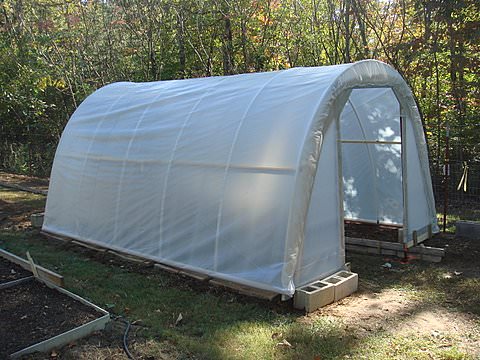
If you love gardening but live in a colder climate, you know that sad feeling when some plants you’ve cultivated and cared for don’t survive the winter. Not only that but starting over can be costly and time consuming. Another issue that cold climate presents is that certain plants don’t typically grow in low temperatures (watermelons, for example). As a gardener, you can appreciate the value of a greenhouse, but they usually cost an arm and a leg to purchase or construct. However, if you follow this easy guide, you’ll be able to build your own greenhouse for very little money. |
 |
|
This fun project can take a few days to complete, but the results look very polished. The greenhouse is sturdy and able to withstand quite a bit of snowfall. Here’s what you’ll need: 6 pcs of 20' x 3/4" UV resistant PVC 40 plumbing pipe
6 pcs of 1x6x8'pt. – ripped into 1x3s
4 pcs of 8'steel “T” fence post
3 pcs of 2×4 stud – rip into 1x2s
2 pcs of 1x4x12'pt.
1 pcs of 2x4x16' rip into 2x2s
1 pcs of 20’x1/2" rebar – cut into 18' lengths
0.75 pcs of 8" nylon wire ties – 100
0.5 pcs of 1 1/4" x 1lb drywall screws
0.3 pcs of 16 gauge galvanized utility wire – 200'
0.25 pcs of 3/8" t-50 staples – 1000
0.22 pcs of 20' x 100' x 6 mil clear plastic
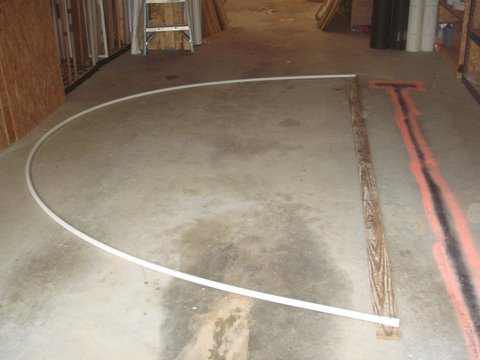
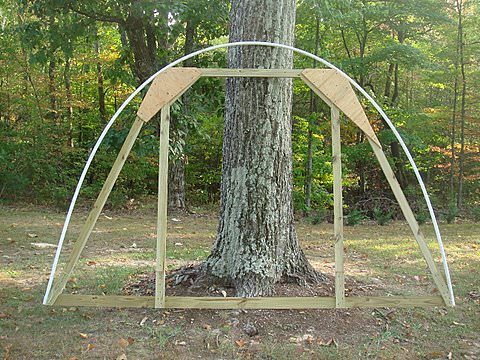
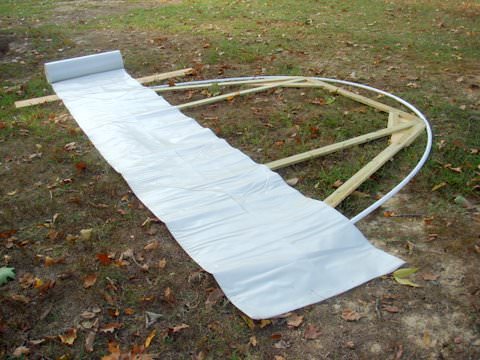
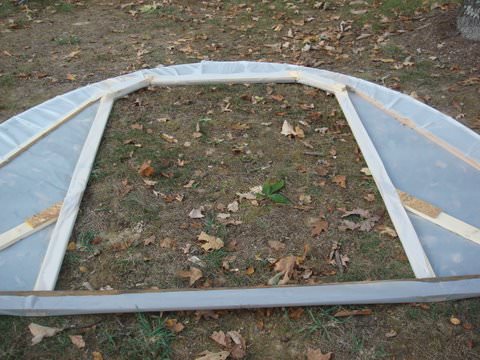
Instructions: Begin by building the end side. Attach a PVC pipe to a piece of 1x4 to get an outline. Don’t try to make the arch wider to get more space, a tall arch is better at draining rain and snow. |
 |
|
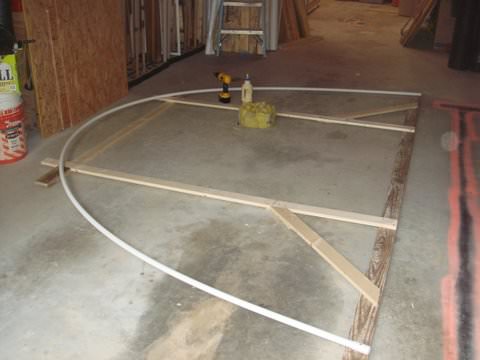
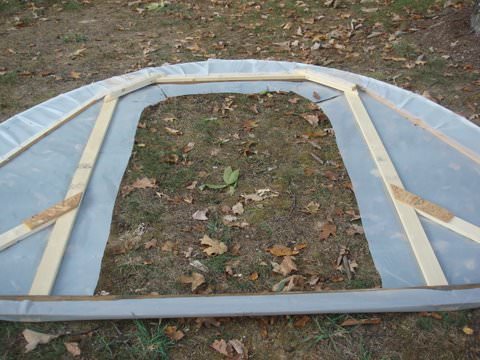
Build a frame for the door, leave about 3’ space for the door in the middle. |
 |
|
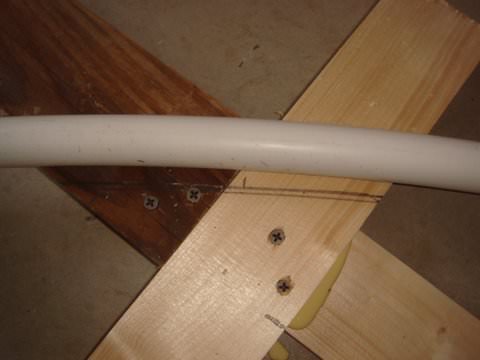
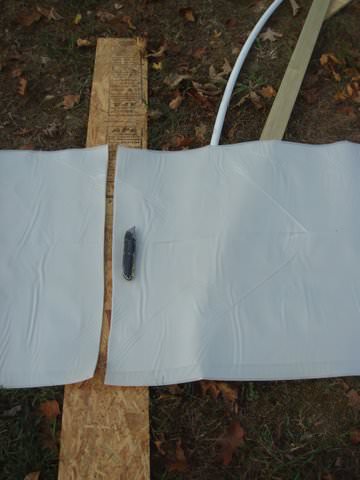
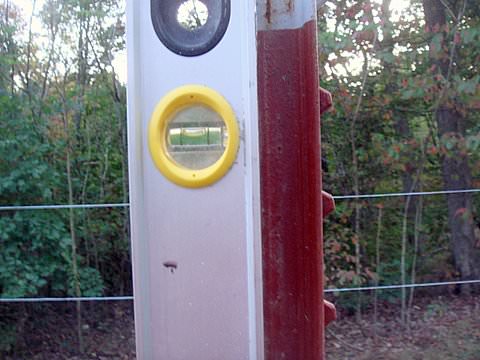
Mark the wood to be in line with the bottom of the pipe. |
 |
|
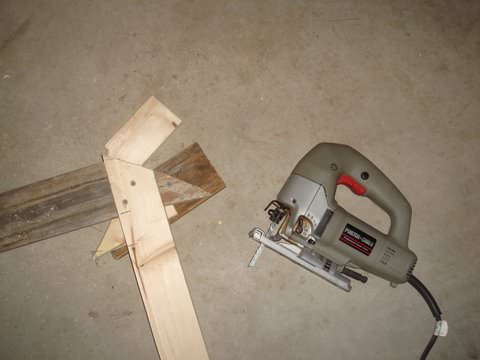
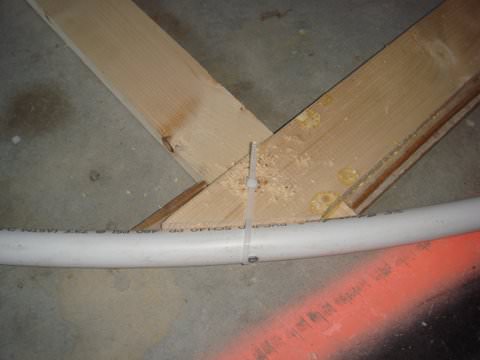
Cut the top ends of the frame that you’ve marked so that the pipe can rest atop them. This is to prevent splinters from tearing the plastic sheet. Screw the pipe into the cut frame. |
 |
 |
|
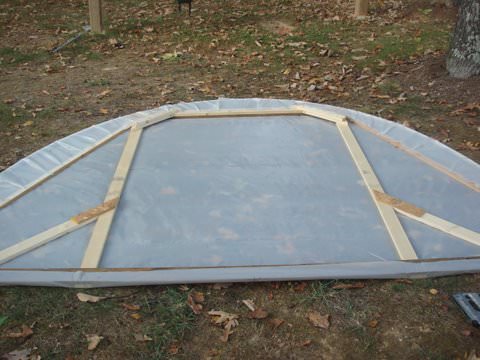
You can use some plywood to add rigidity and durability to the frame. |
 |
|
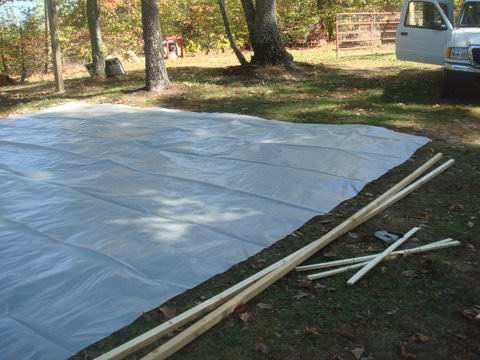
Spread the plastic sheet on the frame, making sure to cut it neatly with a utility knife. |
 |
 |
|
Fold the plastic sheet and use a strong stapler to attach the plastic sheet to the wooden beams and trim any excess plastic. |
 |
 |
|
Cut an opening in the doorway, but leave some extra sheeting to fold inside, for a more polished look. |
 |
|
Fold the extra sheets you’ve left and staple them to the wooden frame. |
 |
|
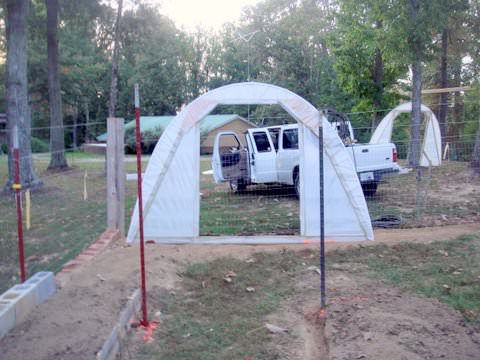
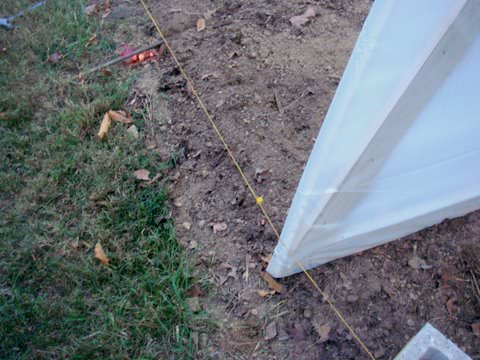
Measure the width of the frame and drive fence posts into the ground. Make sure the posts are straight, otherwise your greenhouse may become unstable. |
 |
 |
|
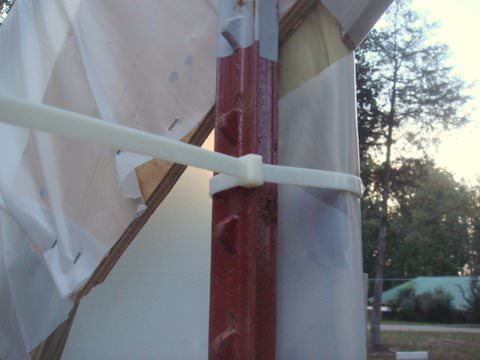
Use strong zip-ties to attach the frame to the stakes. |
 |
|
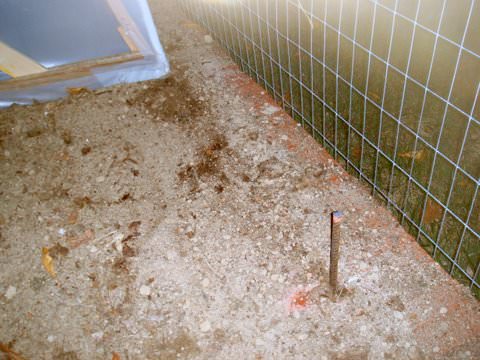
Repeat the above process to build a rear frame. This will ensure that your greenhouse is stable. If you plan on using another wall in the back, proceed to the next step. Use a string to mark the line where the ribs will stand, and then drive rebar pins every 3’. |
 |
 |
|
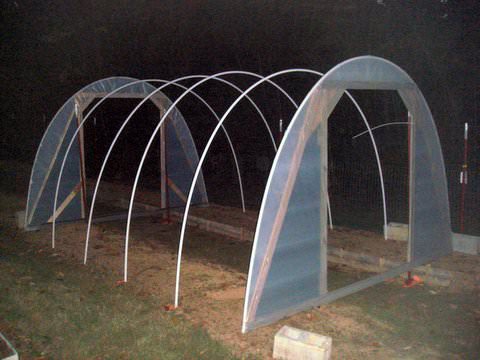
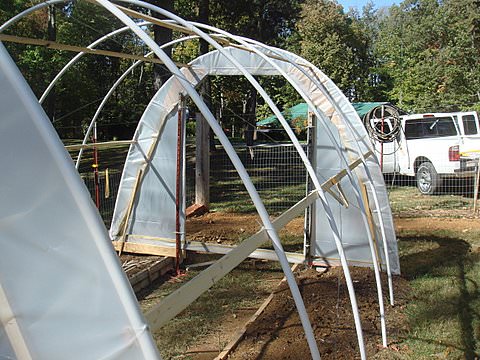
Insert the PVC pipes and form the ribs of the greenhouse. For a sturdier structure, use more ribs. |
 |
|
Use 2 long planks on either side to strengthen the structure, as seen in the photo. Screw each rib into each plank. |
 |
|
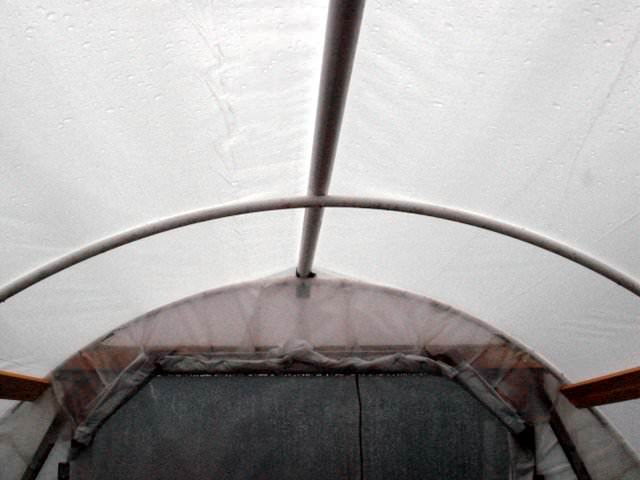
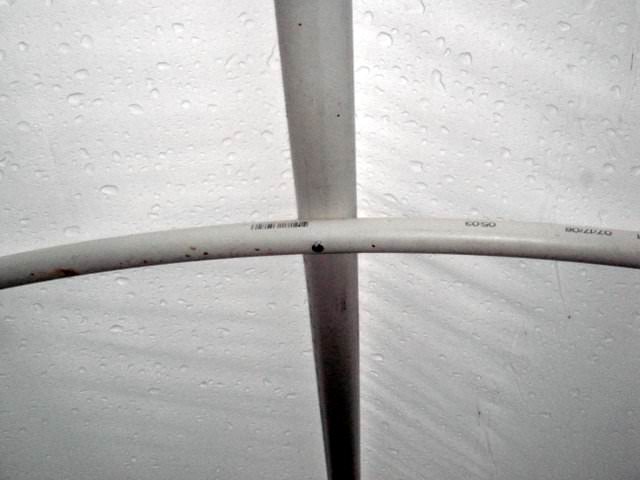
Use a PVC pipe to form a final beam at the top – this will come in handy during heavy rain or snow. Screw the top pipe to each rib and the frames. |
 |
 |
|
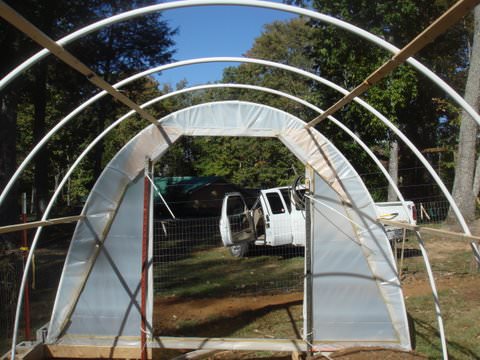
Stretch the metal wires diagonally from one side of the frame to the opposite side, forming an “X” on either side. This will add support to the plastic sheets, making the greenhouse more durable. |
 |
 |
|
Measure and cut the plastic sheet. You will want to have a little extra on both ends, and in the front and rear. |
 |
|
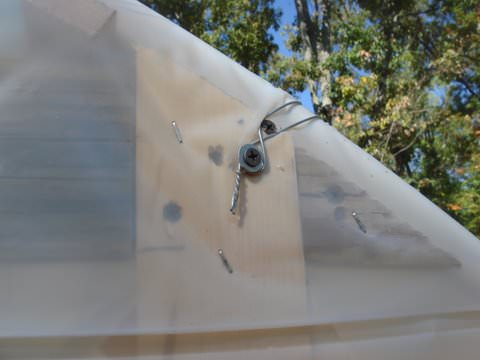
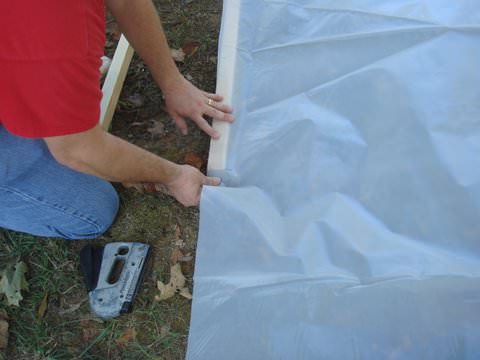
Place a plank on each end and staple the sheet to each one. |
 |
|
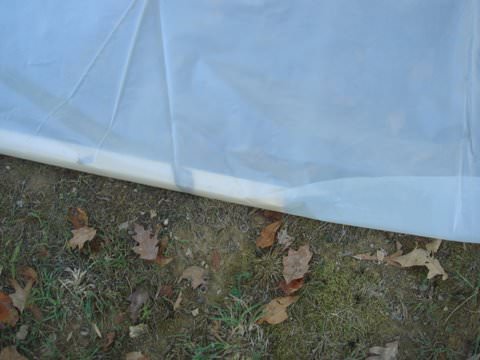
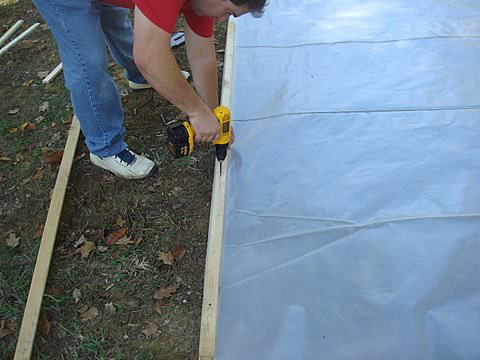
Fold the plank to cover it completely with the plastic sheet. Use another plank and screw it into the wrapped plank to add weight and keep the sheets secured. |
 |
 |
|
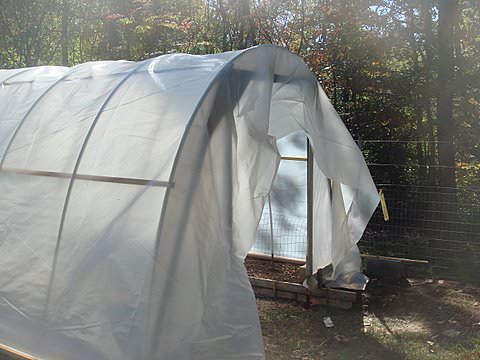
Cover the greenhouse with the sheet, making sure to add weight on one side before stretching the plastic over the construction. |
 |
|
Once covered, secure the other end of the sheet to the ground as well, then secure any loose plastic on the front and back. |
 |
|
You can now use 2-3 planks on each side to form planters, just like in the picture below. |
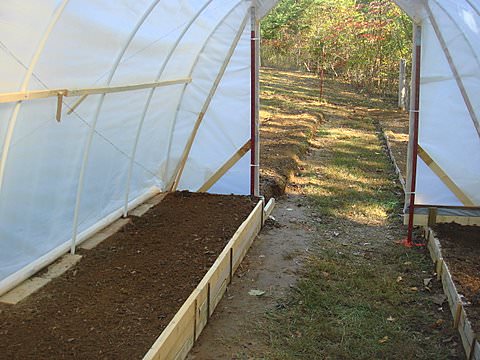 |
| Congratulations! You've now built your very own greenhouse! |
| H/T: goodgarden.com |