|
When it comes to fashion, there are so many creative ways to cut corners and still look fabulous. Here are some great DIY fashion ideas for accessories and unique clothing pieces that prove that you don't need to spend your fortune to look fabulous! |
|
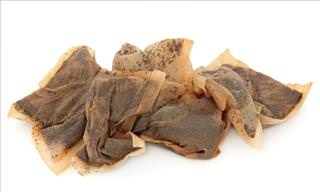
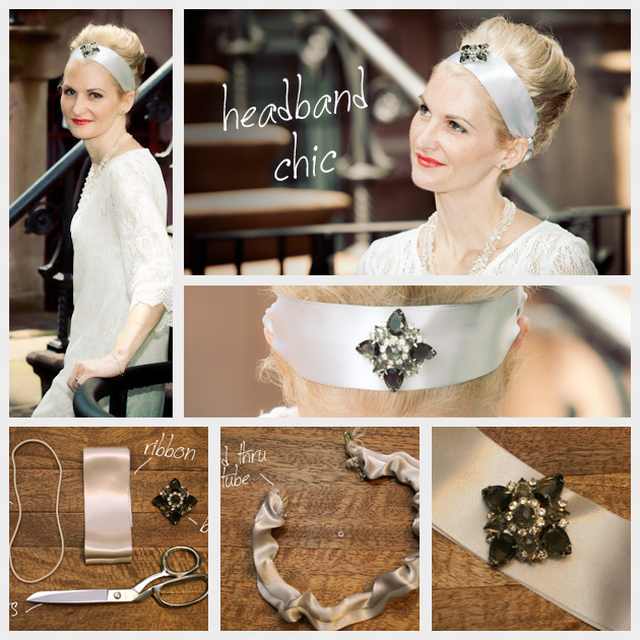
Satin Headband |
 |
|
Accessories are the key to a perfect outfit! This headband is the perfect touch to any elegant outfit, or a great gift for girlfriends that like to dress up! Oh, and it's really easy to make.
|
|
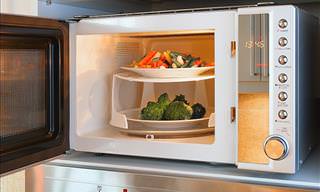
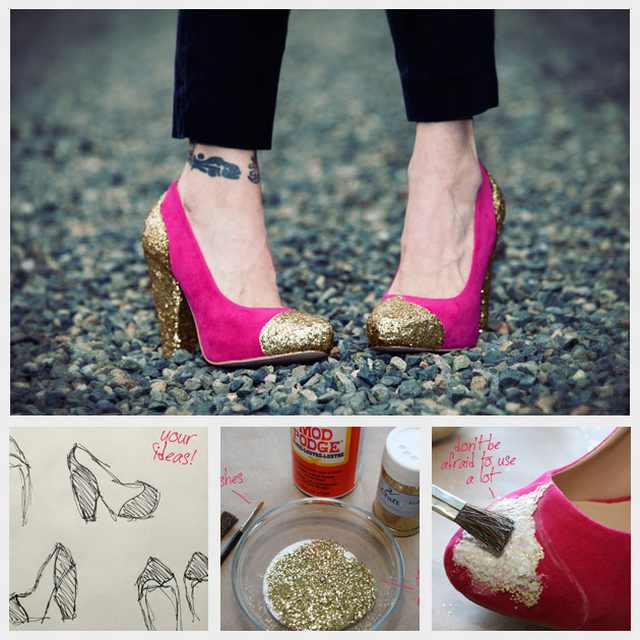
Glitter Shoes |
 |
|
If you've ever dreamt of being Dorothy in the Wizard of Oz, well here's your chance!
|
|
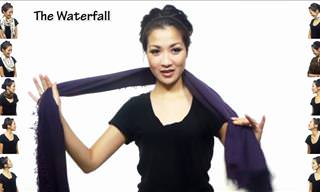
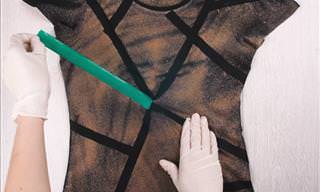
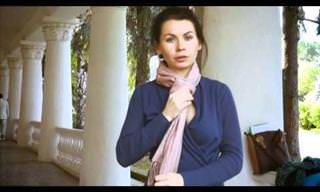
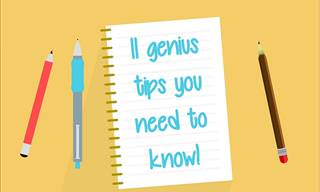
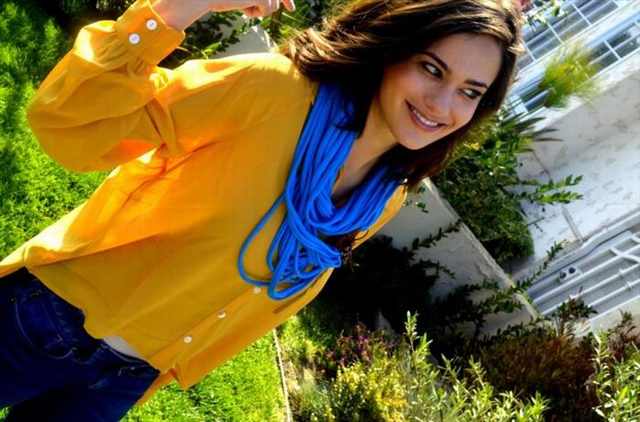
T-Shirt Scarf |
 |
|
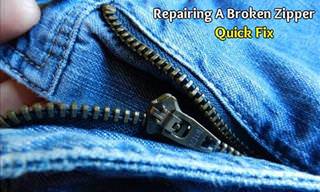
Being on top of the latest fashions does not mean empting your bank account. Here is a stylish scarf that can easily and cheaply be made at home.
|
|
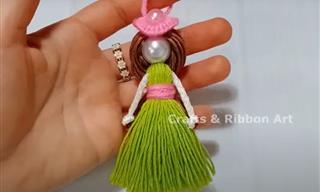
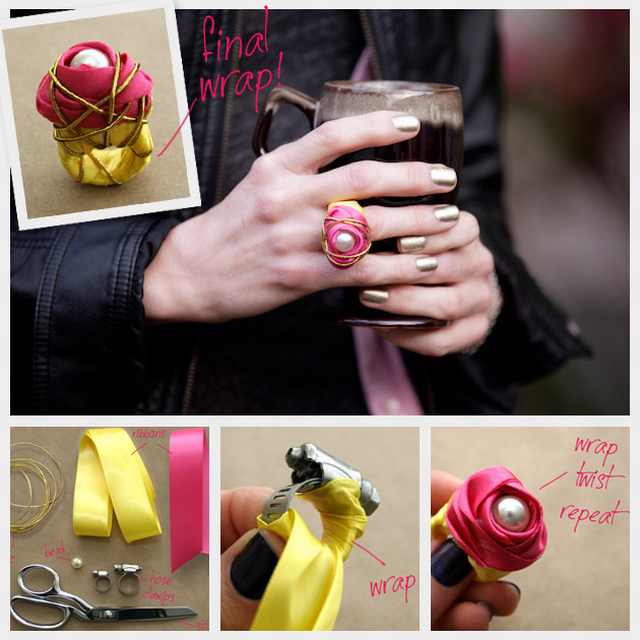
Ribbon Ring |
 |
|
What You'll Need
|
|
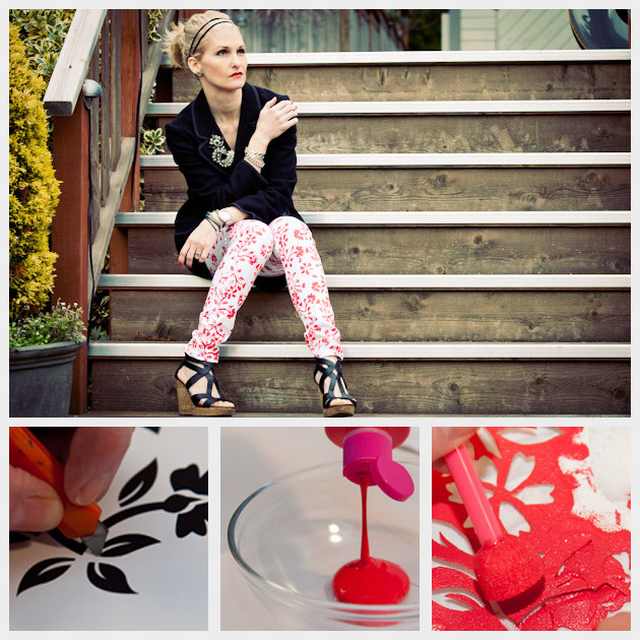
Floral Jeans |
 |
|
If you've been on the hunt for the perfect pair of floral jeans, well search no more. Here is a simple way to make floral jeans at home!
Now go strut your stuff in your beautiful floral jeans! |
Submitted by user: Maria G.