There isn’t a person who doesn’t like to learn tricks and shortcuts related to the kitchen, but various methods sometimes fail and consequently expensive raw materials are thrown into the trash. In addition, there are people who spend hundreds of dollars on cooking tools that aren’t actually needed to cook like professionals. To avoid such situations and to be able to cook and bake like real pros, you should read the following article which will enrich your knowledge and give you 10 important tips for working in the kitchen; Basic tools that you need to have to the best baking methods and more. Tell us which tips were the most useful or interesting in the comments below and if you have any cool tips and tricks don’t be afraid to share them with us!
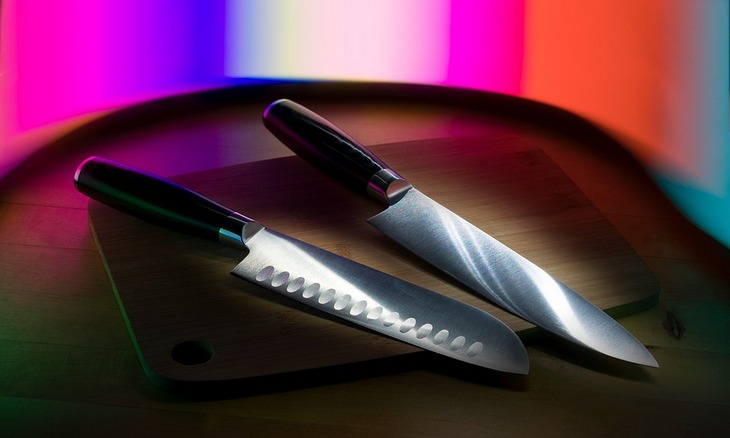
There are innumerable gadgets that are designed for different things in the kitchen, some are more useful and others are a little less, but the bottom line is that you can do without most of them. If you ask professional cooks, they’ll tell you that there are only six basic tools without which it is difficult to get along in the kitchen. If you think that they include the most common tools: spatula, ladle, blender, etc., you’re wrong! The 6 items are none other than a chef’s knife, pot, cutting board, pan, a peeler, and a wooden spoon.
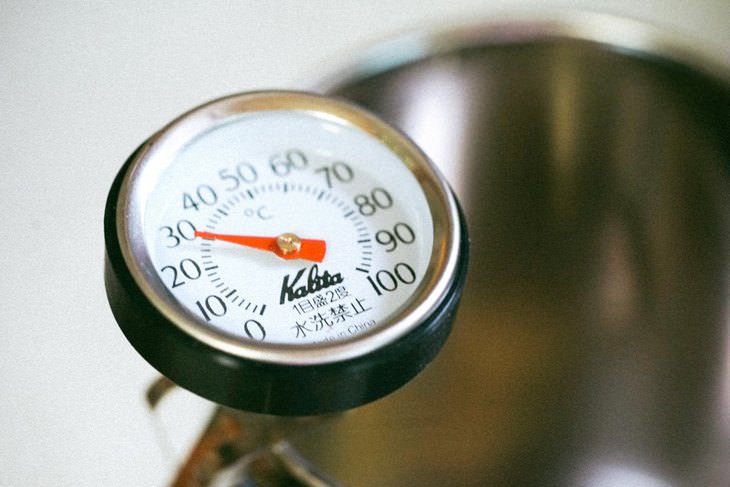
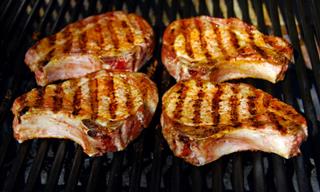
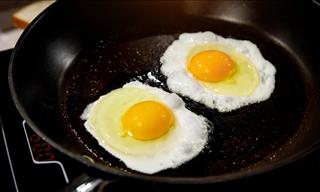
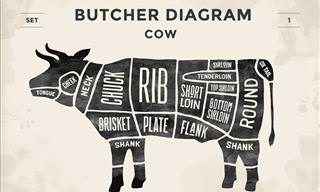
How many times have you cooked or roasted a chicken and upon serving it you discovered it was undercooked, dry or overcooked? If this has happened to you more than once, you should know that to get the perfect result all you need is a thermometer, analog or digital, and to know the temperature you need to reach for each part.

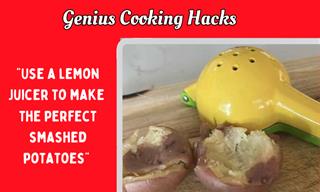
Many of us use our peeler only to peel vegetables such as carrots, potatoes, etc. But after learning what else you can do with this tool you won’t understand how you didn’t think of them before.
1. Thin vegetable decorations - If you have always wanted to make thin films of vegetables to decorate your food with but weren’t skilled enough to cut them yourself with a knife, do so with the peeler and using only one corner of the blade. For wider film cuts, cut using the entire length of the peeler.
2. Wide slices of cheese - Garnish or top your salad or pasta with wide slices of hard cheese, such as Parmesan, using your peeler.
3. Citrus strips - If you want to add a citrus twist to your drink, or to prepare long strips of lemon or orange, peel a citrus fruit with the peeler according to the thickness you want. Using the grater or zester creates very small strips compared to this method.
4. Chocolate curls - Decorate your cake like a professional with chocolate curls that are tasty and impressive. All you have to do is place your chocolate and peeler (the peeling process warms the blade and causes the chocolate to melt) in the freezer for 30 minutes or more, and immediately peel the curls along the width of the chocolate bar to create spectacular decorations.

A chef's knife or a knife for cutting vegetables are great for a variety of activities in the kitchen, but the beak-shaped Tourne is one of the best gifts any kitchen and cooking enthusiast can receive. What can be done with it? Almost everything - from removing pepper seeds in a precise and delicate manner, cutting down small fish, removing stems from strawberries, and even carving vegetables for decoration. The length of the blade is between 2-3 cm and can be found in specialty stores and sometimes in household goods stores.
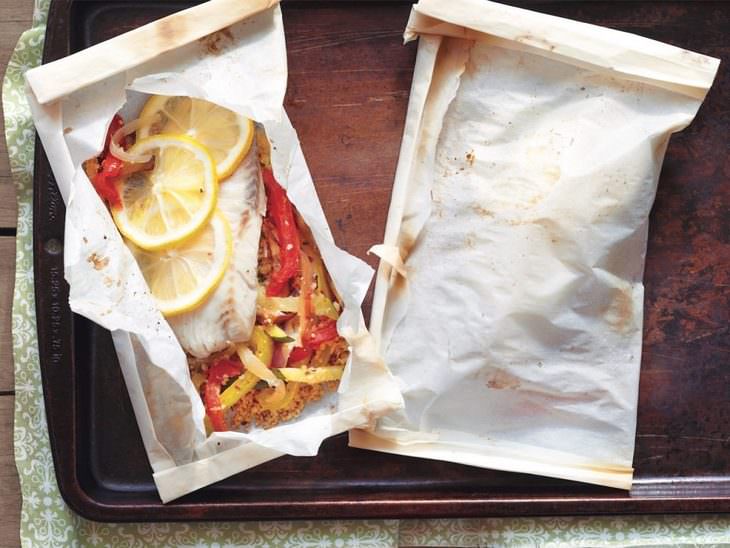
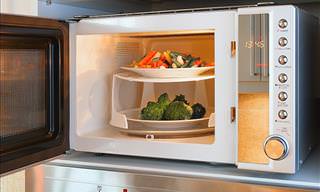
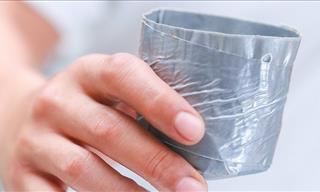
If you’ve been using aluminum foil for baking fish or steaming vegetables in the oven, but have stopped doing so because you’ve been told that using aluminum foil is unhealthy, you should know the next cheap and healthy method. Place baking paper on the desired baking pan, place the vegetables, fish, or chicken at the center of the paper, and then move the two corners of the paper to those opposite them - so you are actually folding the paper in half and creating a pocket. Fold the edges several times around, put in the oven, cook according to the instructions in the recipe and you have a convenient solution.

You've probably heard hundreds of tips for making the perfect dough, and for the most part, it worked fine, but sometimes a little less. With the following tips, you can achieve dough at the level of top pastry chefs.
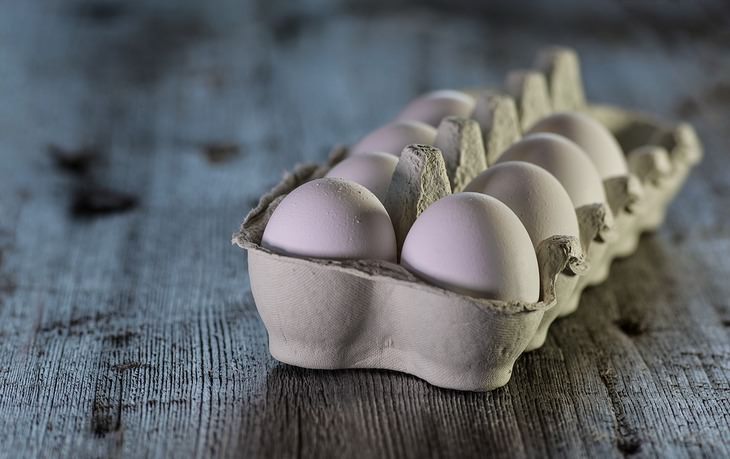
A. Keep all products cooled - this rule applies not only during the summer but all year round. Doing so will make sure the fat you use won’t melt causing the resulting dough to be too greasy and unstable.
B. Never roll out cold dough - After making the dough, roll it into a smooth, slightly flat ball and cool it. Before using, remove the dough from the refrigerator for about 15 minutes, and then start flattening it on a lightly floured surface. Letting the dough ball warm will ensure that your rolled-out dough will be free of cracks and tears.
C. Control the amount of flour you use - the right amount of flour is key to the success of the recipe, but you must also consider the flour you use when the rolling out of the dough. For example, covering the work surface with too much flour causes the dough to absorb it and changes the ratio of the ingredients in the recipe, which can lead to cracking or dry and too hard dough, which may lead to the dough becoming too hard and dry. On the other hand, using to little flour can cause the dough to tear, stick to the work surface and rolling pin, and even fall over the edges of the pan.
D. Know where to place a pie dish - While most cakes are recommended to be baked in the middle of the oven, pie dough should be baked at the bottom third of the oven to ensure that the dough at the bottom of the oven is sufficiently baked and not left white, while the filling solidifies.
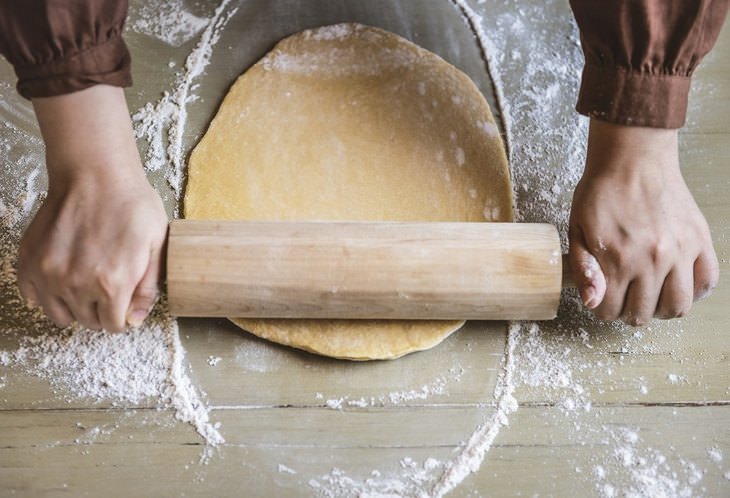
Following the previous tip on baking, there is a dough rolling tip that holds true for most doughs, and it is highly recommended that you get to know it. In order to achieve uniform thickness without stretching the dough too much, you should follow the 10:00, 12:00 and 2:00 pattern. What does that mean? Roll the dough over a lightly floured surface from the center to the direction of 10 o'clock and then 12 and finally to 2, just like an analog clock. Raise the dough slightly and rotate it a quarter of a turn on the work surface, lightly flour again if necessary, and repeat the rolling again and again until the last quarter of the dough is your starting point once more.
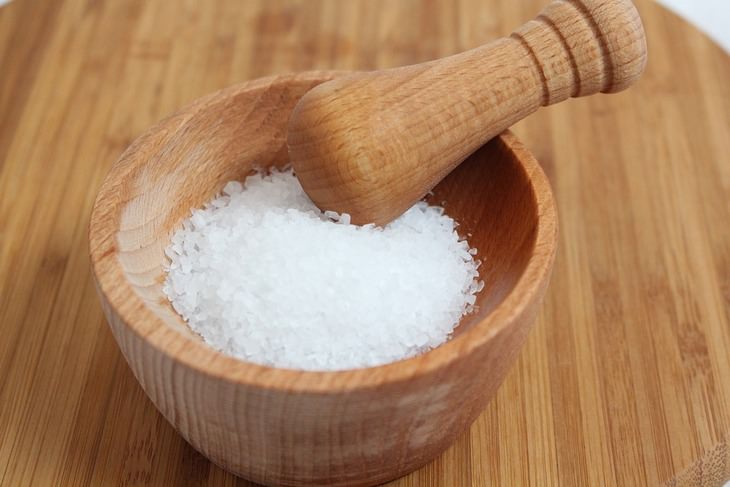
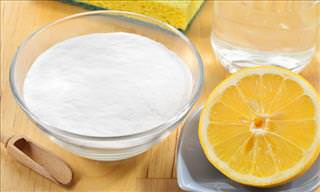
There are many types of salts, but the most familiar and used in the kitchen are mostly coarse salt and table salt. Coarse or sea salt is usually used for pickling, salty pastry decorations, and meat preparation, and it takes time to dissolve in food. It usually contains no iodine, and the saltiness of a teaspoon of coarse salt is less than the same amount of table salt. Table salt, on the other hand, dissolves in baking and liquid more quickly, and it is much easier to spice foods with it.

Hollandaise sauce is one of the most famous white sauces in the world. Many are afraid to prepare it because in many cases it "breaks", and the egg yolks become scrambled eggs. To make the perfect sauce with ease, warm the butter and remove the foam created with a spoon or strainer. After the butter is refined and no foam remains, bring a pot of water to a boil and place a bowl over it (Bain-Marie). Place the egg yolks in the bowl and mix with a whisk. Occasionally, pick the bowl up off the boiling water so that the temperature is not too high turning your eggs into an omelet. Pour the butter in while stirring and bring to a temperature of about 45 degrees, stirring constantly. Then remove from the heat, add a little salt, cayenne pepper, and a little lemon juice, and then stir again and serve.