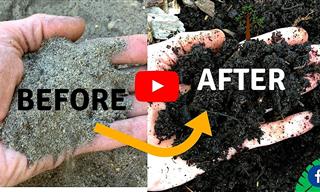
After a long period of constant use of a particular item, it makes sense that the item will become damaged and suffer from scratches or stains. Usually, we just get used to the situation and accept it as it is, but this doesn’t necessarily have to be this way. You can save your favorite items and bring them back to the way they were when you first bought them, and all you need is to learn how. That’s exactly why we’ve compiled this list of 9 tips for removing scratches and stains around the house that will restore your furniture and household appliances to excellent condition.
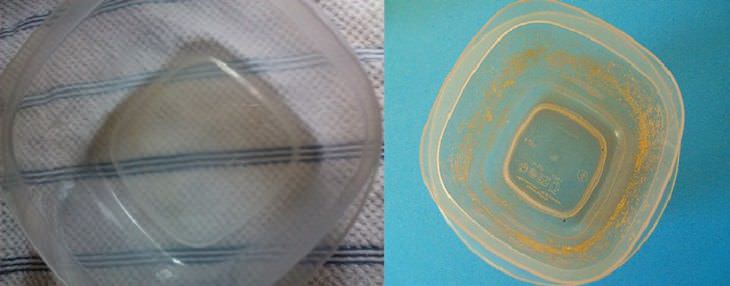
Are you sick of tomato sauces staining your plastic containers? If you have this problem, all you need to do is just take 2 denture cleaning tablets (you can get them at the drugstore) and put them into the plastic box with lukewarm water. Then rub with a kitchen sponge and watch the box come back to new.
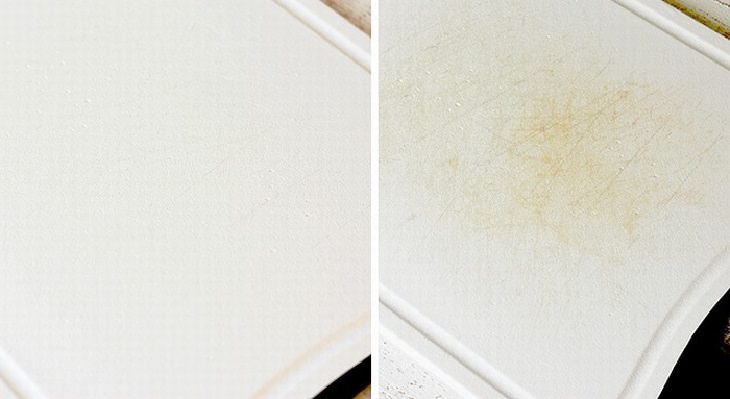
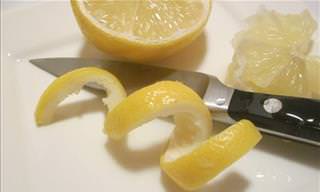
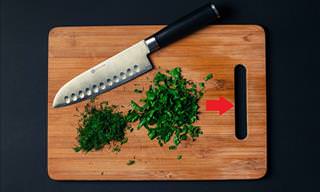
If your cutting board seems dirty even after you wash it, it is time to clean it as follows: Squeeze 10 drops of lemon juice or lemon oil into a half cup of water, dip a cleaning sponge in the mixture and rub it on the board well. Once you're done, leave the board in a bright place for a day and the stains will disappear.
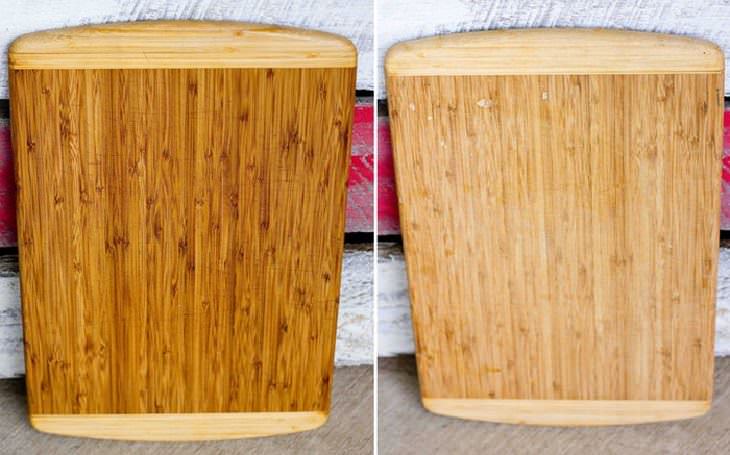
If you are using a wood cutting board, you should try this method to clean it: pour vinegar on the cutting board and wait 10 minutes, then pour hydrogen peroxide onto the board and wait another 10 minutes. Make sure you cover the entire board with the liquid to clean it properly. You can then return the natural color to the board by scrubbing it with a sponge soaked in coconut oil, in circular motions. Finally, rinse well with lukewarm water and let the board dry.
No one likes a pot with a blackened bottom. Fortunately, the solution to the problem is quite simple: sprinkle a little coarse salt on the bottom of the pot, and pour a little vinegar on it (you'll notice the color change at this point). Use a sponge to mix the vinegar and salt together and rub the bottom of the pot. The result will surprise you.
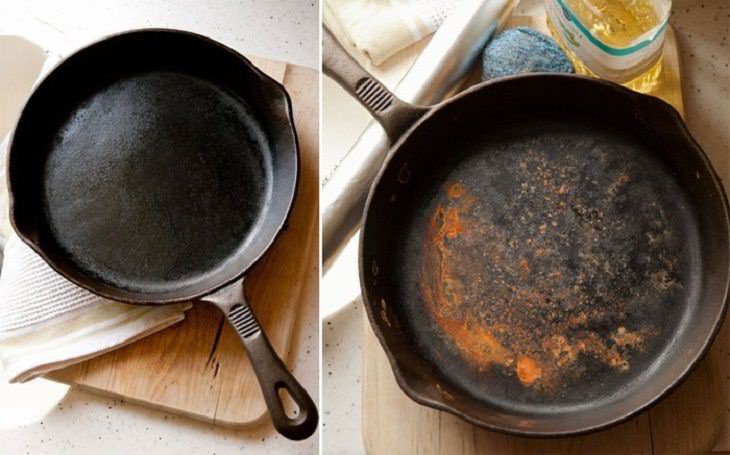
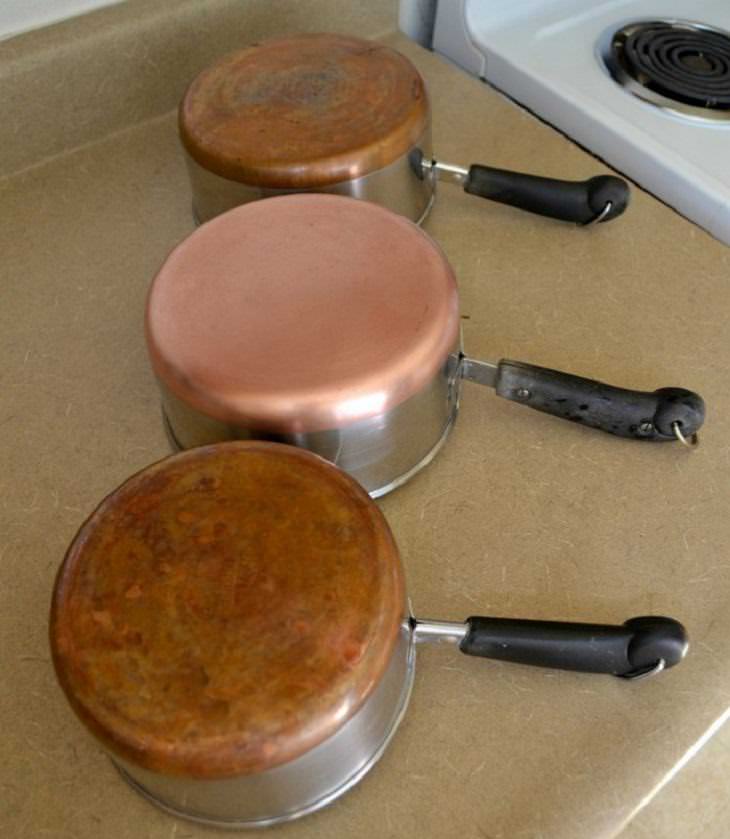
Just because the pan is rusty doesn’t mean you have to throw it away ... All you need is to collect the necessary materials and follow these instructions:

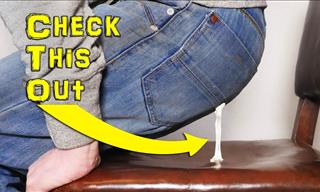
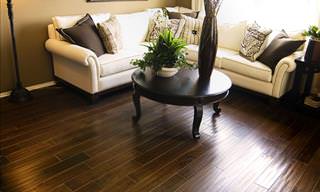
If your stair rail or table feet have accumulated quite a few scratches over the years, all you have to do is prepare a mixture of a ¾ cup olive oil and a ¼ cup apple cider vinegar. Mix the ingredients together and transfer the sponge to the mixture on the wood. If this doesn’t help, click here to find out more 14 methods for sprucing up old wooden furniture.
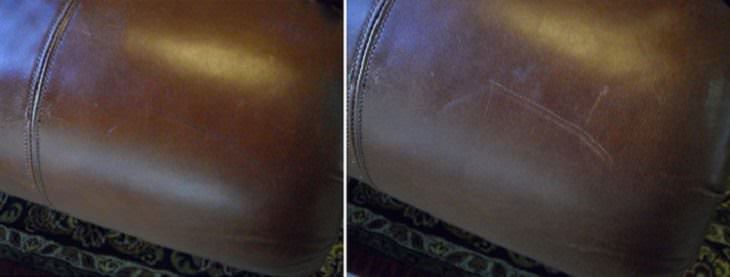
The scratches themselves can’t be removed, but they can be purposely concealed with a little soap and lukewarm water. If this doesn’t help, apply some oil onto the scratch with a paper towel and rub it in (you may need to let the oil absorb into the paper towel first). Then clean the remaining oil with a dry paper towel.
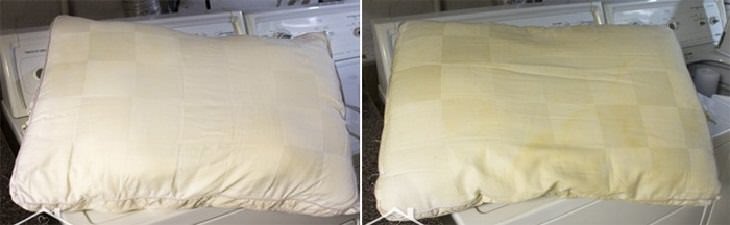
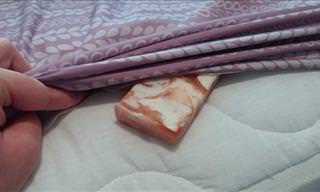
Many people don’t wash pillows in the washing machine, but you will be surprised to hear that there is a safe way to do just that, and it’s very simple. Make sure you have a cup of powdered or liquid detergent, half a cup of baking soda, one cup of dish soap, one cup of bleach, and then try the following method:

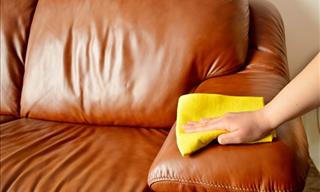
If the old sofa you love so much is covered in stains resulting from soft drink spills, pen scribbles, or any other food-related stain, just follow the next guide and all your troubles will disappear: