Supplies
To get started, you need a few supplies and tools. The cost is still relatively low and once you have your supplies in place, you'll be able to make numerous candles. Here's what you need:
Wax: Of course, no candle can be made without wax. There are three primary types of wax to choose from:
1. Paraffin: This is the traditional wax that is used in candle making and has been for hundreds of years. It is still the most popular ingredient for candles on the shelves today and it is cheap so you can easily add colors and scents. The primary concern with paraffin is that it is potentially toxic.
2. Soy: While relatively new in candle making, soy is becoming more and more popular. Soy wax is generally made with soybean oil but it is sometimes blended with paraffin and other waxes.
3. Beeswax: Beeswax is the oldest candle-making ingredient and is a byproduct of the honey-making process. It's naturally golden in color and gives off a subtle yet sweet scent. However, you won't be able to add other fragrances to it as the natural scent will interfere with what you are trying to add.
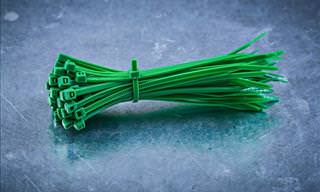
Wicks: Size is an important factor in selecting your wicks. For these types of candles, you need a large whisk.
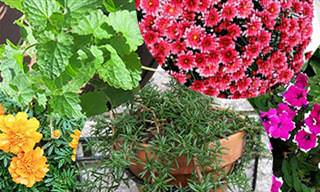
Fragrance oils: Without fragrance, all you have is burning wax, and while this looks nice, it doesn't create the pleasing aroma that today's candles are largely made for. There are thousands of scents to choose from. But you can also use essential oils - choosing a blend of clove, amber, and sandalwood. Alternatively, you can go to candlescience.com to buy specially formulated candle fragrances.
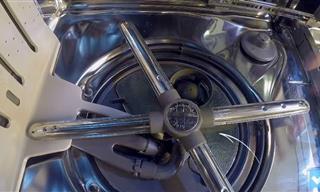
Double boiler: While you can use a true double boiler, you can also choose a universal model that just sits on top of any pot you already have.
Containers: Coffee mugs, glassware, mason jars are good examples of containers you can use, so long as they can withstand the heat.
Accessories: You'll also need a thermometer, a spatula, and some old pens.

Method
Now that you've collected all you need, here's what you need to do:
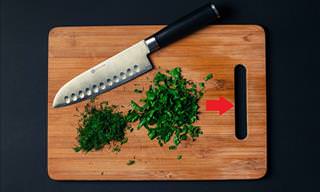
1. Prepare the Work Area: Using wax can be quite messy especially as it melts. Droplets can get anywhere and everywhere and you won't be able to see it until the wax dries. When preparing your candles, set up newspapers or paper towels around your work area. Have your jars and wicks at the ready too as the process goes a little quicker than what you might initially expect.
2. Melt the Wax: Use the double boiler to melt the wax putting a good amount of water in the bottom pan and half a pound of wax in the double boiler. Stir it, breaking it up into big chunks with a spatula. This will take about 10 to 15 minutes. Keep an eye out for the temperature which should reach around 160 and 170 degrees. If it's higher than that, take it off the heat.
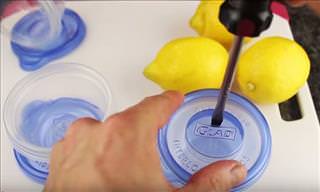
3. Adhere Wick to Container: As the wax is melting, adhere the wick to the container. Some wicks have a little sticker at the bottom, but not all do. You can use superglue, or as the wax starts melting it will form a pool of liquid, so you can dip the metal tab of the wick into that melted wax, then quickly stick it to the bottom of the container. After a couple of minutes and when the wax hardens it will be stuck solid to the bottom.
4. Add Fragrance Oils and Stir: After the wax is completely melted, add your fragrance oils. With regards to the amount, follow the instructions that come with the wax. Pour the fragrance into the double boiler and stir for 30 seconds, ensuring that it is evenly distributed.
5. Cool, and Pour Into Container: Once the fragrance oil has been added let cool for a couple of minutes until the temperature reaches 130 to 140 degrees. It will set better that way than if poured hotter. This doesn't take long, just a couple of minutes. Once it is properly cooled, pour into the container. Keep a light hold on the wick so that it stays in the center. Save some of the wax in the boiler for after the initial pour sets.
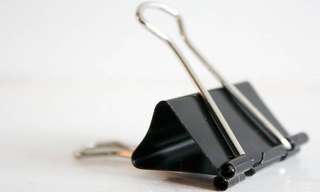
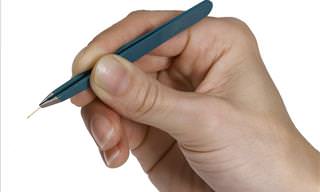
6. Secure Wick: The wick may sway in the liquid wax. So obviously you want to ensure that it stays centered while the wax sets and hardens. If the wick is off center it won't burn properly. To prevent this from happening, place a writing utensil or two on top of the container with the wick in between. The wick doesn't need to be secured, it just needs to stay in place for a couple of hours.
7. Let Cool, Then Top Off: As the wax sets, it will form a sinkhole in the middle, so you'll have to let it cool for a couple of hours. It takes long for the wax to fully set and for you to see how much it needs to be filled in. Then re-heat the wax that you left in the boiler and top off the candle. Don't add too much as you may end up with another hole. Just fill in the depression adding a touch above what was already there for a smooth surface.
8. Trim Wick: You'll probably have a few inches of wick sticking up from your candle and you may need to trim it down to about 1/4 inch. A wick that is too long will burn too big. If the flame is more than an inch or so high, and it flickers a lot, then it's too long/ Trim it and light it again.
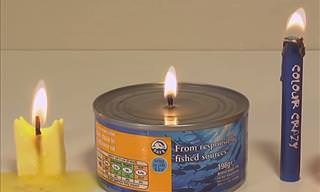
9. Enjoy your candle: Now that your candle is complete you can light it up and enjoy the serene atmosphere it creates.