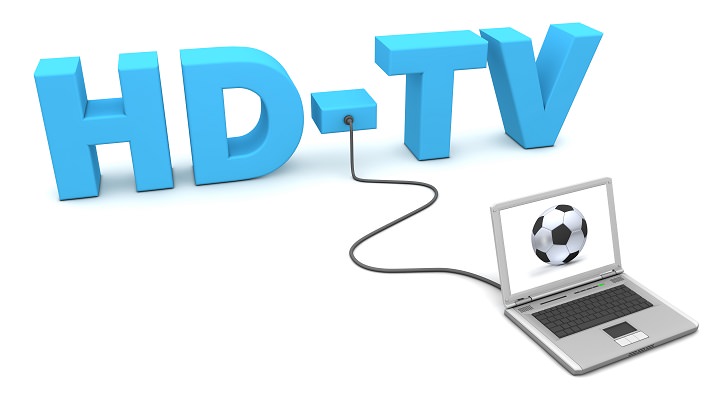
At some point, you've might have thought about hooking your computer up to your TV. Maybe you purchased a video cable, only to conclude that being hunched over your computer while being tethered to your TV is not quite the awesome setup that you had in mind. Or, maybe, you didn't even know that it was possible to attach the two to create a brilliant home media center.
Connecting your computer to your TV can be as simple or complex as you care to make it. The most basic setup allows you to stream the occasional web video, while a more advanced setup lets you access movie and music files from computers in your home network.
It all starts off with a computer. A laptop or desktop computer that isn't being used is the ideal candidate for your media center, as you can station it in your media center along with the rest of your equipment. Alternatively, you can use a laptop that gets put into home media mode when you crash on the couch after a long day at work.
Ultimately, in the end, what really matters is the state of your chosen device. An old computer is fine, but one that is too old will provide you with an interface that fails to keep up with the commands you input, and poor quality video streaming.
When choosing your laptop or desktop, it is best to aim for a device that possesses the following minimum system configurations:
Windows
Ideal minimum:
Bare minimum:
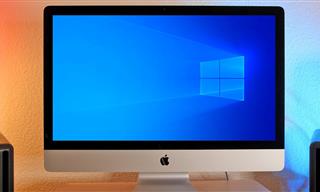
Mac
Ideal minimum:
Hooking Things Up
If your computer is going to be stationed in your media center, then you must carefully consider its placement. Wherever you place it, make sure that there is:
Many people dream of a completely wireless home media center where the TV wirelessly mirrors what the computer is displaying. Unsurprisingly, there are various companies that have developed products allowing for this, however they're currently not as reliable as the tried-and-tested cable method.
Therefore, for the time being, it is best to forget about a wireless connection in favor of a very stable, high quality video and network connection. The section below will help you decide which cables to choose, and the pros of each connection.
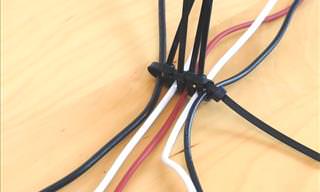
Video Cables
This part is simple, and depends entirely on the type of video output that your computer is equipped with:
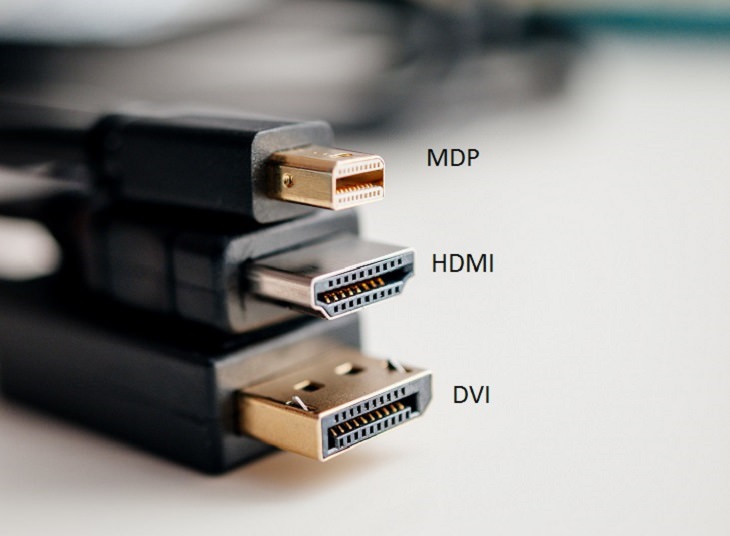
HDMI
This cable is now accepted as the standard one for high definition video. HDMI-out has found its way into a wide range of computers, offering high-definition video and audio-out.
High-speed HDMI (this is different to the standard HDMI cable) can transmit 1080p, 4k, and 'deep color' video. Even if you are not particularly bothered about deep color, high-speed HDMI cables are roughly the same price as standard HDMI cables, so purchase one anyway. By the way, please do not empty your wallet for a branded HDMI cable as they're all essentially the same.
Mini DisplayPort (MDP)
Although MDP was originally popularized by Apple, it is slowly being adopted by other computer manufacturers, such as Dell and Lenovo. It offers HD video quality (up to 2,560 x 1,600 pixels), and can carry audio. Furthermore, just like HDMI, it can also do deep color and 4k.
DVI
This has been a standard output type on computers for many years. A DVI output coupled with a dual-link DVI-to-HDMI cable will give you great quality footage on your TV. Dual-link DVI offers a maximum resolution of 2,560 x 1,600 pixels, and can transfer data up to 9.9 Gbps. In less technical terms, you'll be able to transmit full HDMI if you use a DVI-to-HDMI cable .
However, although the video quality easily matches that of HDMI and MDP, DVI does not carry audio. Therefore, you will need an additional audio cable. Check out some of your options below:
Audio Cables
If your chosen computer has a DVI or pre-2010 MacBook MDP output, you will need to purchase an audio-out cable. You can transmit audio to your TV through one of three different types of connections: a headphone jack (1/8 inch), coaxial, or optical.
The headphone jack is the most common across all computers and transmits an analog signal, while coaxial and optical offer a digital connection. Audiophiles will certainly notice the difference between digital and analog, but the majority of you should be happy enough with the 1/8 inch headphone jack setup.
To connect your computer to your TV via the headphone jack, use a mini-to-RCA cable in the length you need.
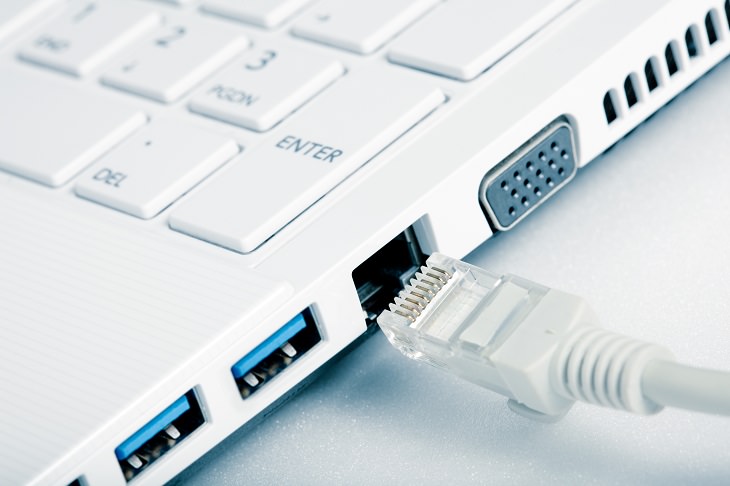
Since you will probably be wanting to stream a considerable amount of HD video, it's imperative that you set up a direct Ethernet line to your home media center. To set this connection up, simply plug one end of an Ethernet cable into the appropriate port on your computer, and plug the other end into your router.
Even if you do not plan on stationing your computer in your media center, make sure you have an Ethernet cable handy when you want to connect your laptop.
If the router is too far away, don't throw in the towel just yet - a solid WiFi network and internet connection will do the trick.
Change a Few Computer Settings
No matter which cables you decide on, it is likely that you will have to adjust some of your computer settings to optimize the display.
Connect your computer to the TV, then enter the display settings from the Control Panel. Here, choose to Extend your computer onto the TV (listed as monitor). Only this 'extend' option gives you full HD on the big screen. Apply your changes, then drag to adjust the resolution until it best suits your TV.
The highest (and best) resolution may require you to sacrifice some TV screen space, as the dimensions don't match perfectly, so don't be surprised to see thin black bars across the top and bottom or along the sides of your screen.
Finally, for those using a laptop, adjust your settings so that the laptop doesn't go to sleep when you close the lid. From the Control Panel, choose Power Options, and change "When I close the lid" to "Do nothing".
Connect your video cable to your TV, select the input source on the TV, and then plug the cable into your Mac. Your computer's screen should flash blue, and the desktop should appear on your TV. If you are using a Mac from 2010 or later, your MDP-HDMI cable will also carry audio. Older machines, as stated in the previous section, require the use of a mini-to-RCA cable.
Once you have connected the cables, go to System Preferences, click Displays and then uncheck the "mirror displays" option (if enabled) and set the resolution to 1080p so as to maximize the output of your TV.
Finally, for laptop users, adjust your Mac's settings so that it doesn't go to sleep when you shut the lid. Some Macs let you do this, but other models don't give you the option. Go to your preferences and click on Energy Saver to see if this option is available. If it is, enable it. If it isn't you will have to choose between keeping the lid open, or consider installing a program such as NoSleep, which overrides your Mac's settings and prevents the computer from going to sleep when the lid is closed.
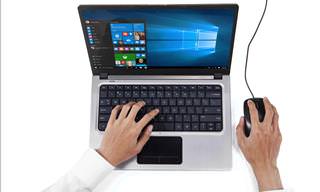
The key to an enjoyable home media center is choosing the right accessories. For example, once your computer is connected and you're seeing video, how will you be able to control the computer from the couch?
You do not have to go out and buy a fancy remote (you can if you want), as you probably already own a decent one already: your cell phone. Apps that turn your cell phone into a keyboard and mouse for your computer are readily available on all platforms. Once you install a program on your computer, your cell becomes your computer's input device.
Making Your Computer Easy to Navigate
You have connected your cables, tweaked your settings, and now your computer is just one step away from being a true home media center.
Navigating your computer from a distance and trying to decipher a small font is hardly enjoyable. What makes a computer a true home media center isn't just the hardware and accessories, it's the way you modify your interface to make it easy to navigate between media files and streaming services.
The best way to do this is with a free program called Plex. Available for Windows or Mac OS, Plex morphs your desktop into an Apple TV-like interface, which is easy to read and control from a distance.
So Why Plex?
Plex isn't the only program of its kind, but it is the most robust and easiest to use. Plex makes it easy to add channels, access your computer's media files and other computers on your network (if you have any). To install Plex, click here.
Source: https://www.cnet.com