I've always wanted to take up painting as a hobby, but I never had a clue where to start from - until I came across this guide. It covers the three major paint types in use today, as well as how to draw excellent pencil drawings! This step-by-step guide will help you make up your mind which paint type you'd like to use, the things you'll need, and provide you with things to keep in mind before, during and after painting. Here's to you creating your first masterpiece!
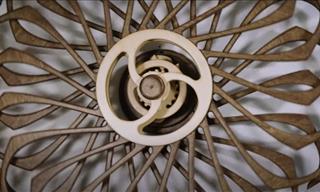
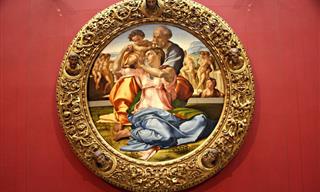
Oil Painting
Some of the most famous works of art in the world are oil paintings. This kind of painting is characterized by heavy thicknesses of paints used, as well as extremely long drying times, which can take up to a few months to complete.
Click Here to See the Full Method
1. Choose your paints. Ensure that you go for good-quality oil paints over making a saving on lower-quality products. Low-quality oil paints will make painting difficult, boring and frustrating.
The essential colors for starting off are: cadmium yellow, yellow ochre, cadmium red, alizarin crimson, ultramarine blue, titanium white, and mars black. Having these basic colors will allow you to mix any color or hue you want.
Ensure that you buy a larger tube of white oil paint than the tubes you buy for the other colors. This is because white is the color that tends to run out most quickly.
2. Get the rest of the stuff you need. When you first start off, it’s a good idea to buy high-quality brushes of various types. Purchase different-sized brushes that have round, flat and bristled tips. Also consider including a combination of natural hair and synthetic brushes, as these will allow you to experiment with different textures.
Other supplies you need include a palette knife for blending paints, a painting palette, canvas boards, and some old rags and jars so you can clean your brushes properly. Furthermore, purchase some white spirit or turpentine, so you can thin out your oil paints for the first layers of a painting. You need to do this because oil paints are quite thick to use directly out of their tubes. As you continue to paint, you will also need a blending medium, such as linseed oil or poppy oil for outer layers. The latter will prevent cracking or separation of layers.
If your budget can stretch to them, also consider purchasing an easel or drafting desk, apron, drop cloth and a box for all your supplies.
3. Set up your work area. Oil painting involves using a lot of supplies, so you will need a slightly larger work area than for the other paint types discussed in this post. Make sure you set it up where it isn’t going to be exposed to direct sunlight, and lay a drop cloth down to prevent any spills from ruining your floor or carpet. Also ensure that your work area has adequate ventilation. Oil paints give off a lot of fumes, so this is essential for painting safely. If you’re using an easel to create your paintings, make sure you adjust it to a standing or sitting height that’s suitable to you. Painting should be pleasant and comfortable, not difficult.
In addition, ensure that you’re wearing old clothes when you begin painting. Oil paint is extremely difficult to remove once it has been dropped on something, so this situation is best avoided in the first place. Also remove any bracelets or rings you happen to be wearing before you start.
4. Sketch what you’re going to paint with a pencil. The first thing you need to do is create a light sketch of what you want to paint using a pencil. This can be done directly onto the canvas you’re about to paint on, or on tracing paper placed over the top of it. As you’re doing this, consider composition, which is the placement of painted items upon your canvas, negative space, which is the empty space around the object you are painting, and the possibility of painting overlapping figures, which will add depth to your composition and make your painting look more realistic when it’s finished.
5. Consider your subject’s light source. In order to add realism to your oil painting, consider how your subject will be lit. Light sources always cast shadows, so light your subject in such a way that shadows and highlights become more obvious. Don’t worry if these don’t appear very bright or very dark – the ability to create contrast in your oil painting is what matters most.
6. Consider the colors you’re going to use. The best piece of advice in this regard is to actually view and take in the colors used on other oil paintings, because this will help you to get past the colors that your brain sees, and interpret the ones that are actually used for the completion of a given painting. Once you master this skill, you will be able to mix the colors your desire creating and using much more easily.
7. Observe the movement of your subject. If you’re painting a still-life oil painting with not much movement in it, it’s going to look much different to a subject that’s being depicted outdoors on a blustery day. Making this consideration before you actually start putting paint on your canvas will allow you to determine your brush strokes. If there’s more motion in your painting, you need more brush strokes. If there’s less motion, you guessed it – you need less brush strokes.
8. Mix your paints. One massive advantage of using oil paints over other kinds is that it takes days for them to dry. A downside is that it’s almost impossible to mix the exact same color twice, so you’ll need to mix colors in large batches and preserve them between painting sessions. Doing so will always ensure that you have the right color.
Some key tips include using a color wheel to help you find the color you want and mix it, adding white paint to a color to create a tint and give it a more pastel-like shade, adding black paint to create a shade, and adding white paint to a shade ( a color mixed with black) to create a tone. You will be doing the latter quite a lot, as tones represent a lot of the colors we see every day.
9. Paint. You can choose whichever painting technique you like, however always employ the thin-to-thick method by using a paint thinner, as aforementioned, and gradually allowing your paint to get thicker as you progress through the layers. As you do so, also use a blending medium such as linseed oil and add it to your paint. Don’t add a lot of a blending medium to your paint at once – add it gradually until you achieve the consistency that you want. Note that you need to leave a period of three days before painting a fresh layer onto your canvas. Oil paints take a good 72 hours to dry.
10. Correct any mistakes. Use the 72-hour drying period to your advantage by altering or removing any mistakes with a damp rag. Once you’ve made the alteration you want, take a step back and look at your painting as a whole. This will help you determine whether it is complete or requires further work.
11. Scoop up and store unused paint. If there’s loads of unused paint left on your palette after you’re done painting, save it for your next piece of work. You can do this by scooping up the leftover paint into small containers, or creating piles of paint on your palette and covering them with saran wrap.
12. Clean your paint brushes. It’s highly important to ensure that your paint brushes are clean once you’re done with your oil painting. In fact, you should clean your brushes immediately after using them. You can do so by using turpentine and an old rag to wipe away the paint, then rinsing under warm water with washing up liquid to finish off the job. Brush the bristles against the palm of your hand when you’re done to ensure you haven’t left any scrap of paint on them.
When it comes to storing your brushes, place them in a jar or cup with the bristle ends facing upward, and leave them out in the open to dry off. Do not put them in a closed space, such as a cabinet or drawer.
13. Wait. Although one layer of paint can take more than 72 hours to dry, which isn’t as lengthy as it first sounds, an entire painting can take more than three months to dry completely, and even longer if there are many thick layers of paint incorporated in it. Give your oil painting all the time it needs to dry out completely in a place where it won't be disturbed or damaged.
14. Varnish your painting. After allowing your painting to dry completely, add a protective coat of varnish. Once it dries, you can hang up your beautiful creation for all to see.
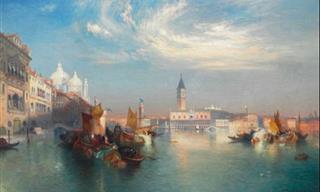
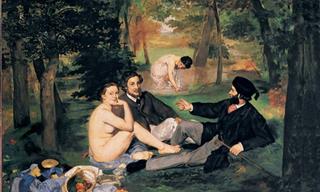
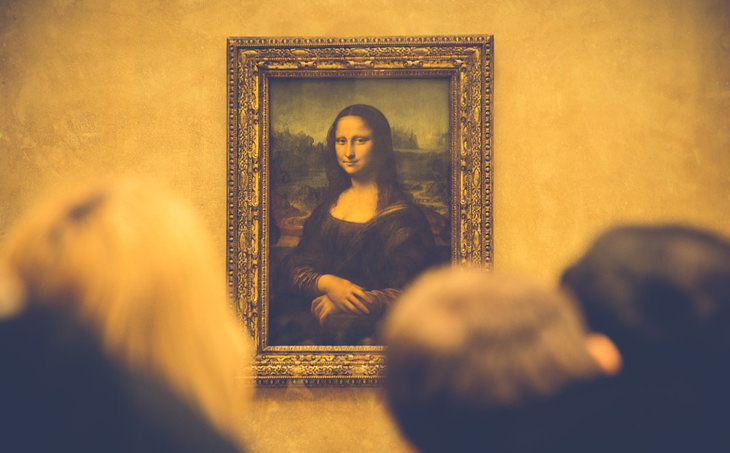
Example of a famous oil painting: Da Vinci's Mona Lisa
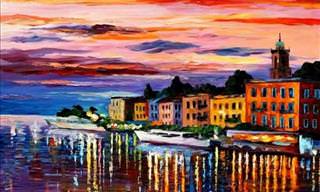
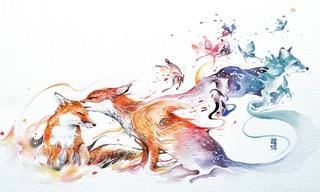
Watercolor Painting
Click Here to See the Full Method
1. Choose your paints. Watercolor paints come in two forms, namely pan or tube. While pans offer more convenience due to their ease of portability, you’ll usually not have enough at one go to be able to paint something quite big. Tubes allow you to use as much or as little paint as you need on your palette. The two kinds of paint are usually virtually identical in terms of their consistency.
2. Get the rest of the stuff you need. To paint watercolor paintings, you’ll need proper watercolor paper. As a beginner, it’s recommended that you get pads to start off with. They normally come in three different weights – 90lb, 140lb or 300lb – as well as different textures ranging from rough, to cold press and hot press. The medium thickness, cold press paper should be your starting choice.
When it comes to brushes, purchase a #4, #5 or #6 round brush, an angled flat and a big flat brush. Should you need to lift off paint to correct a mistake or lighten an area, an old stiff brush works great.
Next up, you need to consider a board on which to paint. Any watercolor paper of a weight that’s less than 300lb will require stretching to prevent buckling under the weight of the watercolor paint that you apply to the surface. To prevent this, you can buy stretchers or staple your paper on a foam board, wood or Masonite panels.
Also consider purchasing masking fluid to reserve white areas that are too small or too complex to paint around. You can apply masking fluid to an area of your painting using an old brush. Last but not least, you’ll need a palette to mix your paint. Traditional Chinese flower-shaped palettes work really well, as they have separate areas for holding individual paints and mixing.
3. Lay out your watercolor paper on a board. Once you’ve done this, you can start by drawing some very simple designs on it with a light pencil. Start off with something as basic as a square or a circle.
4. Dab some color. Put a small dab of color onto your palette. Choose any one you like.
5. Wet your paint brush lightly. Ensure that it doesn’t have too much water on it. If it does, dab it off using a towel or by shaking lightly to remove any excess moisture.
6. Drop a couple of drops of water onto your paint. On the dab of paint you put on your palette, drop a couple of drops of water – just enough to ensure that the watercolor is liquideous.
7. Lift some color onto your paint brush. Using the watercolor liquid you just mixed on your palette, lift a small amount of color onto your brush by dipping it into the watercolor liquid. Paint this lifted color into the shape you previously drew on your paper. Check if the paint is too thick by determining if it stays in one place. In this instance, you’ll need to add more water to the paint you’ve just applied to the paper. With regard to this, the more you experiment with water versus paint mixtures, the more you’ll get a feel for the right amount of water that’s required.
8. Using all of the previously-garnered knowledge, paint your painting. Once you’re done, give it all the time it needs to dry.
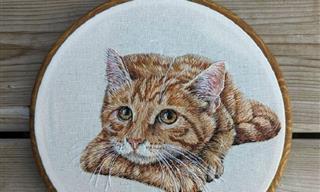
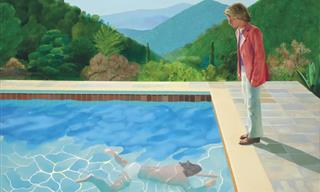
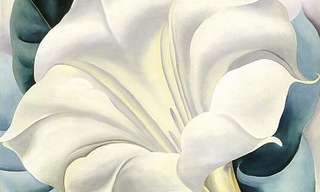
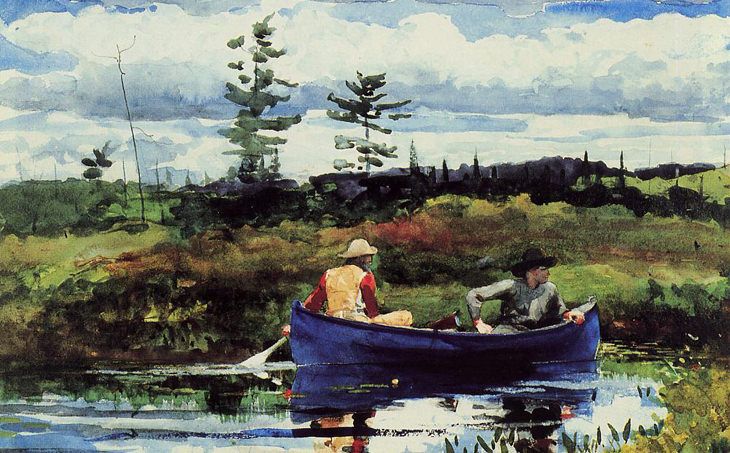
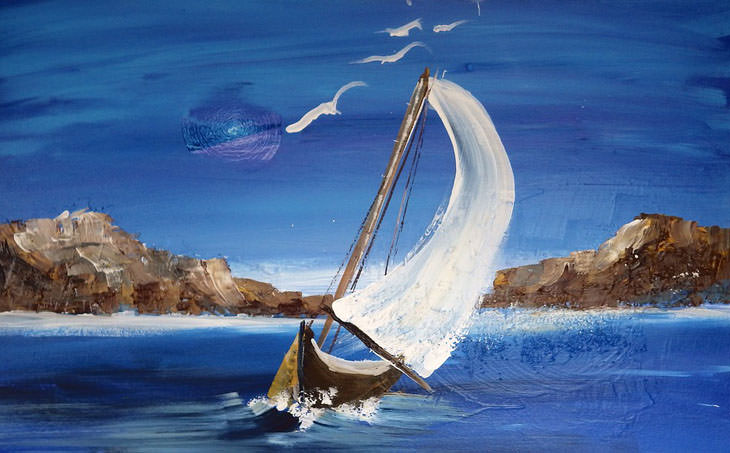
Example of a famous water painting: Winslow Homer's Blue Boat
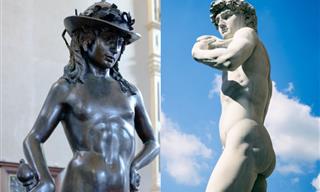
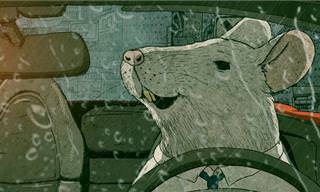
Pencil Drawing
Click Here to See the Full Method
1. Choose your pencils and paper. The tips of pencils are made from graphite, and range in weight from 9H (lightest) to 9B (darkest). Try purchasing a few different ones on the scale to have a range to experiment with. Note that as a beginner, you can sketch on whatever you like, but also be aware that there’s dedicated sketch and drawing paper available should you wish to look into purchasing some.
2. Sketch the base of your drawing. You only need to draw the base of your drawing as guidelines – it doesn’t need to be perfect. Just ensure that you sketch lightly when you go about creating the base. If you sketch too darkly, you’ll end up with unwanted lines in your finished drawing.
3. Draw your outline. Keep this as light as you can – you’ll be darkening it later. You can also “flesh out” your subject by adding layers such as skin or clothing. Once you’ve done that, add outlines to your layers too.
4. Add shading where lines meet. Wherever your outlines intersect, be sure to add a small bit of shading in order to add depth and weight to your sketch. In fact, this process is often called “weighting”, and it can make all the difference between a flat image and one that pops out in the eyes of the beholder.
5. Consider your subject’s light source. When you’ve determined a good angle, add in light shading using small strokes – the best way to shade a sketch is in layers. If you want to give yourself some further assistance, try sketching a small circle and shading that according to the angle of the light source you want to use on your sketch.
6. Smudge or blend the shading with your finger. Press on the shading you created previously with the tip of your finger, and smudge it in such a way that it lays out evenly. If you go over outlines or smudge a larger area than you first wanted, don’t worry – you can rub these out at a later stage.
7. Go over excessive smudging or hints of a light source with an eraser. Use the kneaded or pointed edge of an eraser to do this, as it will allow you more precision.
8. Continue correcting your drawing. Sketch, smudge and erase your sketch further so you can gain a better gradient of light to dark on your drawing, as well as adding more depth to it as you go. You can devote as little or as much time to this as you like.
9. Erase your drawing’s outline and darken curves and shadows. Consider using a lighter pencil at this stage to add some highlights for a brighter look.
10. Take a step back and enjoy your work. If you’ve forgotten anything, you can make last-minute adjustments and add finishing details.
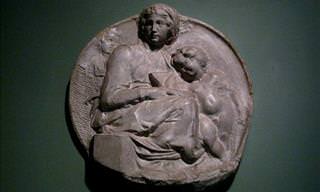
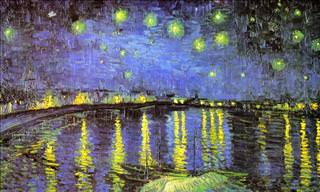
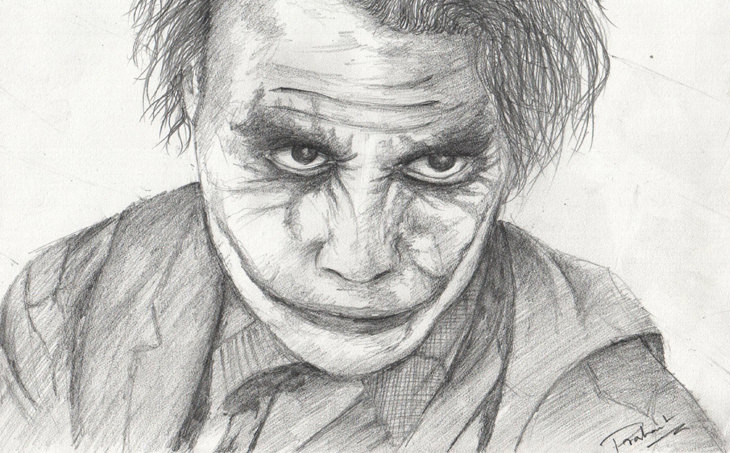
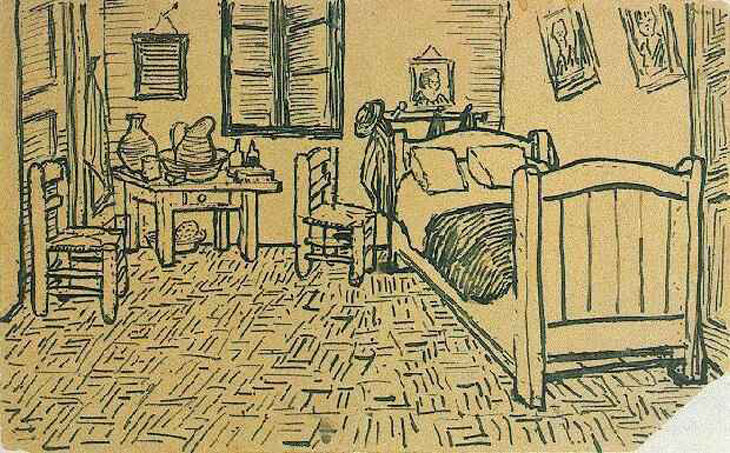
Example of a famous pencil drawing: Van Gogh's Bedroom in Arles
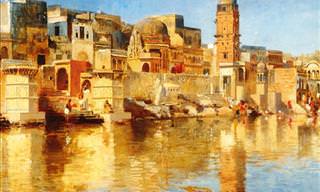
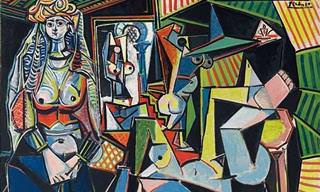
Acrylic Painting
Click Here to See the Full Method
1. Choose your paints. Acrylic paint comes in tubes or jars, and as with the oil paint discussed earlier, it’s advisable to go for better quality rather than trying to save money – you’ll just end up using bigger quantities of lower-quality acrylic paints to get the same vibrancy and effect. To start off, you just need five colors, namely titanium white, mars black, ultramarine blue, alizarin crimson and yellow ochre. You’ll be able to mix almost any color you want with just that basic palette.
It’s also recommended to buy tubes of paint when you first start off creating acrylic paintings, because they allow you to purchase the colors you need in smaller quantities. With that being said, it’s also worth mentioning that there’s no difference in quality between tubes or jars of acrylic paint.
2. Choose some brushes. With regard to acrylic painting, there are two key factors you need to consider in terms of your brushes, namely the shape of the brush tip, and the material used in the bristles. In terms of brush tip shape, there are three types – rounded, flat and filbert.
On the other hand, there are many different materials that are used to create brush bristles, with two of the most common being synthetic or boar hair bristles. As a beginner, you should consider buying synthetic brushes with different tip types. Note that you shouldn’t spend a lot of money on your brushes if you’re not taking up acrylic painting for the long haul.
3. Find a suitable palette. Seeing as you’ll be creating your acrylic artwork over a series of painting sessions, you’ll need a palette to use for mixing and storing paint. If you want to go for frugality, then a paper or plastic plate will work just fine, however you should consider investing in a stay-wet palette. This kind of palette will prevent your paint from drying out. Acrylic paint is notorious for drying very quickly, so a stay-wet palette is a good idea. Between painting sessions, ensure that you cover up your paint using plastic wrap or cups with lids to stop the paint from drying out.
4. Choose your medium. Acrylic paint can only be used on a few surfaces, and this is because of its weight and thickness. The most common surfaces for acrylic paintings are stretched canvas or canvas board, watercolor paper or treated wood. Watercolor paper is perfectly fine to use for you to start off with.
5. Collect the other stuff you need. In addition to the aforementioned, you’ll also need 1-2 jars or cups of water, a palette knife, an old rag or cloth, a misting spray bottle, and some soap to clean your paint brushes. You can get all of these things at an art supply store if you don’t have them on hand. You should also think about covering your work area with old newspaper before you start to prevent paint getting on floors and so on.
6. Select a good painting location. Ensure that your work area has lots of natural light and plenty of air. You can do this by placing your painting station next to an open window or door. Allowing yourself plenty of natural light when painting will allow you to spot small nuances in the brush strokes you’re using and make adjustments accordingly.
7. Lay out all your supplies before you start. Make sure you have jars filled with water, lay out all the paintbrushes and paints you plan on using, and place your palette somewhere where it’s going to be easy for you to get to. Put an old T-shirt on too.
8. Decide on your subject. Now’s the time to decide what you want to paint. As a beginner, you should try working from a 3D object or picture. Some easy subjects for beginners are a bowl of fruit, a vase of flowers, an object you have around your house, a sunrise or sunset.
9. Create a rough sketch of your subject. If you feel confident enough to begin painting your chosen subject, then you can jump right in, however it’s advisable to draw an outline with a pencil first. Use a regular pencil to sketch the outline of your subject’s major shapes – don’t worry about details too much at this stage.
10. Mix your paints. It’s quite a common mistake for painters to mix their acrylic paints as they work, rather than mixing them all before they begin. Think about what colors you’re going to need to paint your painting, and prepare them beforehand. If you need a reference point, refer to a color wheel while you’re mixing. Remember that you can always visit the art supply store should you have difficulty mixing the exact color you want.
11. Consider your subject’s light source. In order to add realism to your acrylic painting, consider how your subject will be lit. Light sources always cast shadows, so light your subject in such a way that shadows and highlights become more obvious. Lighter colors should be nearer the light source, with darker colors further away.
12. Examine your subject’s composition. Look at your subject and determine which part of it is nearest to you, and which is furthest from you. Also consider overlapping, color changes and differences in texture. Seeing as you’ll want to replicate these things in your painting, it’s a good idea to figure out how to go about doing that before you even start.
13. Begin painting the background. Acrylic painting is best done when you layer upwards. In other words, you should start by painting what’s furthest away from you first, gradually working your way toward your subject in the foreground. In terms of the paint you use, start with medium-value colors first, use darkest colors second, and the brightest third.
14. Add in background details. When you’re done painting the basic colors, the next thing you should do is add details to your background. Solid colors can be broken up using shadows and light points. If you’re painting a patterned or busy background, add texture and movement with brush strokes.
15. Paint in your objects. Break up your subject into identifiable shapes and paint them in solid hues. As you gradually build up these shapes, your subject will begin to appear. It’s recommended that you work in small sections, joining them together as you go. Also remember to add colors in the aforementioned order (medium-value, darkest, lightest).
16. Add details using different painting techniques. Once you’ve painted your basic colors, try stippling paint by holding your paint brush vertically and tapping it onto the paper. This will give the appearance of many small dots. Also try using a palette knife for broad strokes of color. If you’re going for a rough, unedited look, you can actually try painting with a palette knife. You can also try creating a wash of color by thinning your paint with water. This will create a watercolor effect, where the paint gradually lightens on your canvas.
17. Finish off your painting. Add any finishing details you might have missed and you think are necessary to perfect your painting. These may include dabs of light and dark, any further outlines you may want to include, and finishing washes of color.
18. Varnish your painting. A finishing coat of varnish is great for sealing acrylic paint on a canvas, as well as protecting it from damage.
19. Clean your paint brushes and work station. Clean your paint brushes as soon as you’re done painting to prevent them from damage. If you leave acrylic paint to dry on your paint brushes, it will ruin them. Use cold water and soap to clean them. Also clean your painting surface and rinse the jars with water.
20. Store unused paint. Place any leftover paint in an airtight container and cover with a lid. If you chose to buy a stay-wet palette, you can also seal your paint into it.
21. Let your painting dry. Acrylic paintings usually take 1-2 days to dry. Simply ensure that you place your painting in an area of your home where it won’t be disturbed.
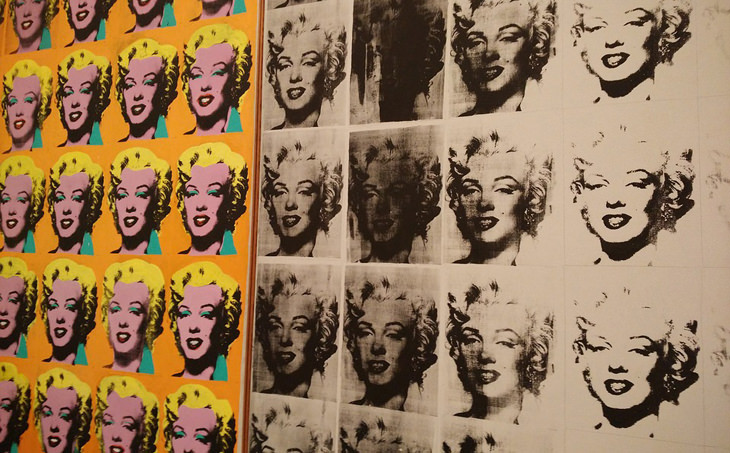
Example of a famous acrylic painting: Warhol's Marilyn Diptych
Content Source: WikiHow