| Sandpaper is a toolbox favorite for good reason. It is cheap and simple, yet incredibly useful in pretty much any DIY project involving wood or metal. As is so often the case, however, the simplest objects have the widest range of uses and sandpaper proves it - by providing a simple solution to a number of everyday problems around the home and garden. Some of these are fantastic, and I can't believe I haven't been using them before! |
 |
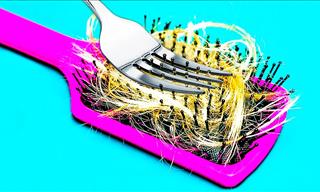
|
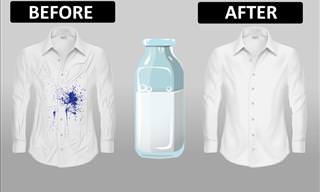
1. Remove Stains from Suede
|
|
2. Clean Your Pots and Baking Trays Our pots and baking trays get through a lot of work in the kitchen, and it's inevitable that food and grease will become caked on them over time. Sponges, scouring pads and steel wood are prone to breaking apart when used for hard scrubbing jobs, but sandpaper is much better equipped to take the strain. Use a strip with some strong soap to re-discover the actual color of your pots and trays beneath all that grease and grime! |
|
3. Make Non-Carpeted Stairs Safer Stairs leading down a basement or up to an attic can be hazardous, especially if the steps are particularly steep. These are not places where you want to suffer a fall, which is why sandpaper can help. Take some paper from a belt sander, or cut large pieces from a piece of hard grained sandpaper, and place them along the edges of the steps. The extra grip will make you much less likely to fall. |
|
4. Sharpen Your Scissors
|
|
5. Remove Rust If your garden shears, other tools or even large kitchen knives are beginning to look like antiques, then sandpaper can help take a few years off them. Any sandpaper will do, although coarser grains may be best for this particular job. but be careful not to scratch them if you can. As it's flexible, sandpaper works really well on curved surfaces and can also do a great job on light spots of rust that form on carving knives. If the rust is particularly stubborn on larger tools, consider using a wire brush attached to an electric drill to attack the worst of it and then use sandpaper to finish up the job. |
|
6. Remove Rough Skin From Your Feet Our poor feet pay a high price for supporting us all day, and frequently develop hard patches of skin especially around the heels. Use a fine grain sandpaper to gently remove the cracked, dry skin and leave your feet looking and feeling revitalized. Make sure you only perform this trick on dry skin. |
|
7. Open a Stubborn Jar Lid
|
|
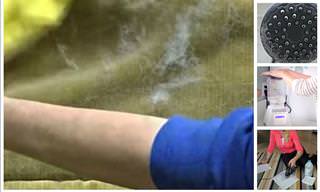
8. Remove Bobbles from Upholstery and Clothing Wool and cotton fabrics often develop pills over time, leaving them looking old and worn out before their time. Use as fine a grit as you can find when choosing your sandpaper and very lightly brush it back and forth across the affected area. If you're fabric is delicate, test the method on a small, less visible area first to make sure you are using a fine enough grit. The same method can be used on your woolen sweaters, but make sure you only rub in one direction when treating them, rather than back and forth. |
|
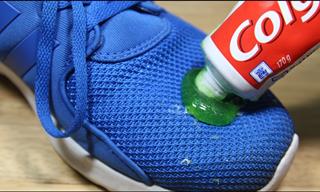
9. Extra Grip For Shoes If you have bought some new leather-soled shoes but find that they don't get along very well with modern, shiny floors and you are slip-sliding all over the place, give yourself some extra grip using some sandpaper. Use a fine-grain paper to scuff the bottom of the shoes and you will find you have more traction. |
|
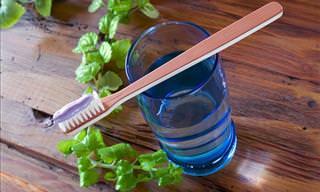
10. Keep Wooden Kitchen Utensils Germ Free
|
|
11. Give Your Dog a Pedicure Good dog owners will make sure Rover's nails are kept trimmed, both for the good of their best friend and their own furniture. However, it's difficult to cut a dog's nails without leaving rough edges. These edges can easily be smoothed out with some fine grained sandpaper! |
|
12. Remove Stubborn Grout Stains Try as you might, sometimes it's impossible to remove all the grime that can gather between the tiles in your bathroom or kitchen. The abrasive qualities of a fine-grain sandpaper can help you here, just fold a piece in half and run it gently along the grout to remove stubborn grease. Be careful not to scratch the actual tiling of course. |
|
13. Stop Slugs in Their Tracks
|
|
14. Maintain Your Car's Windshield Wipers If your windshield wipers are well worn and starting to fail in their key task, remove the blades and lightly rub them with fine-grit sandpaper. Remove the resulting dust and coat them with petroleum jelly. This trick will ensure you get many more months of use out of them! |
|
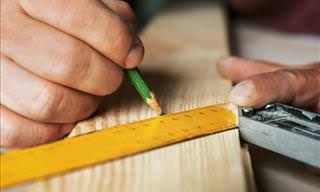
15. Sharpen Sewing Needles Pop some sandpaper into your sewing box and the next time your needles are starting to appear more blunt than usual, poke them through the paper five or six times, or simply twist them inside a folder piece for a minute or two. They will be left sharper than they ever were! |
|
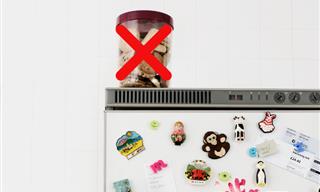
16. Make Your Plants Grow Quicker
|
|
17. Help Iron Pleated Items If you want to keep pleats in place when ironing, then place some fine grit sandpaper underneath each fold. Iron the pleat gently to maintain a nice, sharp fold and keep your pleats intact. |
|
18. Polish Hazy Headlights This final tip requires some step-by-step instructions:
2. Clean off dirt and surface debris with soap or a plastic lens cleaner and wipe dry. 3. Use an 800 grit sandpaper to remove oxidized particles and melted plastic by wetting it with soapy water and rubbing it in a side to side motion while applying gentle, even pressure. Make sure the surface of the light is kept wet at all times. 4. Change to a finer 1200 grit paper to remove coarse scratches from the last step. Then move on to a 2000 grit, then a 2500 grit to gradually smooth the surface. 5. Apply a plastic polish or swirl removal compound after using the 2500 grit sandpaper and wipe with a soft towel. Give the plastic one last clean over with soapy water and then apply a protecting fluid. |
 Suede looks great but is notorious for picking up stains and scuffs which can make it look scruffy in quick time. To sort out this problem, take a very fine-grit sandpaper and rub it gently across affected areas. Use a toothbrush or something similar to buff up the area after you have done so and you will have revitalized your item.
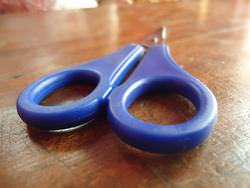 I can remember my old art teacher using this method at school! Scissors tend to spend a lot of their time cutting through sticky, dirty items which leaves a residue along the blades over time. You don't need to rub the sandpaper along the the edges to clean them, instead simply use the scissors to make several cuts through some fine grain sandpaper and the sticky substances will be banished.
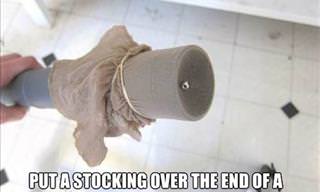
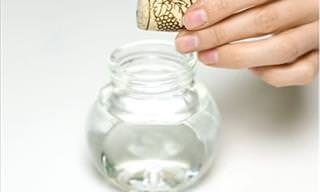
 It's great to know that the contents of a jar are being kept nice and fresh before you use them, but sometimes the lids are so tightly fitted that it can result in a serious work out to wrench it off. We have all used a tea-towel or cloth to try and give us extra grip for this job, but sandpaper is the obvious solution. Keep a small piece in your kitchen cupboard and when you need to open a jar, place it grit side down over the lid and twist. The extra grip will provide you with the means of screwing the lid off.
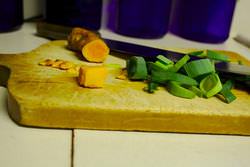 Wooden chopping boards will show the signs of their constant clashes with knives over time, and develop grooves and cracks, which can become a breeding ground for germs. You can maintain their cleanliness much better by sanding them down with some fine-grit sandpaper once or twice a year. Apply some mineral oil after the job to help protect the wood. You can use the same trick on wooden spoons, spatulas and mashers.
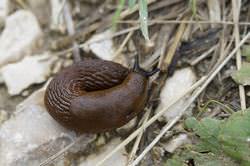 If you are sick of slugs getting into your plants pots, then it's sandpaper to the rescue! Cut a strip of sandpaper, making sure it is wider than the base of the pot. Place the pot on top of it and you have a homemade slug deterrent - your slimy enemies will not want to crawl across the coarse paper and make their way up the side of the pot. You can also wrap sandpaper around the stems of young plants growing in flowerbeds to help keep slugs at bay.
 If you have a new packet of hard-coated seeds ready to be planted in the garden, and you want to see them flower as quickly as possible, then run some fine-grit sandpaper over their surface before you place them in to the ground. The sanding will remove layers of the outer shell of the seed, meaning water will penetrate them more quickly and encourage earlier growth.
 1. Put masking tape around the headlights to ensure you protect the bodywork