|
In this day and age, almost all of our information is saved either in our computer or on an external drive, allowing us to access and transfer many photos instantly. However, despite the improved availability and speed of access to our files, deleting them by mistake can also be easy. 
Imagine sending your computer to get repaired, and when you get it back, it’s without your precious photos from your kid’s wedding. All of those precious memories gone in an instant. Luckily for you, not all is lost – you can restore most (if not all) of your lost data by using a simple, free program called Recuva. |
 |
| Source |
|
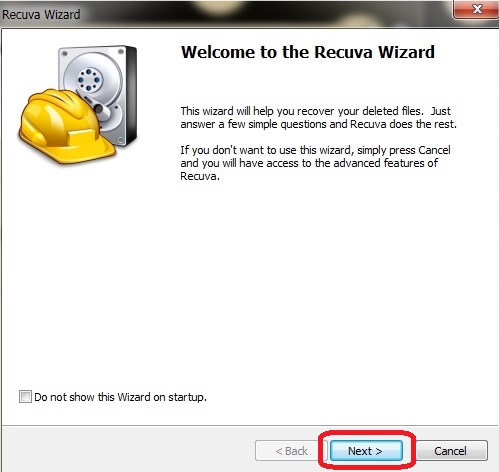
How does this work? When a file on your computer is deleted, only the link to it has been removed, making the file invisible. What that means is that the data is still on your hard drive or external drive, and programs like Recuva can search and recover the data (unless it has been overwritten – then you need to take it to a lab). If you recently deleted a file by accident, Recuva will be able to find it and restore it. How do I use it? First, download the program HERE and install it. After the installation, the Recuva window will open, displaying the “Recuva Wizard”, meant to simplify your use of the program. Click on “Next” when you’re ready. |
 |
|
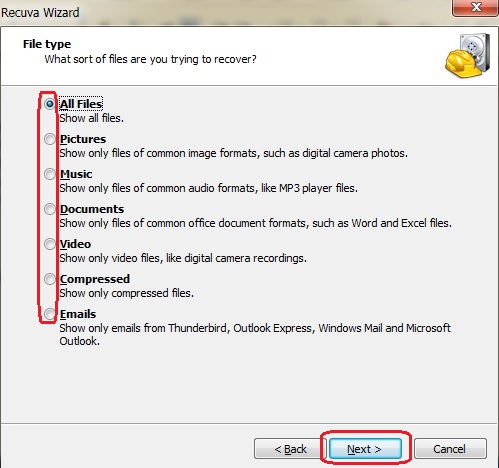
The next window will ask you what type of file(s) you’re looking for, so select the appropriate kind. If you’re unsure, select “All Files” instead and hit “Next”. |
 |
|
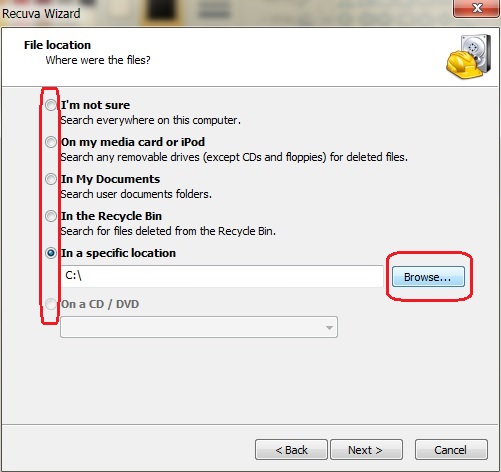
In the next window, you’ll be asked where the missing file was. If you don’t know, select “I’m not sure”, prompting the program to search the entire computer. If you know exactly where it is, click on “Browse” to find the directory it is in and then on “Next” to proceed. |
 |
|
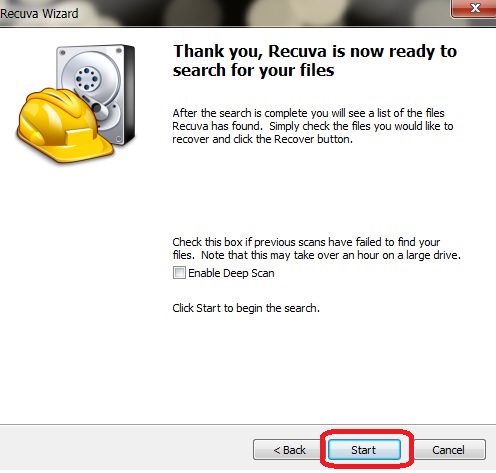
In the next window, click on “Start” – this will begin a scan of your computer for any recoverable files. |
 |
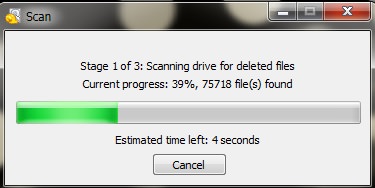 |
| Scan window |
|
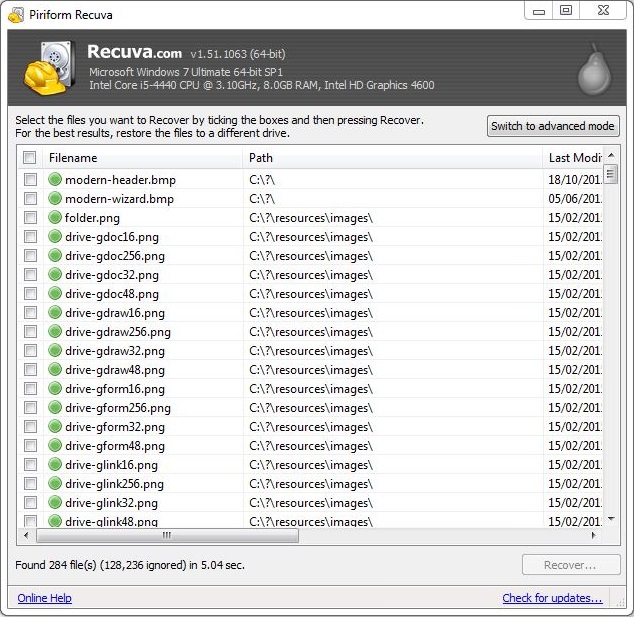
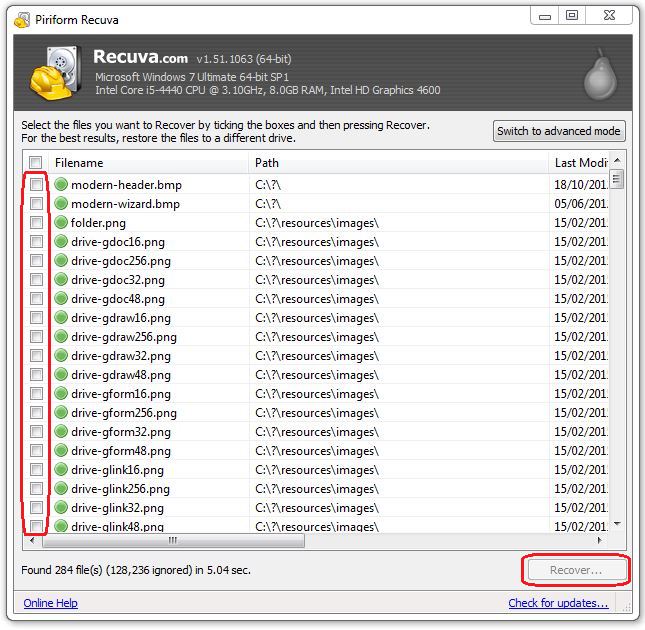
At the end of the scan, a new window will open up with a list of all the recoverable files that the program found. The files will have a circle on the left-hand side in either green, yellow or red. Green indicates that the file can be recovered, yellow indicates that the file may or may not be recoverable, and red indicates unrecoverable files. |
 |
|
Locate the files you want to recover and check the box next to it. When you’re done, click on the “Recover” button at the bottom right of the window. |
 |
|
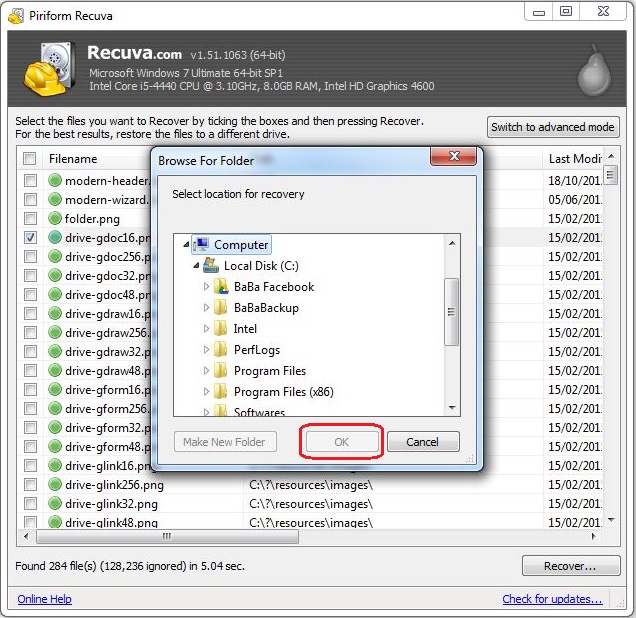
After clicking “Recover”, a new window will prompt you to select a folder you would like to recover the files into, and once selected, click “OK” to restore the file to that folder. |
 |
|
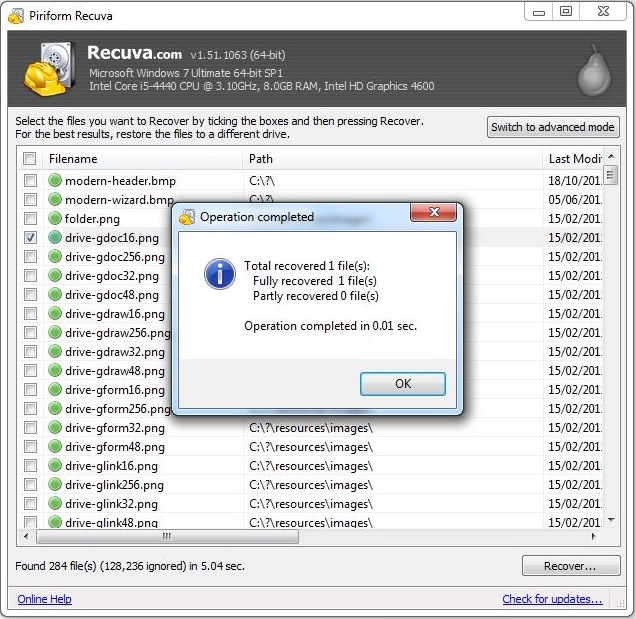
Once the process is complete, you will see this notification, containing information on all the files that were successfully (or unsuccessfully) recovered. |
 |
|
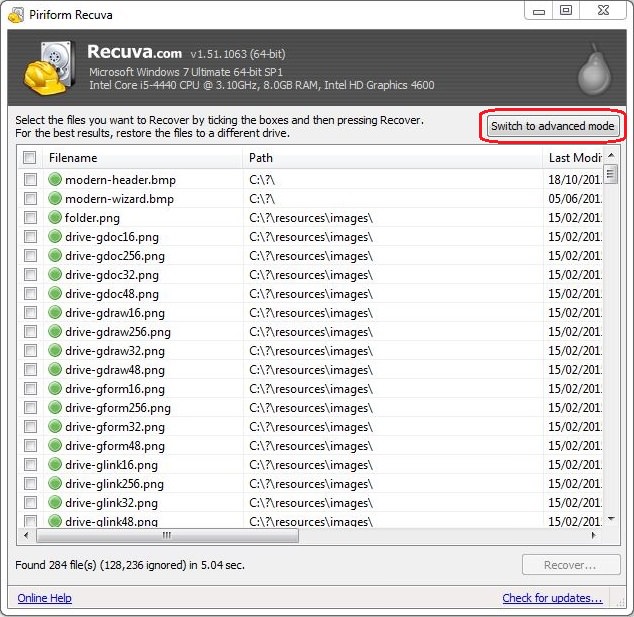
If you feel confident, you can use the advanced mode, which will allow you to search for specific file types, file name, or location. |
 |
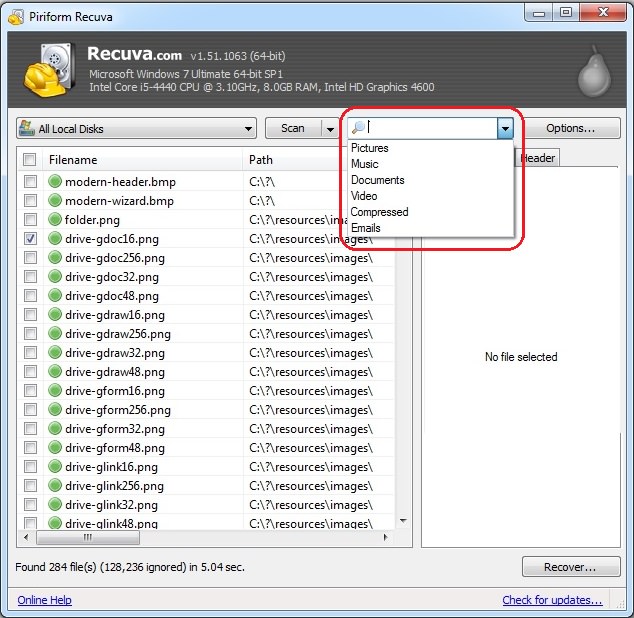 |
| Search by file name or type |
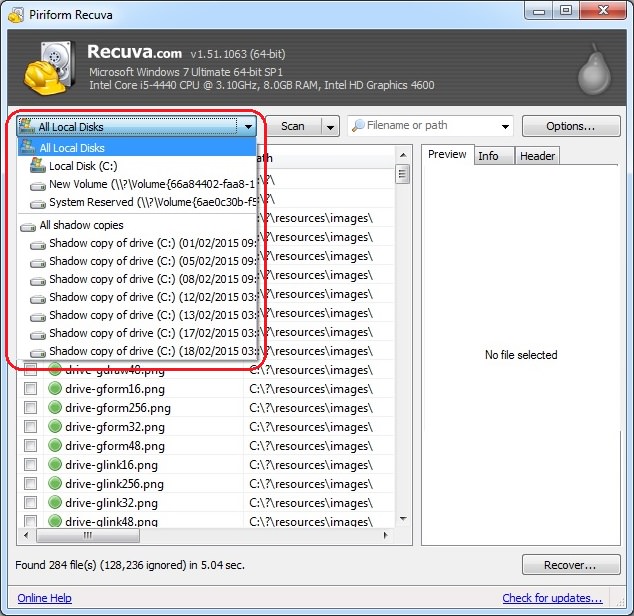 |
| Search by location |
|
Please note – as time passes and with regular use, the quality of deleted files deteriorates, eventually making them unrecoverable. The sooner you perform the scan – the more likely it will be that the file will be salvageable. |