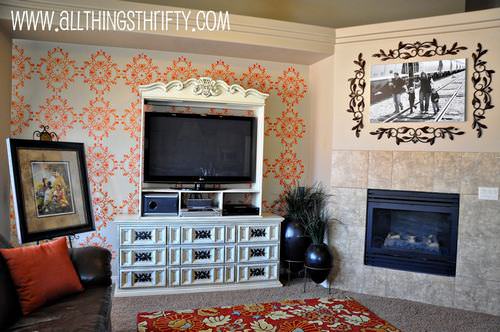
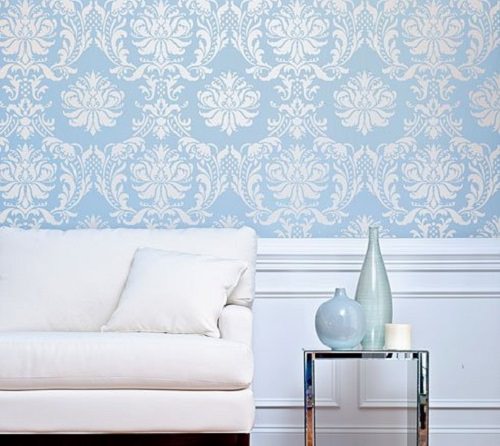
Wall stenciling and decals are all the rage in home décor. While I must admit they are gorgeous, some of them are a bit above my decorating budget. I did some investigating in my local hardware and stationery stores and have a devised a cheap and easy DIY version in 8 easy steps.
Tools for the Project:
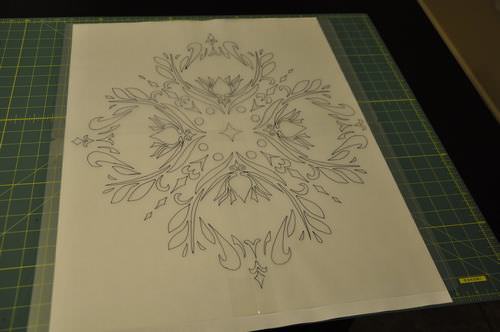
If you’re artistic draw it by hand, but if you’re not blessed with creative skills, look for a pattern on the internet. Find one you like and print it. If it’s a large design you might need to go to a printer shop.
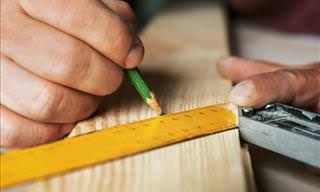
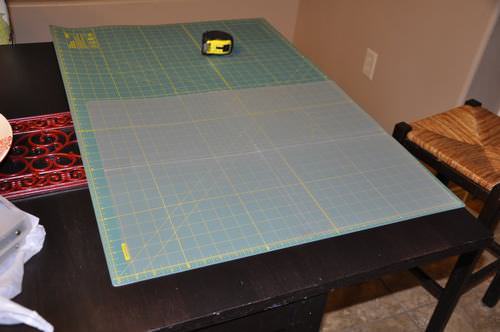
It’s important to measure the space you intend on stenciling if you plan on making your stencil a repetitive pattern. You need to make sure your pattern fits evenly in the space you want to fill.
Step 3: Prepare the Stencil Sheets
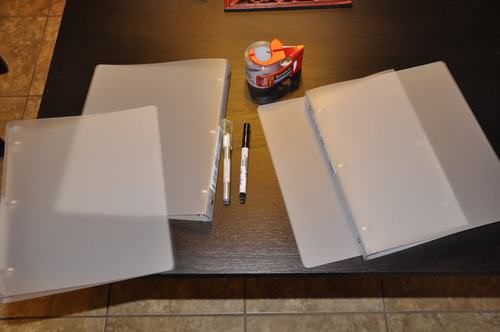
You can cheat and buy blank sheets at an art supplies store, but I found plastic folders and made my own. It’s cheaper and I have no use for a whole pack of 12 sheets, which is what the art supply store sells.
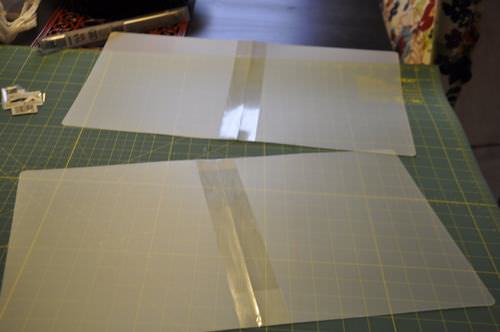
I bought plastic folders, cut them up, taped the pages together and used these as my stencil sheets. Make sure they fit your pattern in size. My design called for a 24 by 24 inch square (60x60cm). Other designs might be more oblong.
Step 4: Trace the Pattern
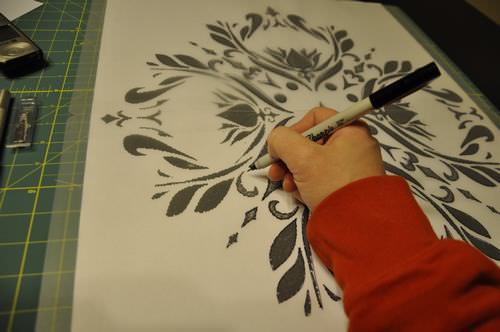
Place your printed image underneath the semi-transparent stencil sheet. You should be able to see the pattern clearly. Now you can trace the pattern using a marker.
Step 5: Cut the Stencil
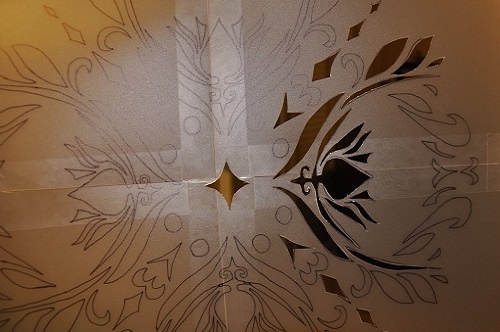
Cut out the stencil using an Exacto knife (this allows for more precision). This step was the most time consuming part of the project. Press on a cutting mat in order not to ruin your desk or table.
In retrospect I would choose an less intricate pattern than the one I chose. This one was a bit ambitious and took a few days to do.
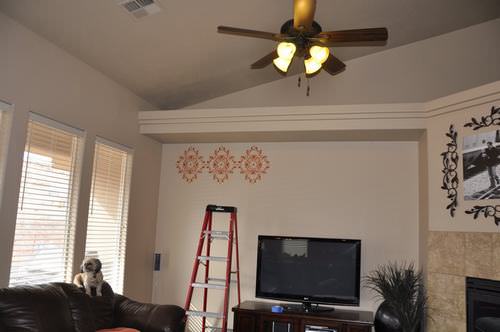
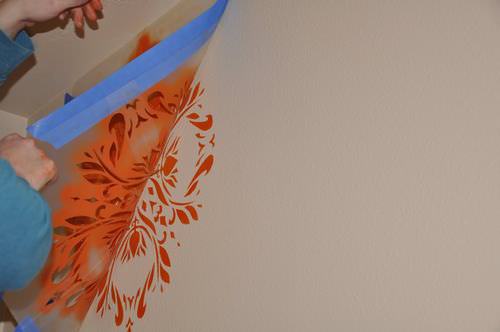
Step 6: Fix the Stencil on the Wall
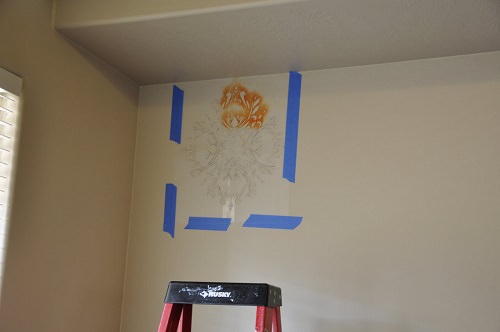
You might need a ladder or something to stand on if your stencil needs to be high up the wall.
Two things you can do to make sure your stencil is firmly stuck to the wall:
If you’re worried that the image looks skew, use a level stick to ensure the design is straight.
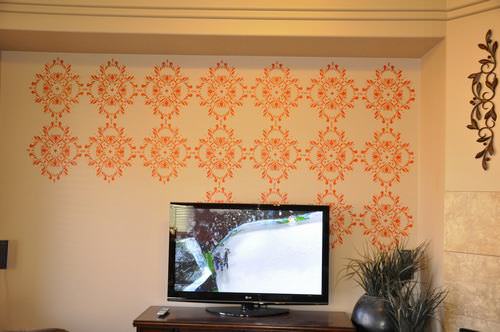
Step 7: Painting The Stencil – The Fun Bit
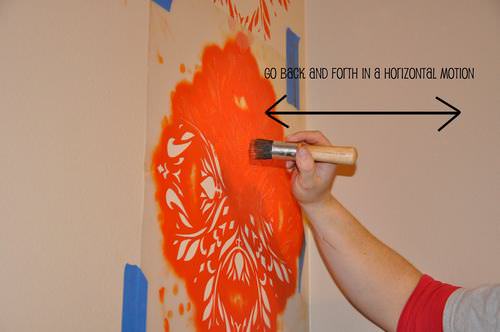
Using a stencil brush paint the cut out areas of your stencil. Some of you might find it easier to work with a sponge paint dabber.
I used stencil paint. It’s drier and doesn’t drip down the the other parts of the stencil. I used 6 bottles (1/2 fl oz, or 15ml each). The amount of paint you will need does depend on your design’s size and detailing. The paint takes 24 hours to become dry for touch.
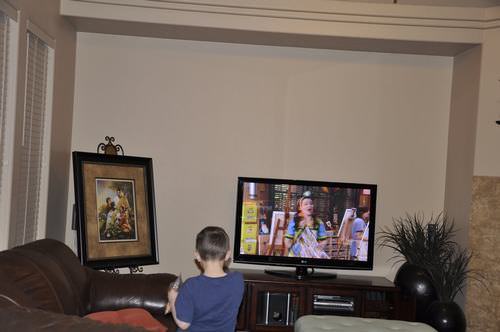
Step 8: Repeat